Make DIY Painted Rocks for Garden Markers or Step Stones
This post may contain affiliate links · This blog generates income via ads
Some of my favourite DIY projects have been the ones where I use salvaged or free materials that I find in my crafty supply stash or even in nature. These DIY painted rock garden markers are a fun project just like this! We found these river rocks several years ago, and I decided to repurpose them with a little bit of paint and Mod Podge to use them as pretty signs in our garden this year. Come see how I made them and make sure to scroll down to the bottom of this post for more outdoor painting projects from my blogging friends as part of Outdoor Extravaganza!

I’m really happy to be a part of the Outdoor Extravaganza blog hop this year with some of my favourite blogging friends! Please make sure to visit the other fabulous outdoor decor ideas linked below.
These easy DIY painted rocks can be used as plant markers or stepping stones. They’re simple to make, and they’re also a wonderful craft idea for kids!

You Will Need
- smooth, flat rocks in various sizes
- pencil
- acrylic paint
- paint brush
- exterior Mod Podge
How to Paint the Rocks
To make these simple garden markers, start with a clean, dry, and smooth rock. You can wash your rock off with some water, a squirt of dish soap and a microfiber cloth to get all of the dirt & debris off. I found the rocks with the smooth surfaces worked the best for this project. Quickly sketch out what you want to paint onto the surface of the rock with a pencil. You can erase it and re-draw as needed until you’re satisfied. I chose to have a couple of garden sayings on my rocks (“garden” and “grow”). Then I also made a couple to mark where we’ve planted our onions, potatoes, and other vegetables so far.
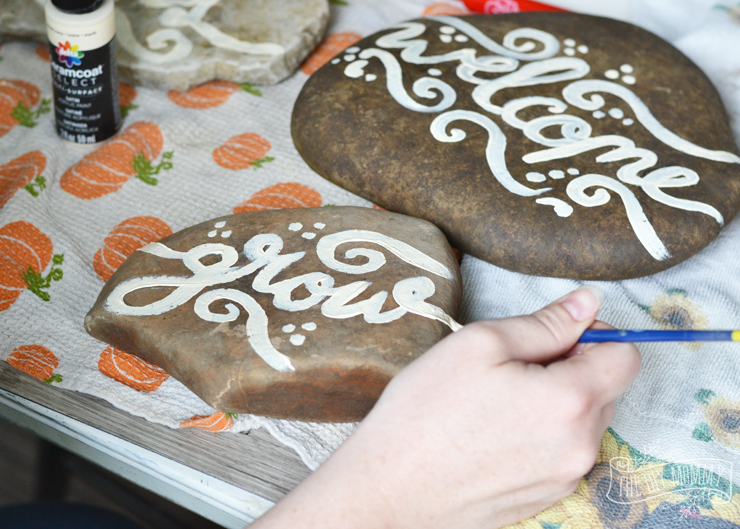
Then, paint over the pencil lines with a thin paint brush and some acrylic paint. I really love the look of cream coloured paint on the natural rock colour. It’s so simple and pretty! I also added a few swirls and dots with my brush as embellishment. You may need to go over your design with a second coat of paint to make it really stand out.
Once when the paint is dry, seal the rocks with a clear coat of Mod Podge. This will help the design stay intact when the markers are placed outside. I like to use exterior Mod Podge that’s formulated for outdoor use as a sealer for my outdoor projects.


So simple, right? These rocks make unique and beautiful garden art, and I love how they turned out!
More Rock Painting Ideas
- create painted rocks with inspirational sayings to spread some kindness rocks!
- make adorable Kawaii rock painting food story stones
- create detailed watercolour floral rocks with paint pens
- use metallic Sharpies to create beautiful and detailed rock art

More of my DIY Outdoor Projects
DIY Garden Ideas: A Guide to Creating a Spring Garden
Whether you are starting fresh with new landscaping just waiting for you to bring it to life for the first time, or looking to refresh and add to your existing gardens, I’ve collected tips and tricks and ideas on plants, DIY decor, and of course some fairy garden whimsy. I hope you find some DIY gardening ideas here that you can use to improve your own space!

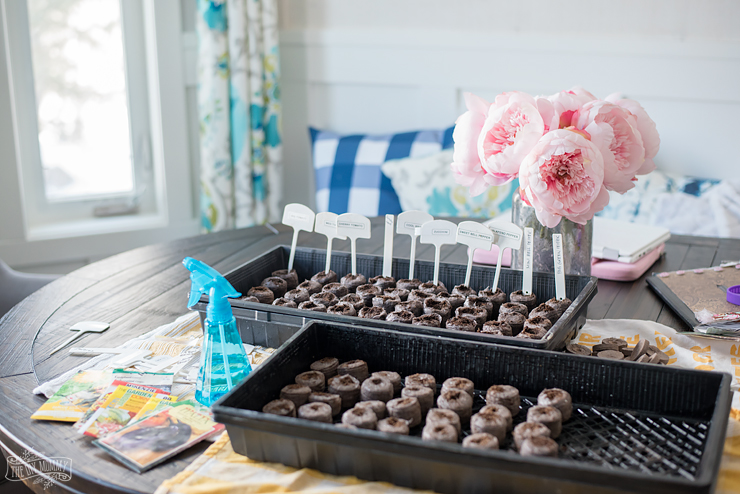
Spring Garden Preparation | Zone 3 Gardening
We live up in Zone 3A where it’s very cold, so while we still have a large amount of snow on the ground we can start planning our garden and planting our seedlings. Let me show you how we prepare our Zone 3 garden in Spring!
Now it’s time to see what my blogging friends have painted for their outdoor spaces this week!

Patio Dining Set Makeover by Craftberry Bush
DIY White Washed Terra Cotta Pots by Setting for Four
Make Painted Rock Garden Markers by The DIY Mommy
Succulents in Weathered Pots by Satori Design for Living
The Perfect Accent to my Front Porch by City Farmhouse


These are so charming, Christina! Perfect for your country garden. Love those boots too!