From Fabric Scraps to Boho Chic: DIY Rope Flower Pot
This post may contain affiliate links · This blog generates income via ads
Do you have a pile of small scrap fabric that you don’t want to throw away? This beautiful, twisted rope DIY is a fun scrap fabric project, perfect for the beginner crafter. Let me show you how to use a super simple technique to make an eye-catching addition to your spring and summer home decor. And, we’ll breathe new life into those cute little terra cotta pots or mason jars you picked up at the Dollar Tree too. Let’s go!
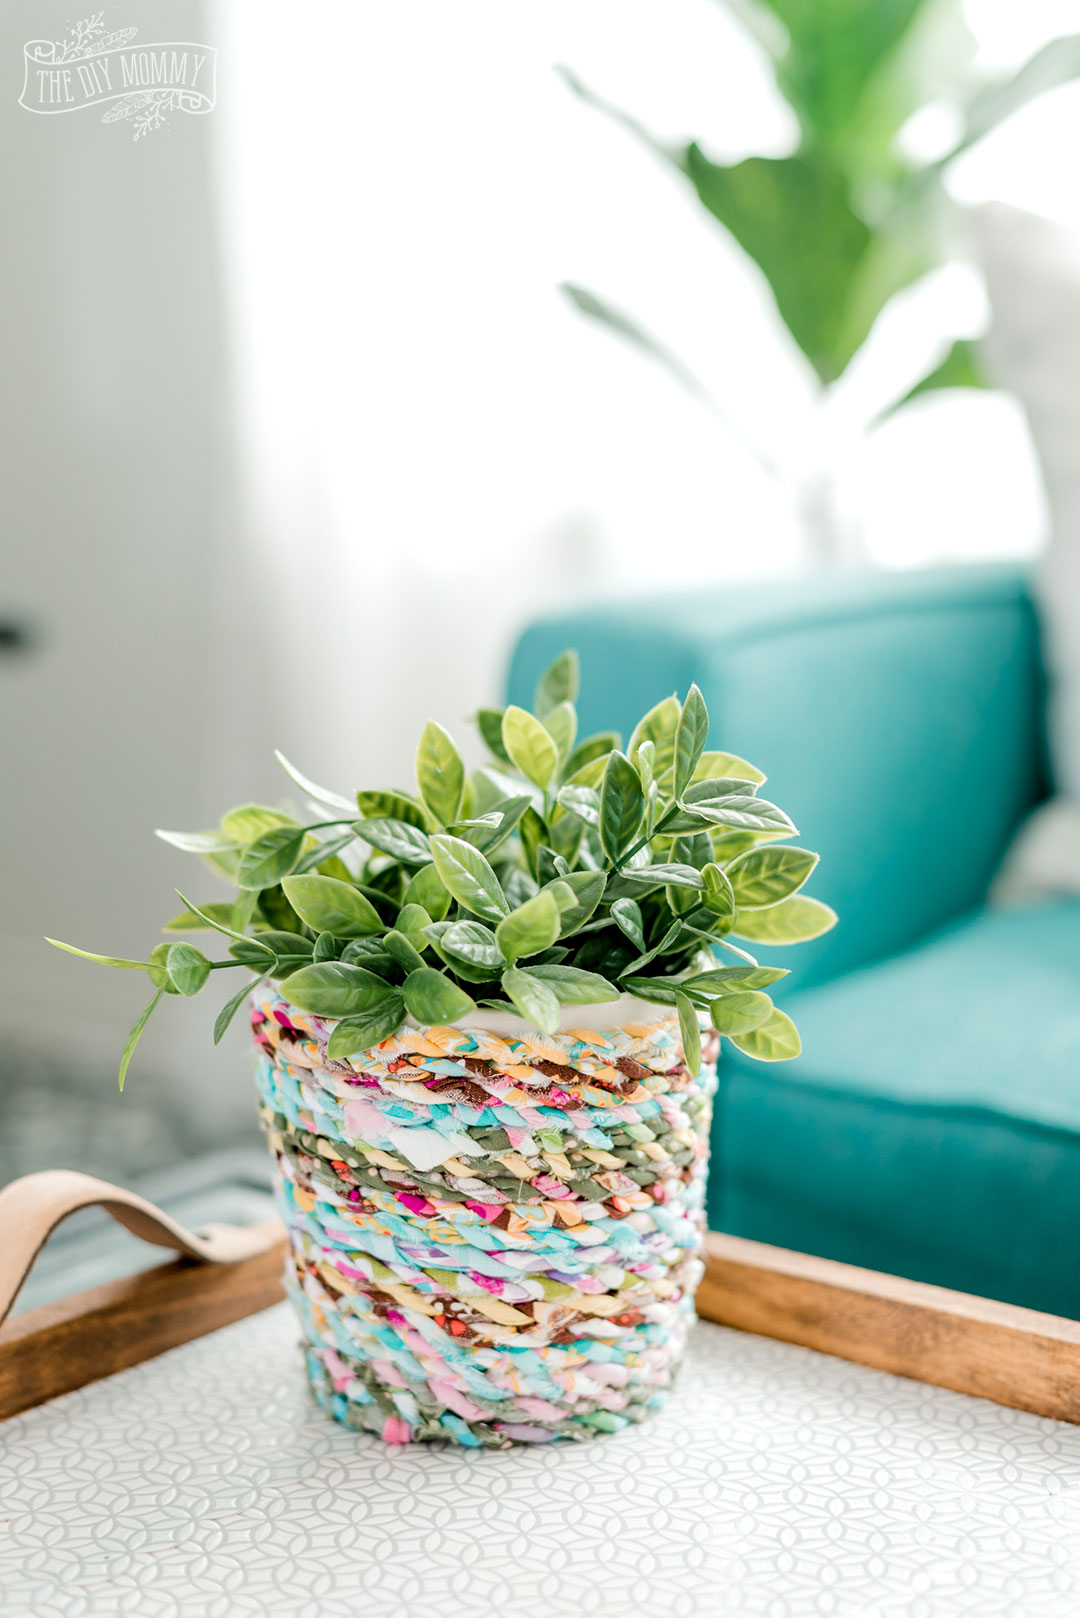
Table of Contents
I’m very excited about upcycling and recycling DIY projects this year, and I’m also always looking for ways to use all of my material scraps. This plant pot is one of my favorite craft ideas – it’s lot of fun to make and a great use for even the tiniest of fabric scraps!

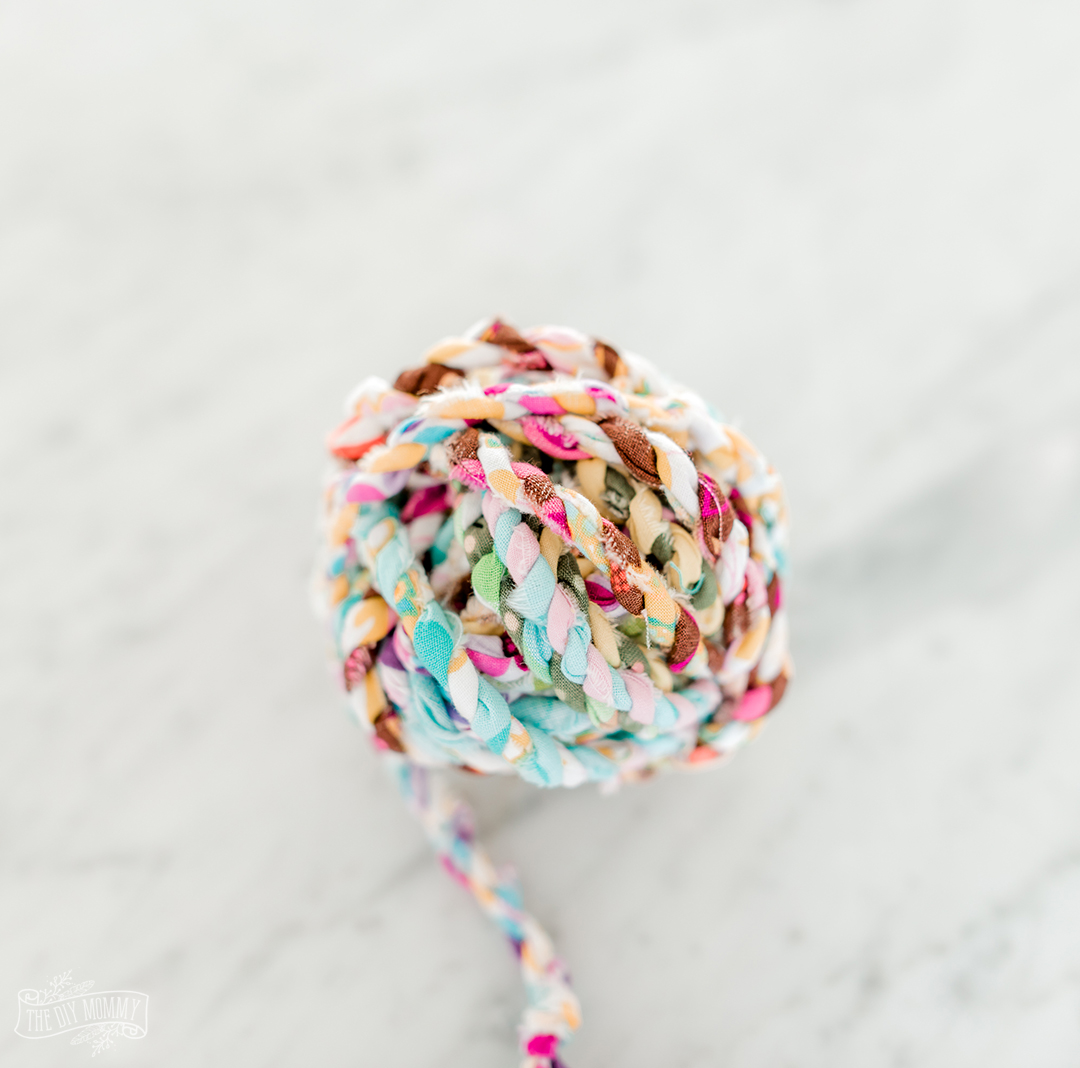
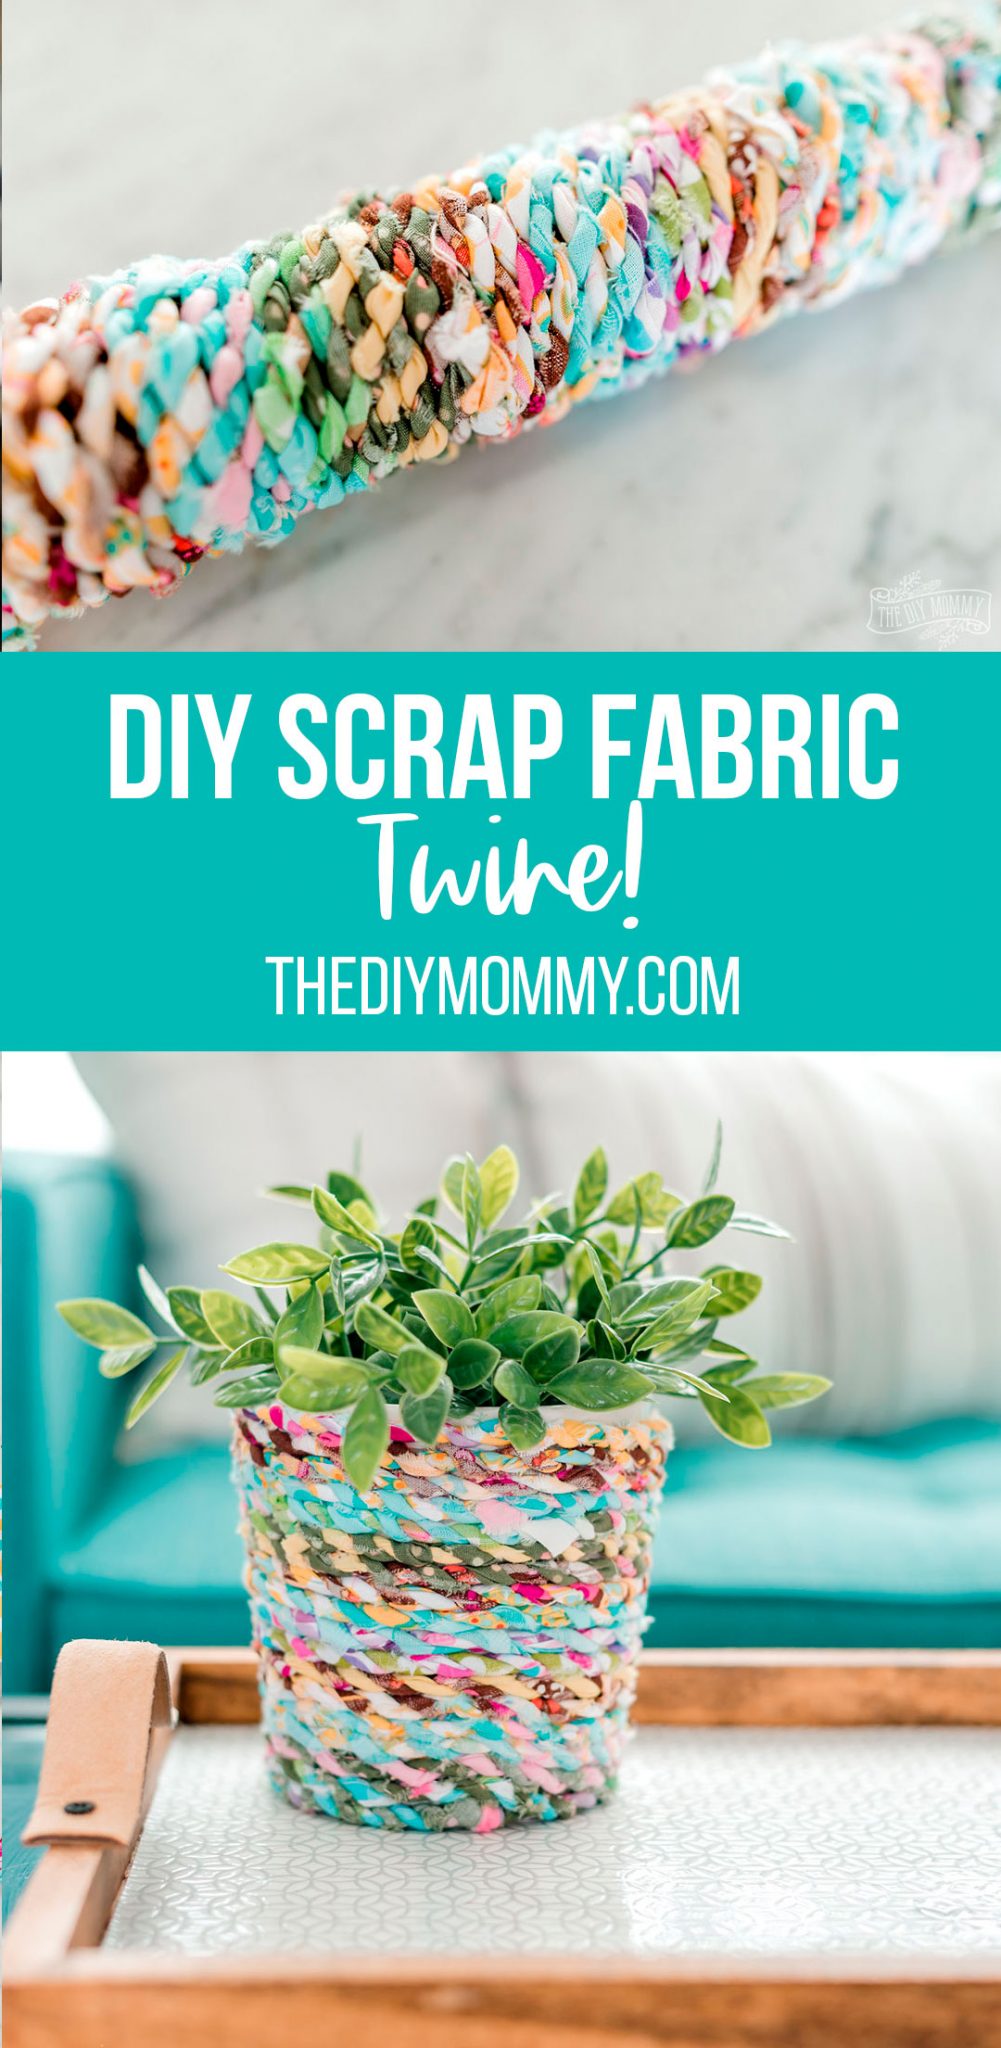
This DIY fabric scrap plant pot project starts with the creation of fabric scrap twine. You can make this with small strips of fabric, using different colors and patterns for a boho-inspired look.

How to make DIY fabric scrap twine
- Cut scrap cotton fabric into 1″ strips (I cut a slit at the beginning and then rip the rest of the way!)
- Take two strips of fabric and knot them together
- Twist each strip individually and then twist them together to form a strong rope
- Continue until you create a long piece of twine
- You can add more strips of fabric as you go by placing strips on top of each other and twisting them together
Watch this video tutorial to see how to make DIY fabric scrap twine
How to make this simple DIY fabric twine flower pot
This really is a ridiculously easy craft that anyone can do! Once you have your fabric twine made, you’re almost there.
Tools & Materials
- Fabric scraps (already turned into twine)
- Flower pot
- Hot glue gun
Now that you have your fabric scrap twine, let’s make this pot in just a few simple steps:
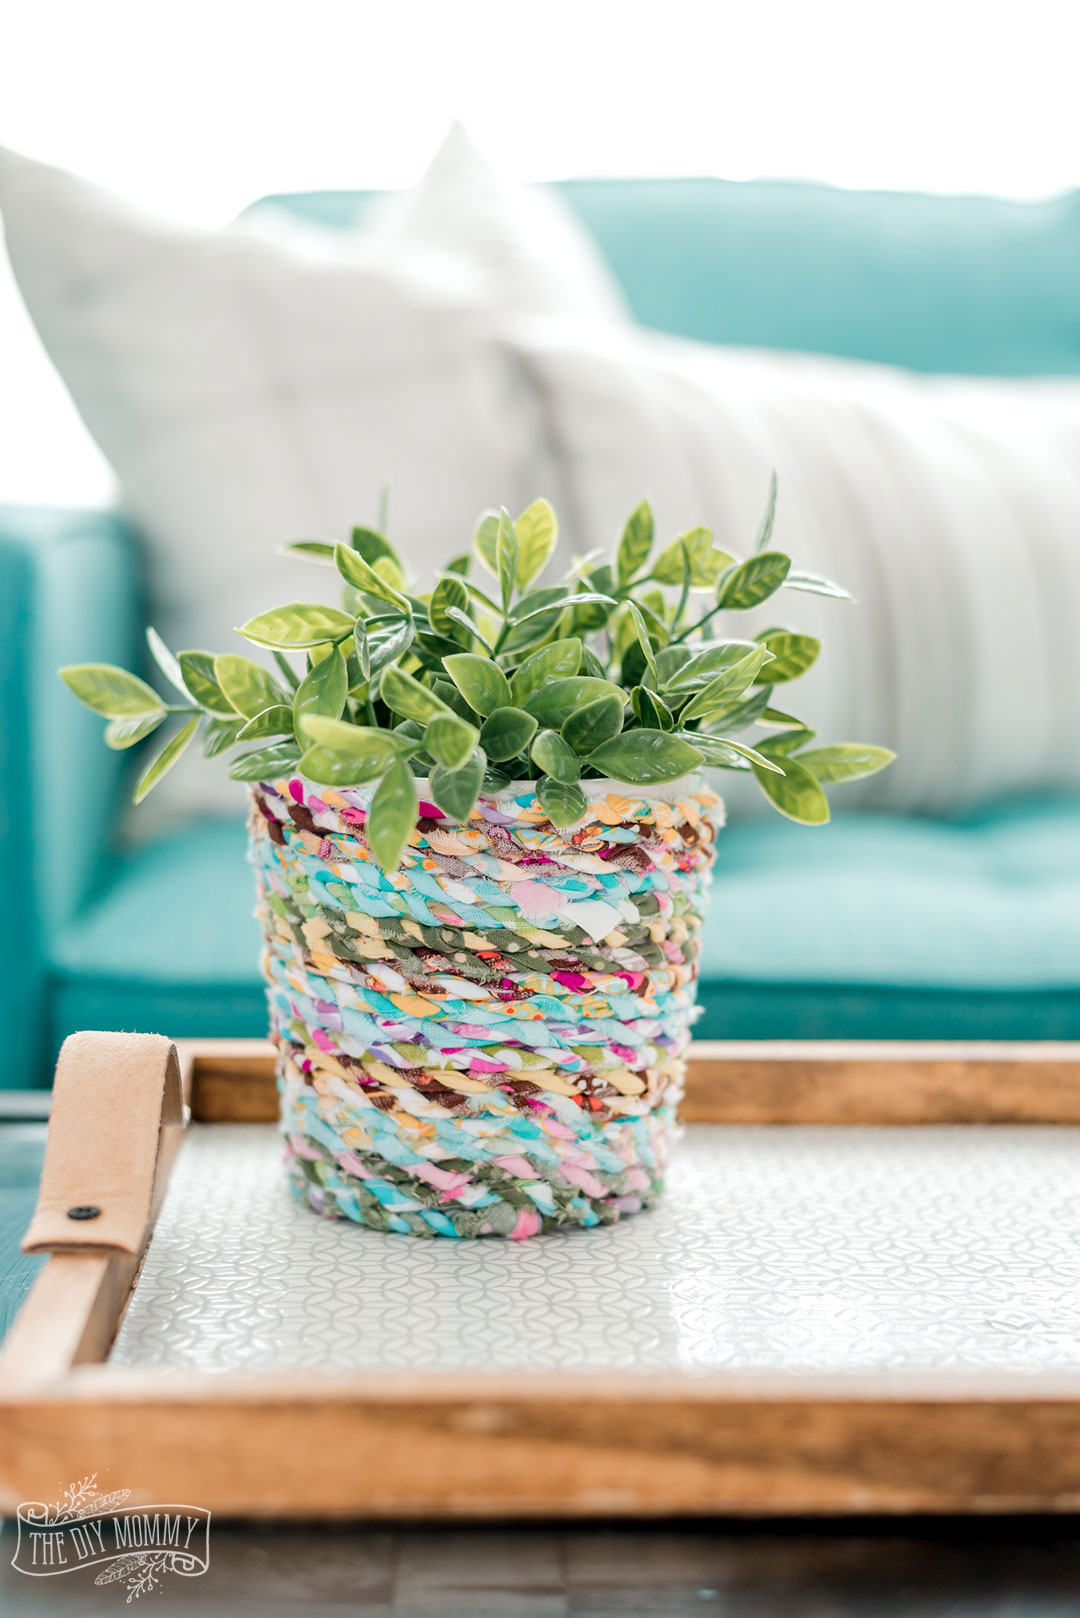
- Start with a plain flower pot, vase, or jar from your stash (best part: the shape of the pot doesn’t matter for this project!)
- Wrap some DIY fabric scrap around it in a spiral pattern, tacking it down with hot glue as you go
- Tuck in the beginning and end of the fabric twine
If your pot has a drainage hole, don’t forget to place a saucer at the bottom of the pot to catch water. You can decorate the saucer with colorful paint, if you want!
It’s so simple, but so cute and colorful for spring!

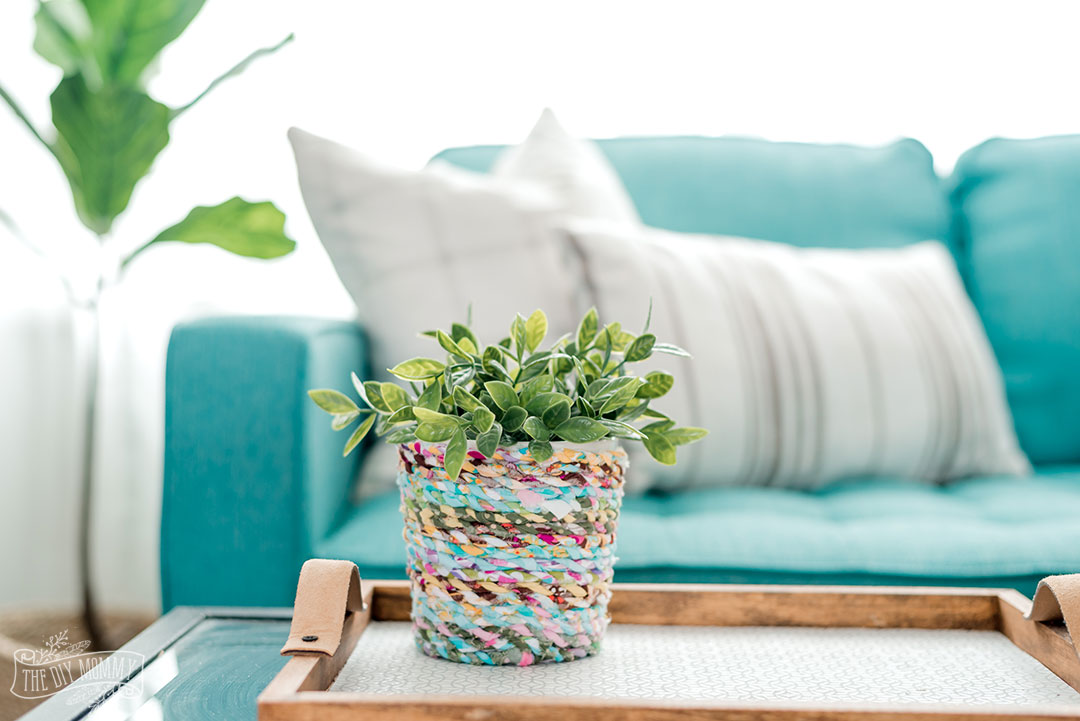
The last step is the easiest: find the perfect spot for your cute new pot. You have a few options:
- Give your outdoor space an infusion of color and let your pot bathe in the sunshine on your patio paired with some dirt and outdoor plants or herbs
- Pop your pot onto your dining table as a gorgeous centerpiece
- This craft would be a perfect gift paired with succulents or any other little houseplant
- Turn your pot into a hanging planter by pairing it with a macrame plant holder! These are easier to make than you might think, and I have a great tutorial for making your very own macrame hanging plant holder right here
I hope you enjoyed this cute little upcycling DIY. What else do you think you could add fabric twine to? Tag me @thediymommy or put your pictures in the comments, I would love to see what you come up with!
Happy DIYing!
Pin Me:
More of my Scrap Fabric Projects
Did you really enjoy making your flower pot shine with the fabric twine DIY? Maybe you’re excited about the possibility of using fabric scraps for other crafts. If so, read on! I’m sharing more of my ideas for how to use those tiny fabric scraps instead of wasting them.
Make a No Sew Ruffled Tea Towel From Scrap Fabric
Have some cute scraps of fabric in your crafting stash? These DIY no-sew ruffled tea towels are a great way to use them up and make something pretty for your kitchen! The genius of this project is that you can make this DIY work for any style or color combination depending on the scraps you have available. And, chances are that if you own the fabric scraps, you love the way they look.

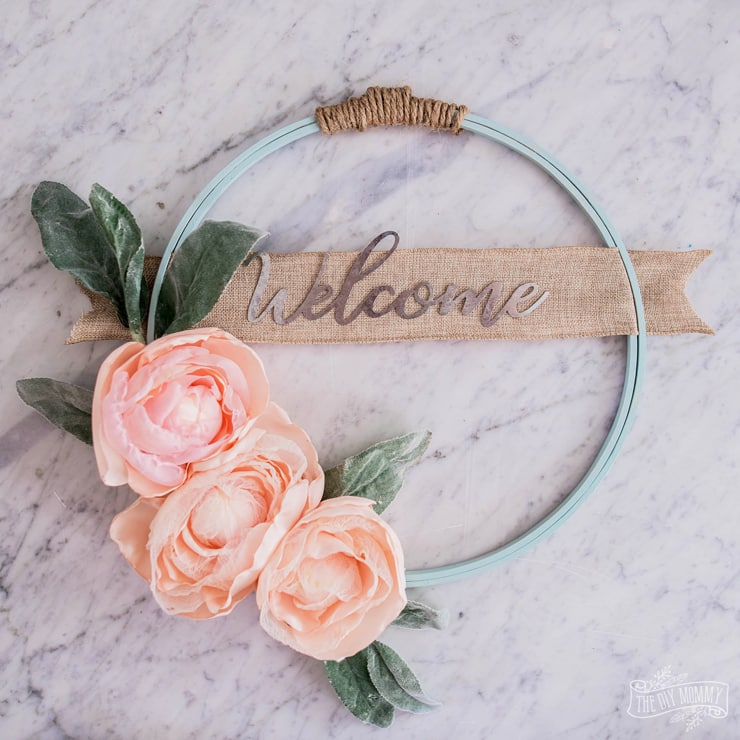
Hoop Wreath With DIY Scrap Fabric Flowers
Learn how to make a beautiful hoop wreath from an embroidery hoop, ribbon, faux greenery, and gorgeous peonies that you can make with scrap fabric! This is a beautiful wreath for Valentine’s Day or spring.
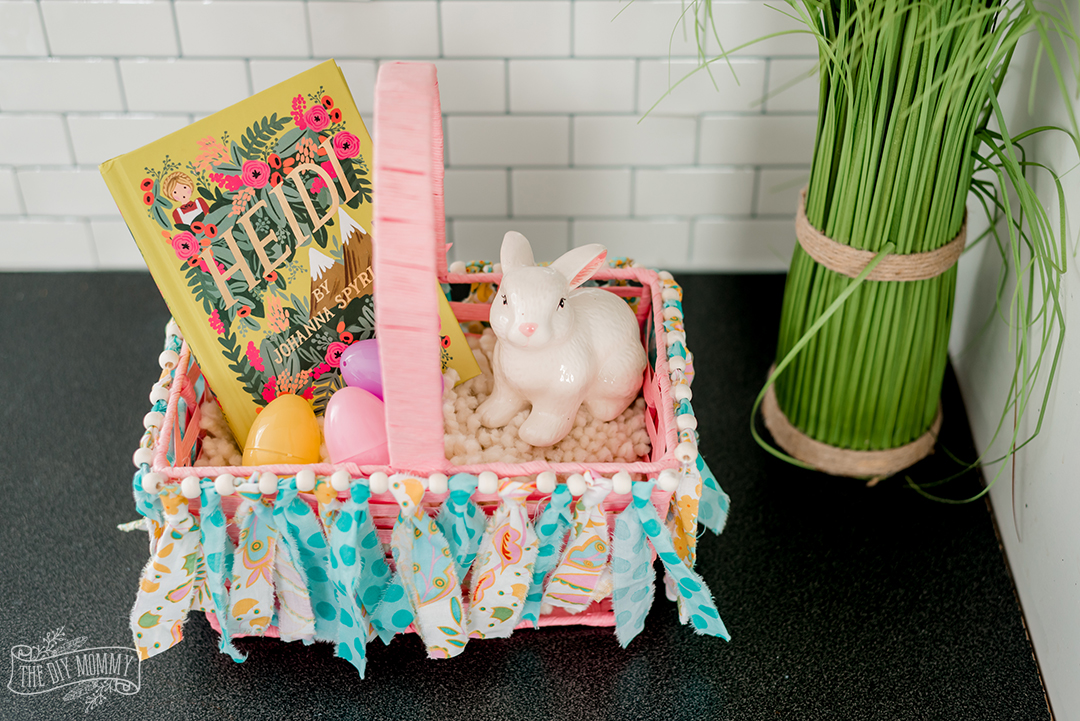
Make an Easter Basket Garland with Scrap Fabric
Use scrap fabric from your craft supplies stash to make a sweet, boho-inspired garland for an Easter basket or to use as wall decor.
More DIY Planters and Pots
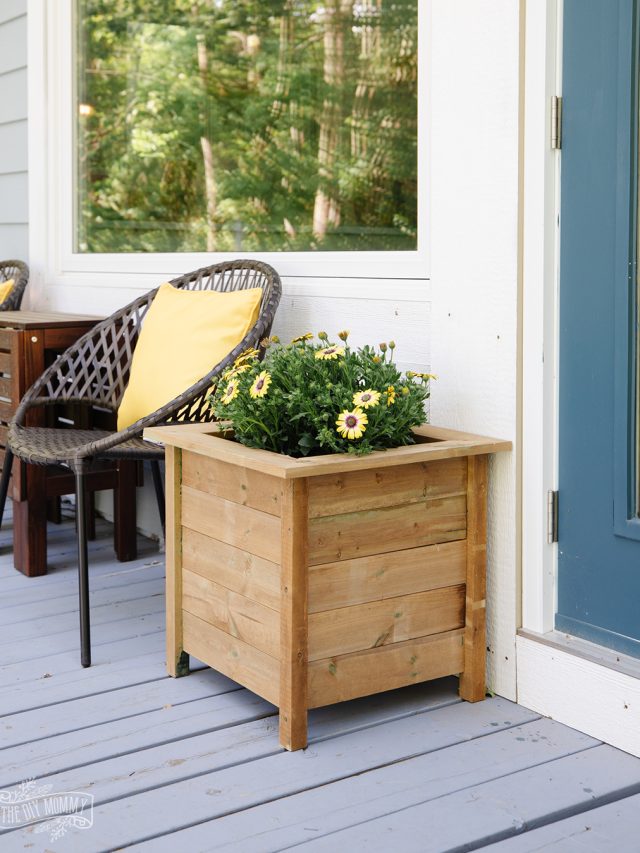
Quick and Easy Wood Planter Boxes
Looking for an easy weekend project? Build a beautiful DIY planter box with just a miter saw and a finishing nail gun – perfect for beginners! My free plan includes everything you need – materials, a cut list, and step-by-step instructions. Add some charm to your front porch by suppertime on Sunday!
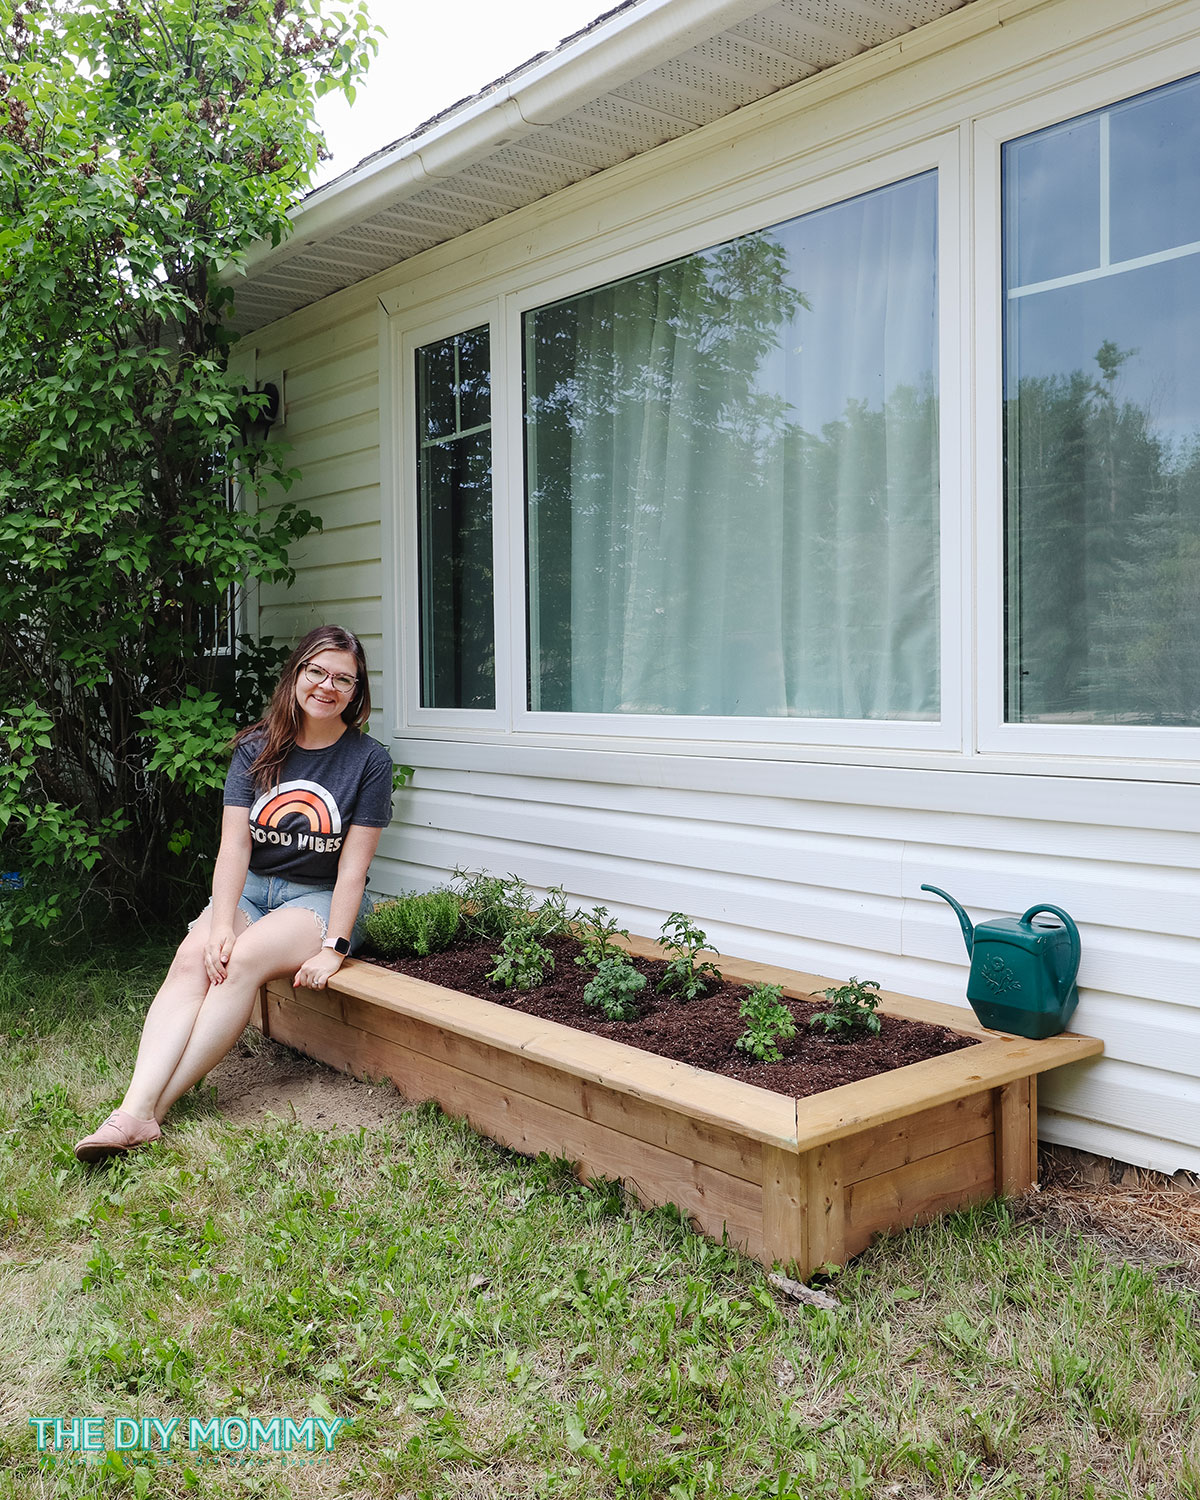
Budget-Friendly DIY Raised Garden Beds
Want to start a garden without breaking the bank? Learn how to build budget-friendly raised garden beds using just 3 tools! Follow my step-by-step guide to create a beautiful, affordable garden space that you’ll love for years.
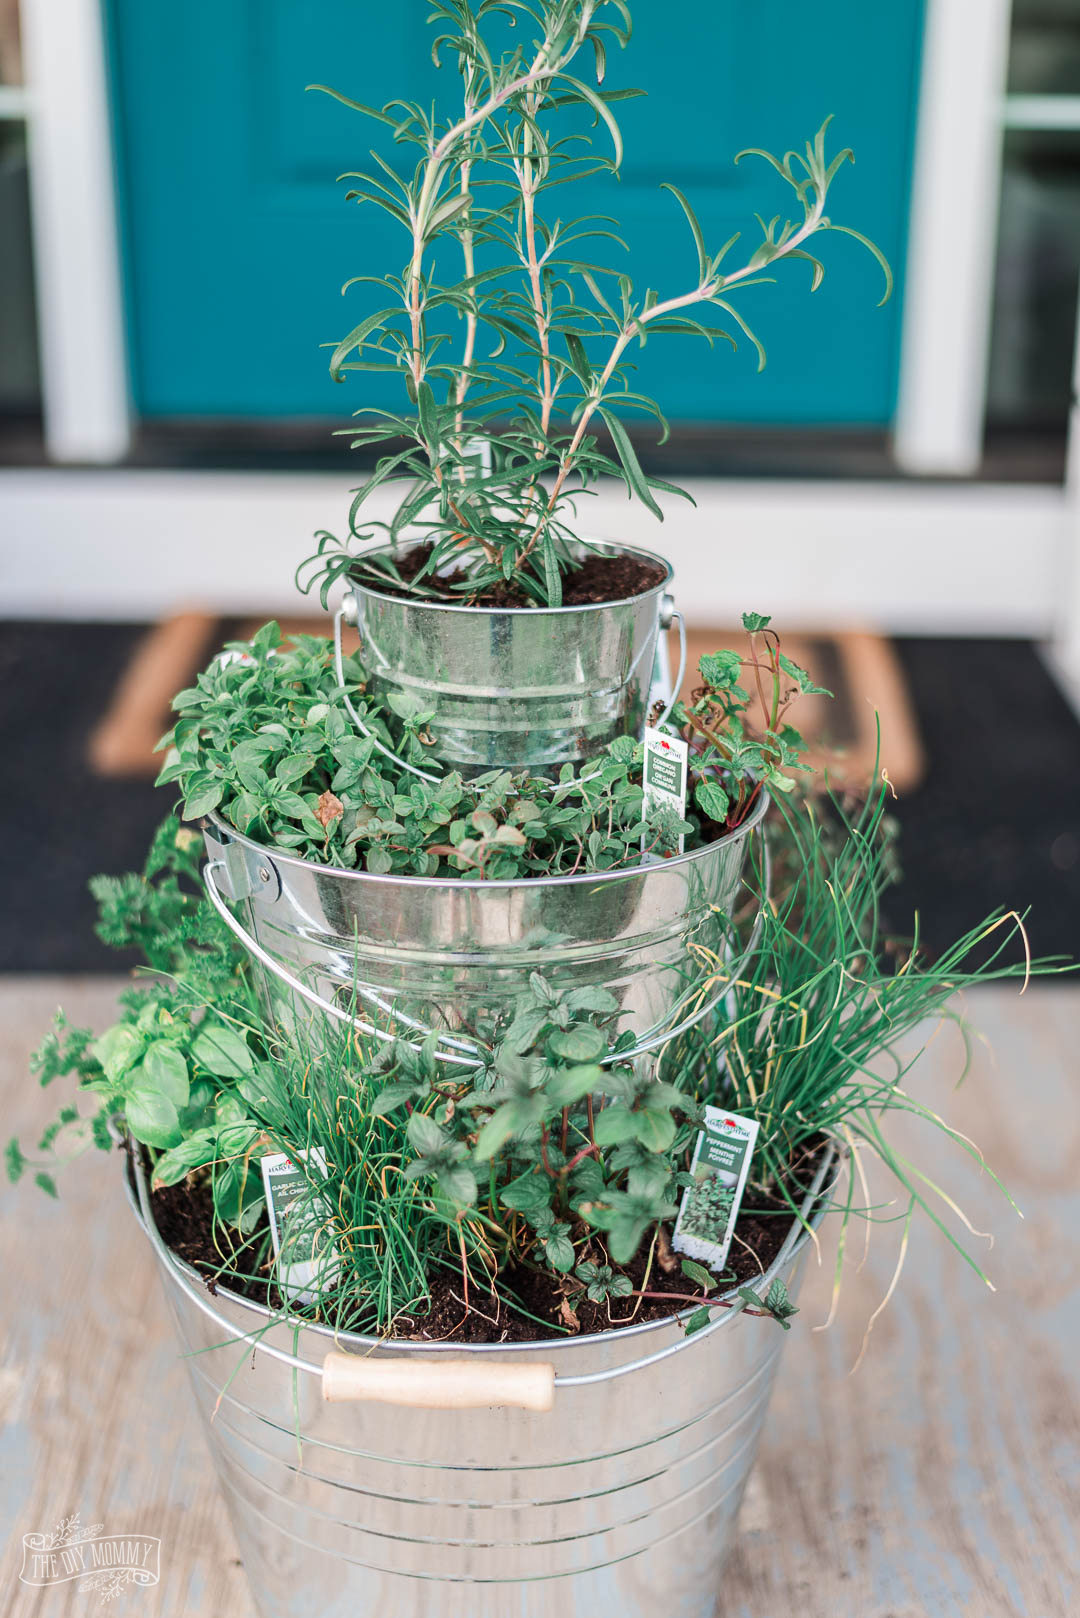
DIY Tiered Herb Planter
Let’s make a tiered herb planter with metal dollar store buckets! This easy DIY planter is super simple and practical. It’s an easy project that I absolutely love, and I’ve been refreshing it every year. The best part? It cost me less than $15 to make!


This planter is so fun and happy! It’s got my wheels going for my teen daughter’s room! Thanks for the video showing how to make the rope, too, less intimidating!
I love your colorful flower pot! I am happy to feature you at this week’s All About Home Link Party. Thanks for sharing with us!
https://followtheyellowbrickhome.com/all-about-home-link-party-38/
I love this DIY, Christina… and so nice to be able to customize it for your home or a gift! Saw your feature via Thusday Fave Things! We’d love to have you link-up at Tuesday Turn About! Hope to see you there!