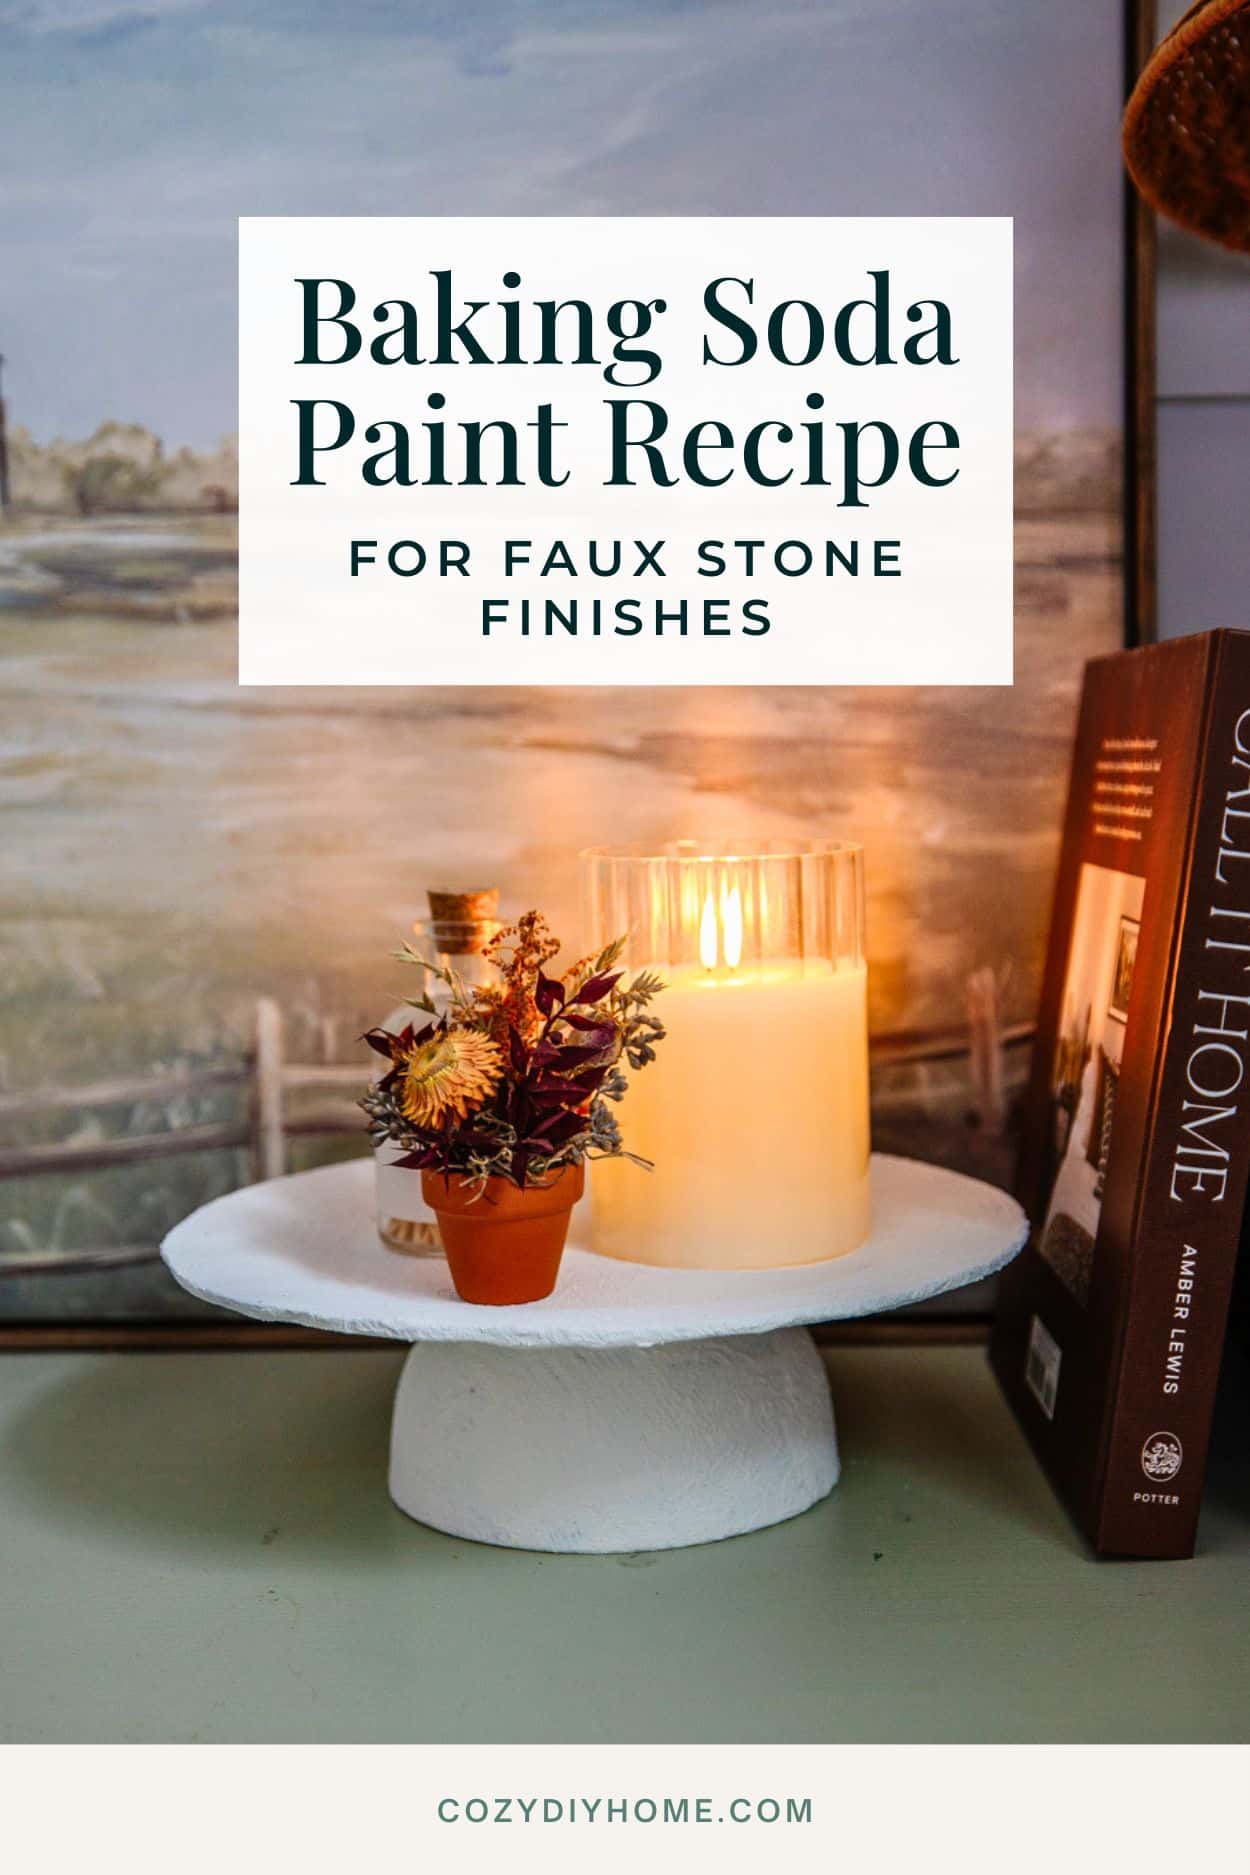
Baking Soda Paint Recipe for Faux Stone Finishes (Easy DIY That Looks Like Pottery)
This post may contain affiliate links · This blog generates income via ads

Have you ever admired those beautiful stone-look vases and textured pottery pieces in home decor stores, only to be surprised by the price tag? The good news is you don’t have to spend a fortune to get the look you love! With a simple baking soda paint recipe, you can transform ordinary glass, ceramic, plastic, or thrift store finds into beautiful faux stone decor in just a few easy steps. This budget-friendly DIY is beginner-friendly, requires only a handful of supplies, and creates a high-end finish that’s perfect for modern, farmhouse, coastal, or cottage-style homes.
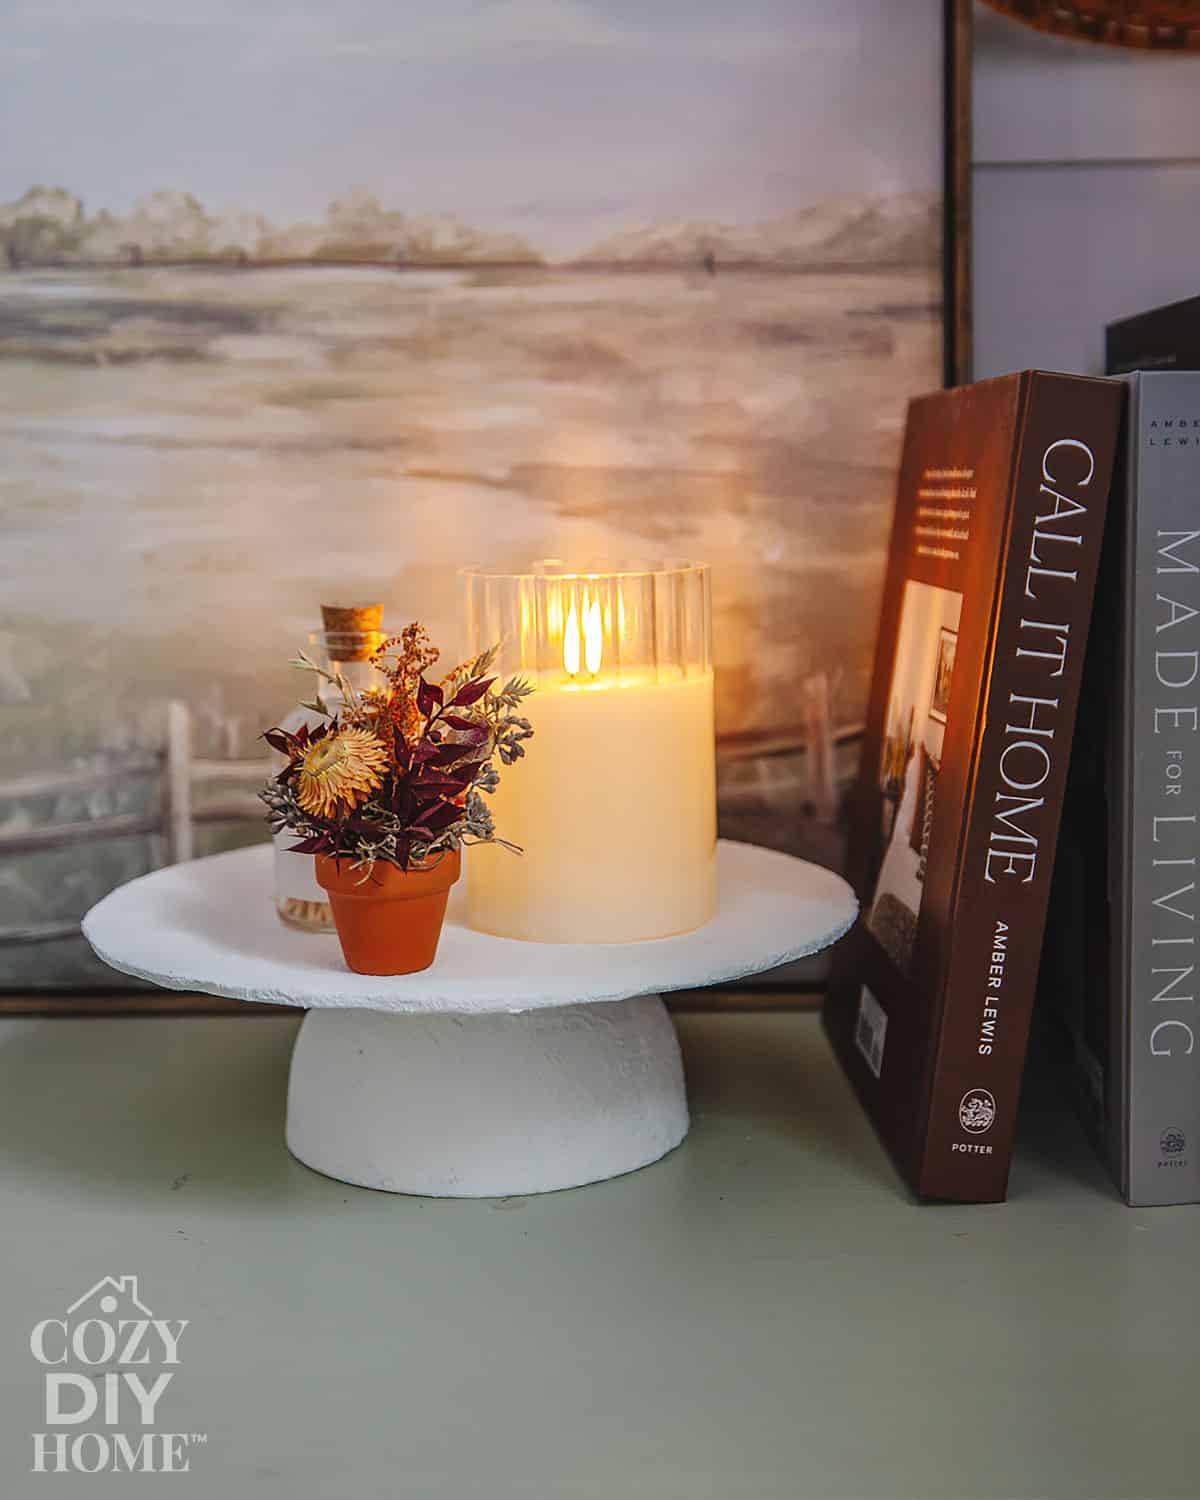
In this tutorial, I’ll show you exactly how to make baking soda paint for faux stone finishes, how to apply it, and how to get the best results every time!
Quick Overview
Time: About 30–45 minutes (plus drying time)
Cost: Under $10
Skill Level: Beginner
Tools Required:
- Small paintbrush
- Foam brush (optional)
- Mixing container
- Stir stick or craft stick
- Fine sanding block (optional)
Materials List
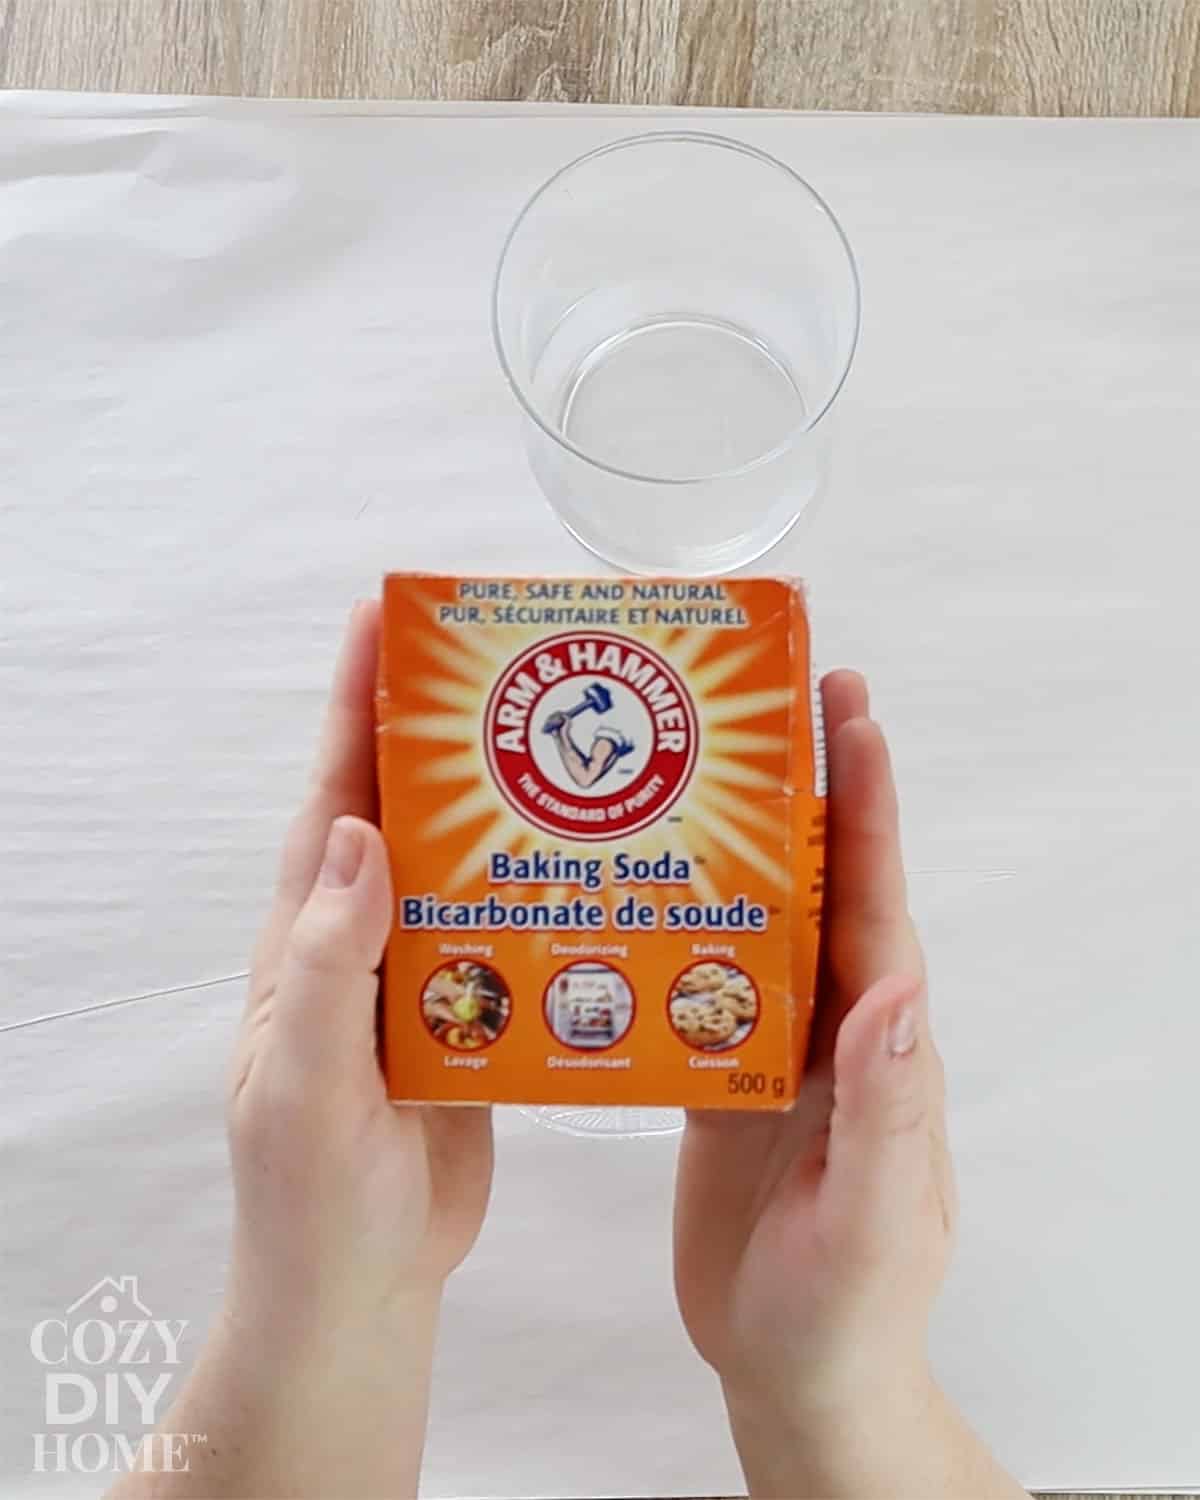
Materials used in this project:
- Latex or acrylic paint in your favorite colour
- Baking soda
- Small bowl or disposable cup
- Paintbrush
- Matte clear sealer (optional for extra durability)
You can find these supplies at Dollar Tree, Walmart, craft stores, hardware stores, Amazon, or even in your own kitchen.
Why This Baking Soda Paint Recipe Works
The secret is simple! Baking soda adds texture to regular paint, creating a finish that closely resembles natural stone or handcrafted pottery.
Unlike many specialty textured paints, this DIY version is inexpensive, easy to customize, and works on many different surfaces. The added texture also helps hide imperfections on older thrifted pieces, making them look brand new!
Baking Soda Paint Recipe
For the best consistency, use:
- 1/2 cup latex or acrylic paint
- 1/4 cup baking soda
Mix thoroughly until smooth. The mixture should resemble thick pancake batter. If it’s too thick, add a small amount of paint. If it’s too thin, sprinkle in a little more baking soda until you reach the desired texture.
For an even rougher stone finish, you can increase the baking soda slightly, but avoid adding too much or the paint may become difficult to spread.
Step-by-Step Tutorial
Step 1: Clean the Surface
Start by wiping your vase, planter, or decor piece with warm water and mild soap. Remove dust, grease, and fingerprints.
Why this matters: Paint sticks much better to a clean surface, helping your finish last longer.
Tip: Allow the piece to dry completely before painting!
Step 2: Mix the Paint
Combine the paint and baking soda until the mixture is smooth with no clumps.
Why this matters: Even mixing creates consistent texture across the entire project.
Tip: Stir again every few minutes while painting because the baking soda naturally settles.
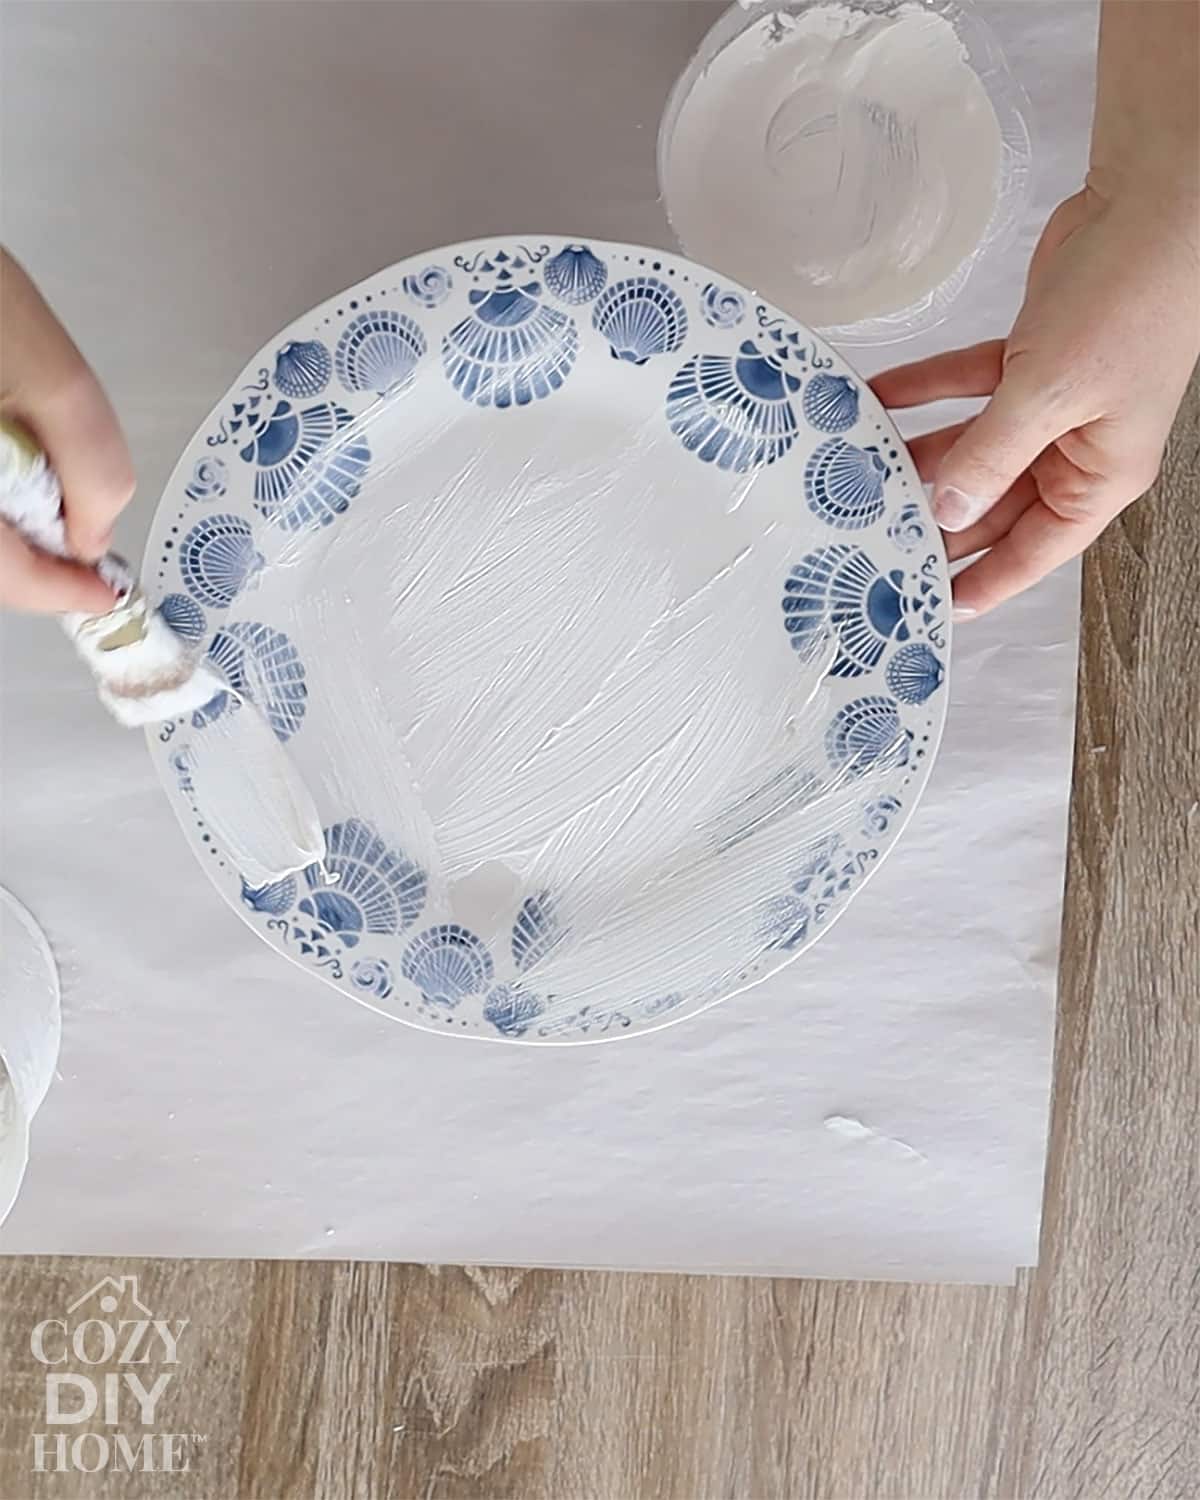
Step 3: Apply the First Coat
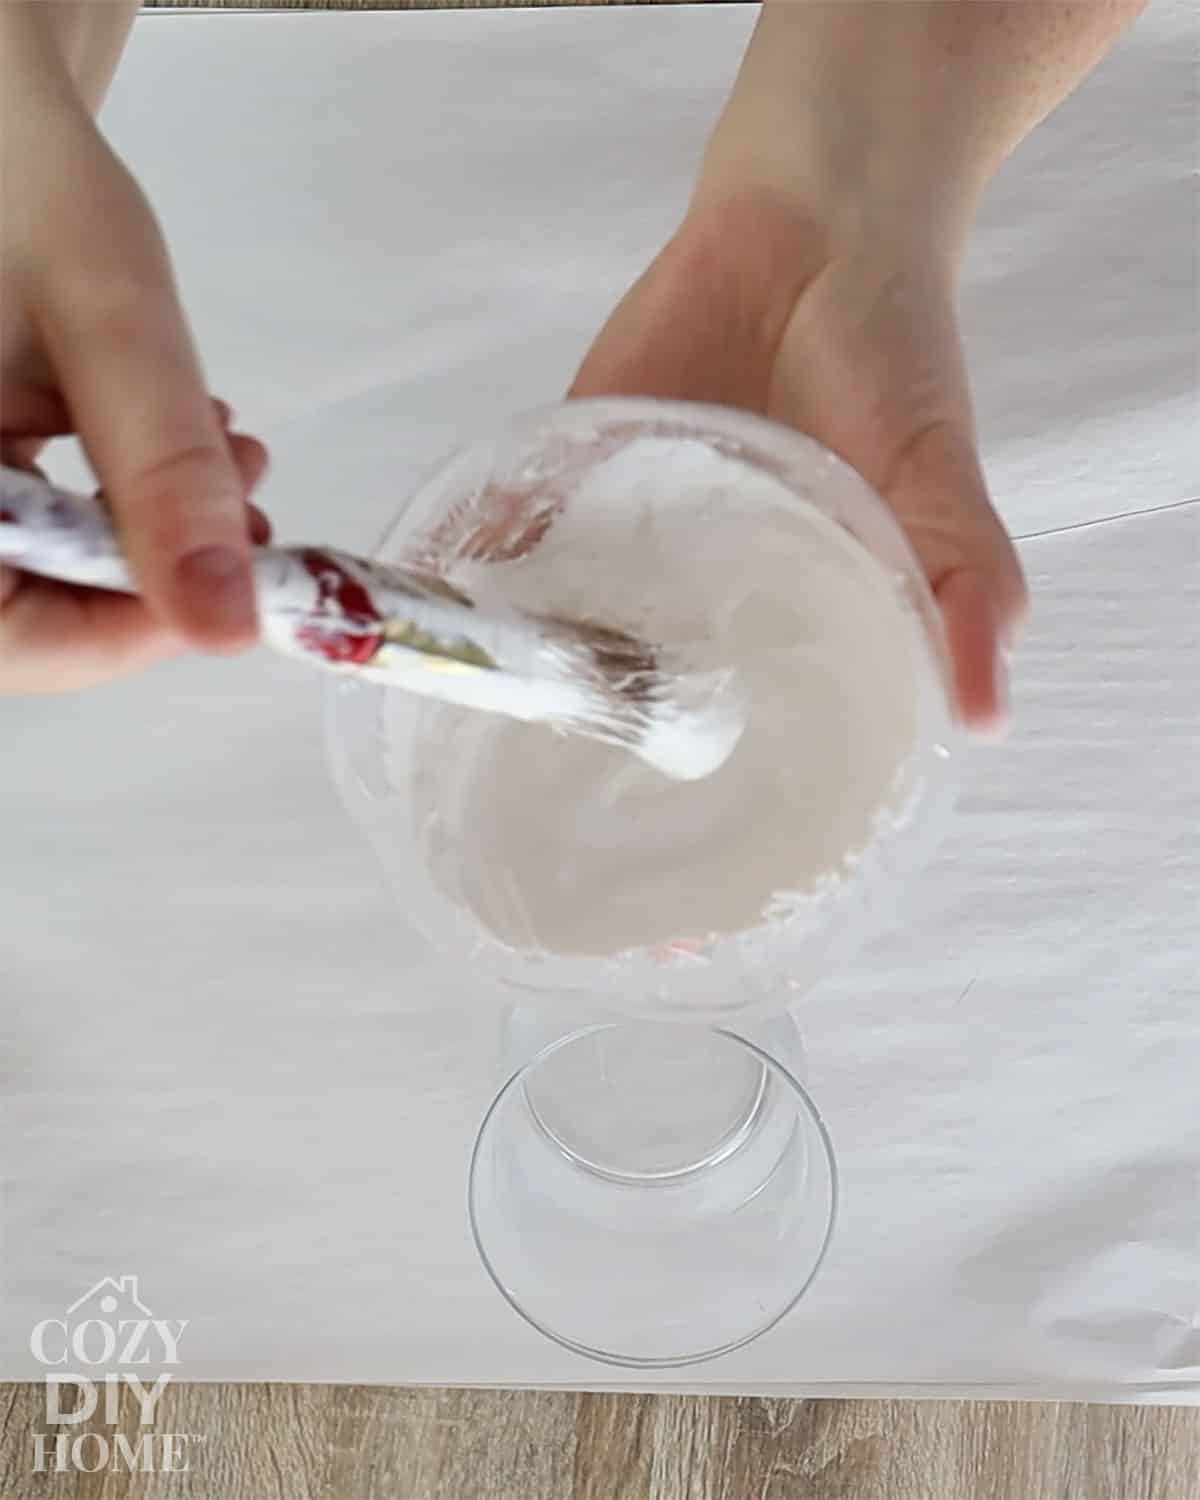
Use a brush to apply a thin, even coat.
Don’t worry if it looks slightly uneven. The texture is part of the charm!
Why this matters: Thin coats dry more evenly and help prevent cracking.
In this example, I’m painting a pedestal tray I made from a Dollar Tree plate and bowl. You can see the pattern of the dishware still shows through the first layer of paint.
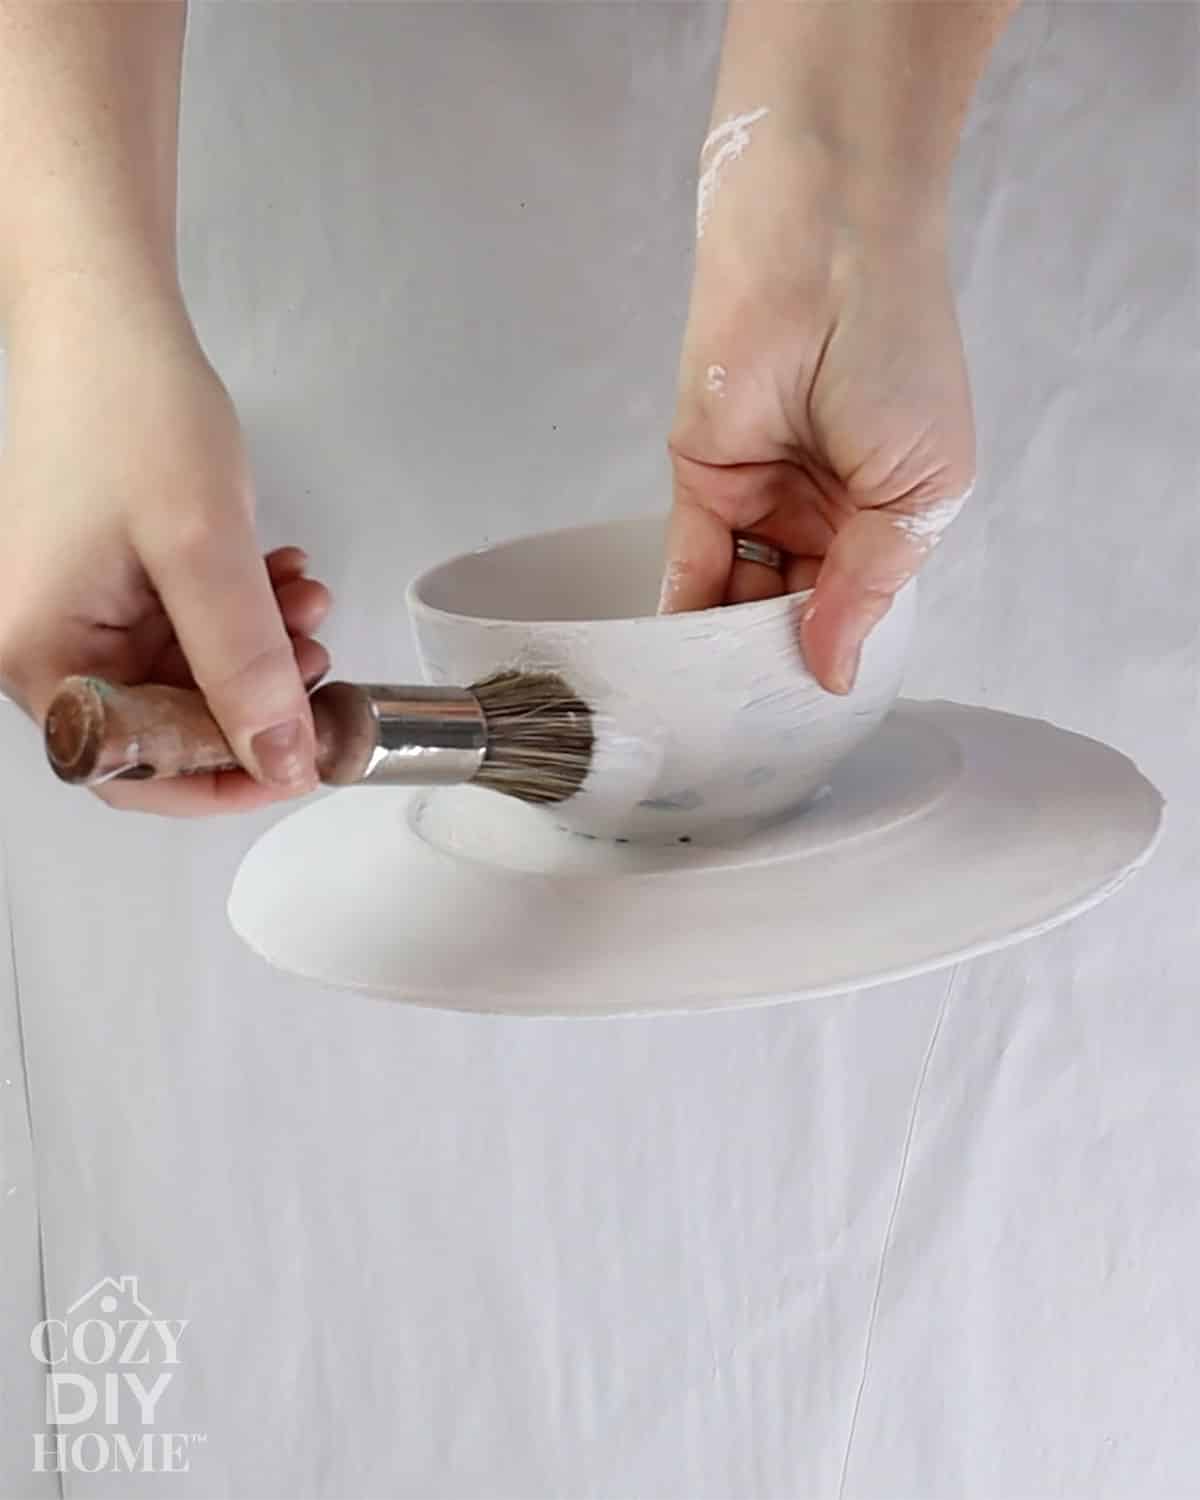
Step 4: Add a Second Coat
Allow the first coat to dry for about 30 to 60 minutes before adding another coat or two if needed.
Most projects look best with two to three coats. My Dollar Tree DIY tray looked best with 3 coats of paint to cover up the original dishware pattern entirely.
Why this matters: Additional layers build texture and improve coverage.
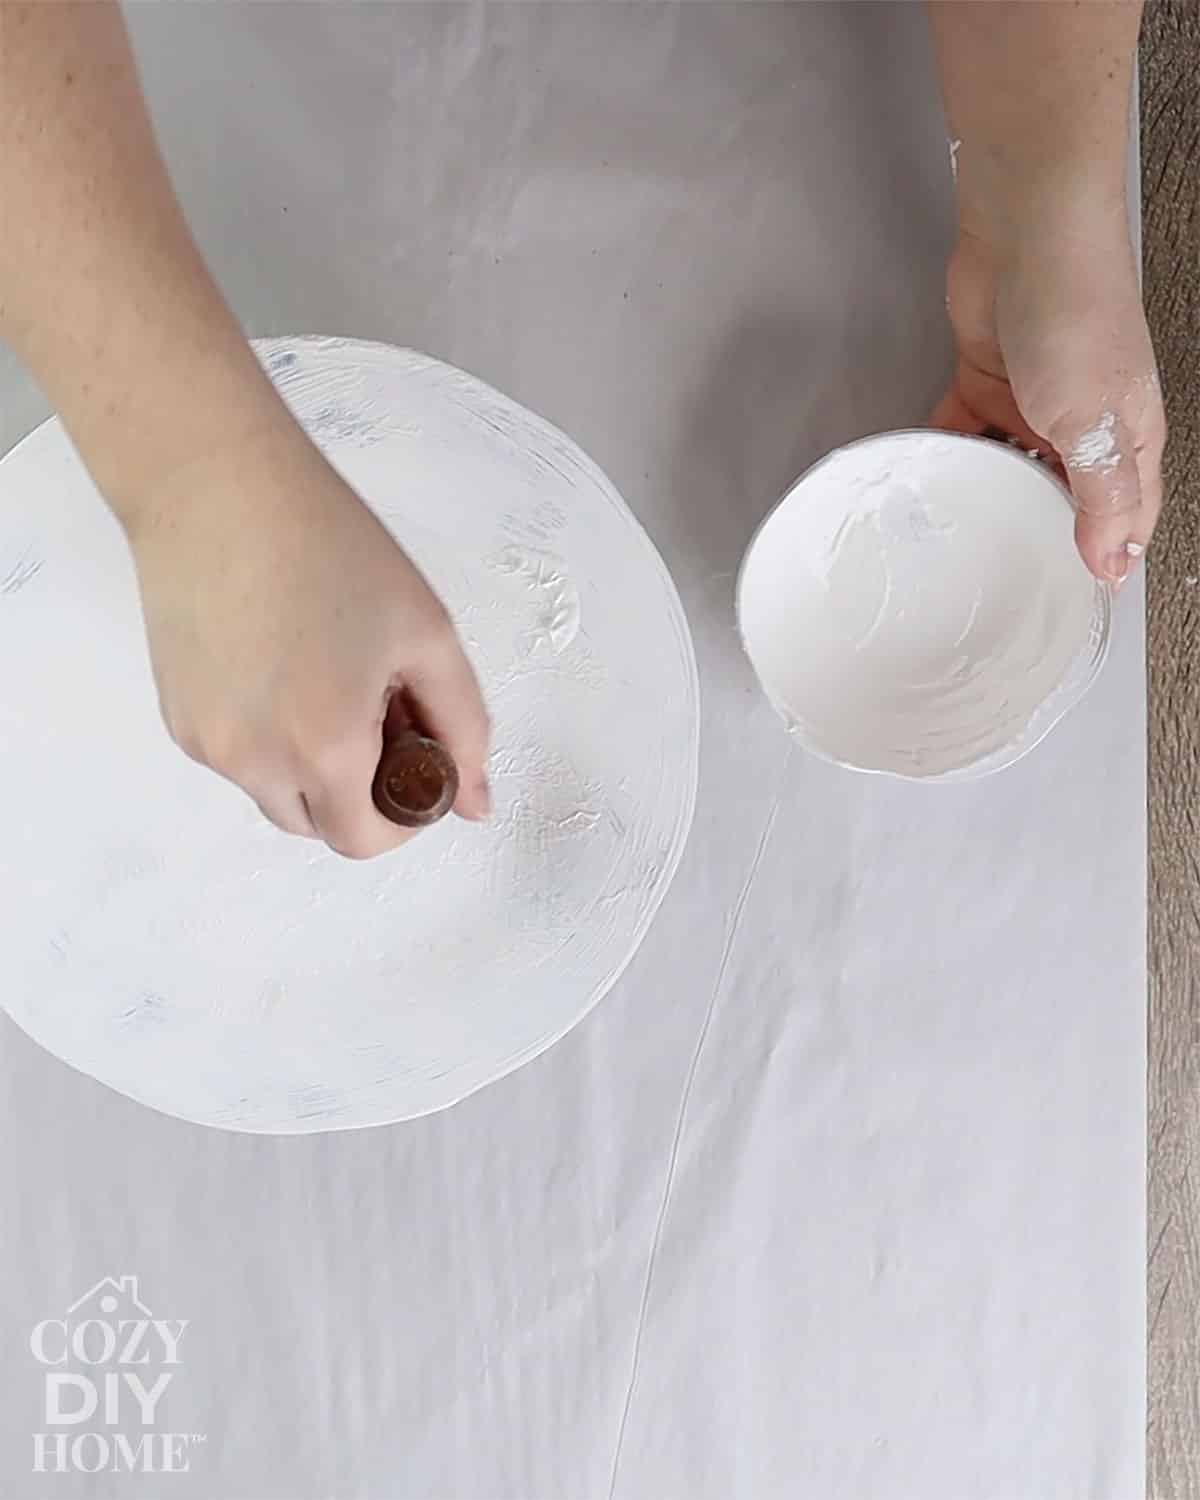
Step 5: Create a Natural Stone Look
While the paint is still slightly wet, gently dab with a dry brush or sponge to create subtle variations in texture.
For a weathered pottery appearance, lightly sand a few raised areas after the paint has dried.
Why this matters: Natural stone isn’t perfectly smooth, so small variations make the finish look more realistic.
Step 6: Seal Your Project (Optional)
If the piece will be handled frequently or displayed outdoors in a covered area, apply a matte clear sealer after the paint has fully cured.
Why this matters: A sealer protects the textured finish from moisture and everyday wear.
Tips for the Best Results
- Choose flat or matte paint for the most realistic pottery look.
- Lighter colors like ivory, beige, taupe, soft gray, and white mimic natural stone beautifully.
- Avoid applying very thick coats because they can crack as they dry.
- Test your recipe on a small surface before painting your entire project.
- Stir the mixture often during use to keep the texture even.
- Thrift store vases are perfect practice pieces and cost very little.
Styling Ideas for Your Faux Stone Decor
One of the best things about this project is how versatile it is. Once your piece is finished, try styling it in different areas of your home.
Some favourite ideas include:
- Display a large faux stone vase on your entryway table with faux olive branches.
- Style several textured vases together on open shelving.
- Create a beautiful coffee table centerpiece with candles and stacked books.
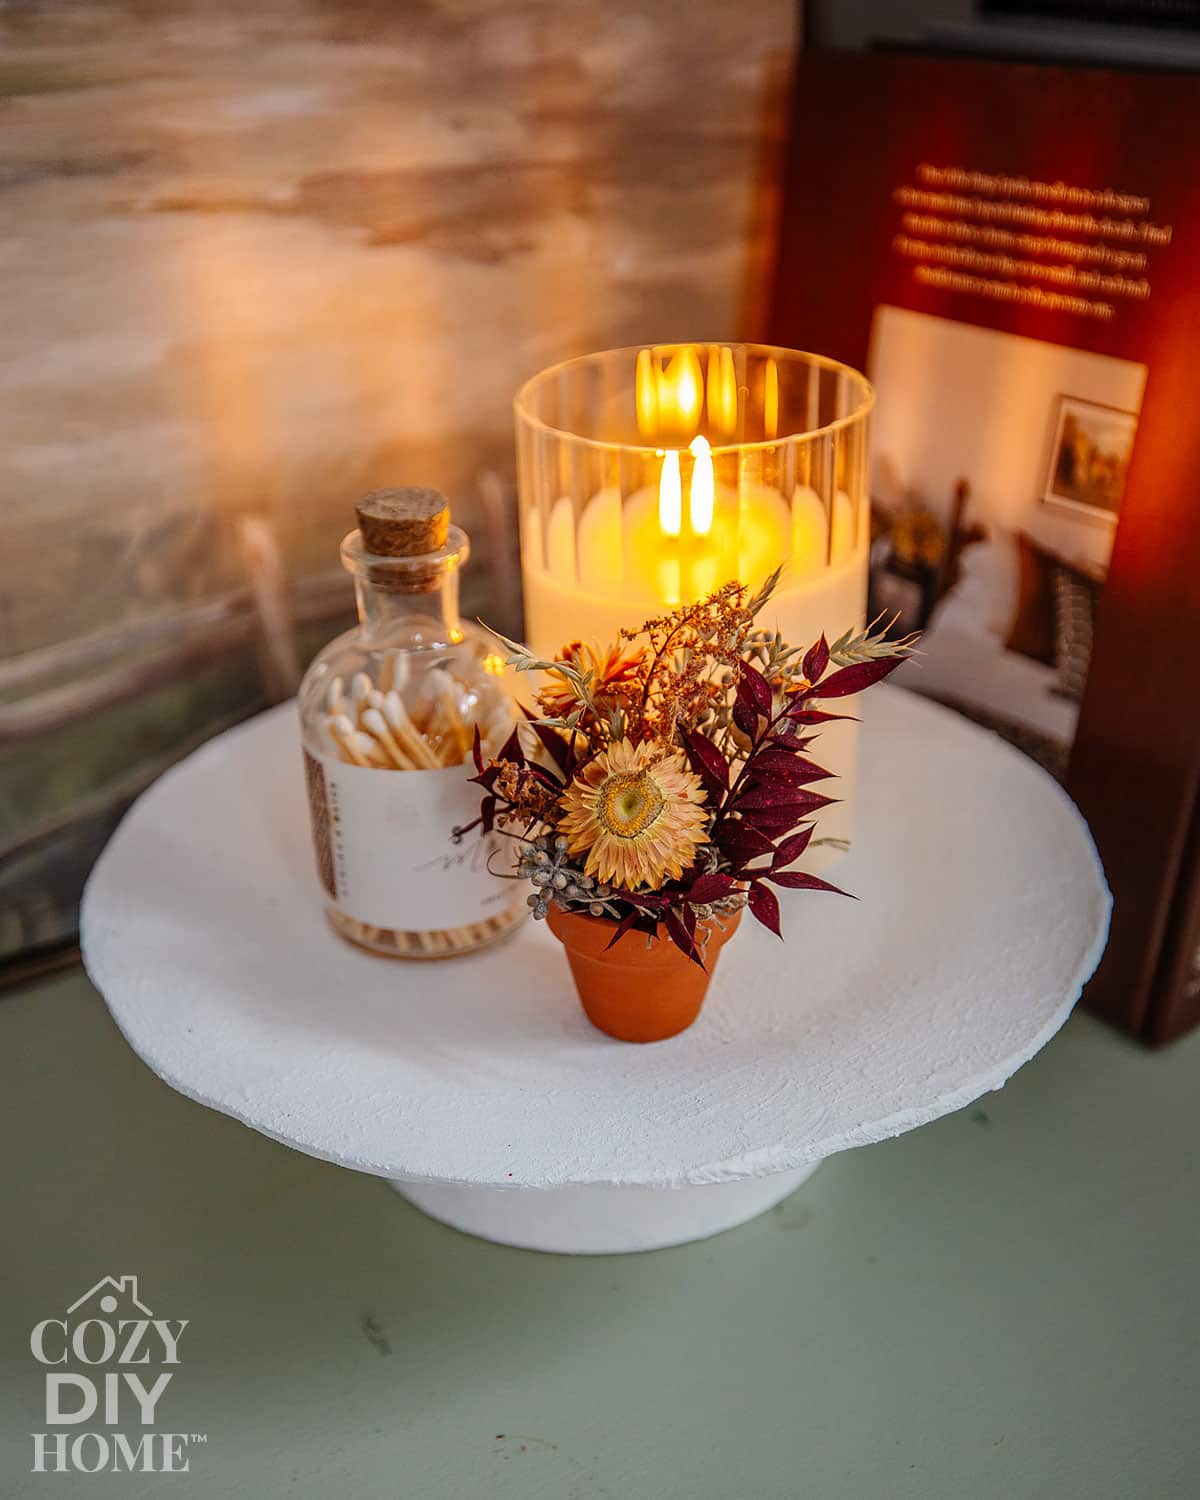
- Create a stone-look pedestal tray and add a candle, matches & flowers on top.
These simple touches make budget-friendly decor look much more expensive.
Frequently Asked Questions
Can I use any type of paint?
Latex and acrylic paints both work well. Matte finishes usually create the most realistic stone appearance.
Does baking soda paint crack?
Not if you apply thin coats. Very thick applications are more likely to develop cracks while drying.
Can I paint plastic with this recipe?
Yes. Plastic, glass, ceramic, metal, wood, and terracotta all work well when cleaned properly first.
Do I need to seal the paint?
For decorative indoor items, sealing is optional. For frequently handled pieces or outdoor decor, a matte sealer adds extra protection.
How long does the paint last?
When applied correctly, faux stone finishes can last for years on indoor decorative items.
Related DIY Projects
If you enjoyed this project, you might also like:
- How to Make a Faux Stone Vase (Dollar Tree DIY)
- DIY Cozy Home Decor Projects Using Upcycled Materials
- Budget-Friendly DIYs: 20 Dollar Tree Crafts for Every Season!
- Thrifted Spoon Rack Turned Chic Entryway Organizer: A DIY Transformation
Creating beautiful faux stone finishes doesn’t require expensive specialty paints or professional skills. This simple baking soda paint recipe is affordable, beginner-friendly, and produces stunning results that look like designer pottery! I use it constantly for my own DIY projects.
Whether you’re updating a thrift store vase, refreshing old planters, or creating custom home decor, this easy DIY is a fun weekend project that delivers a high-end look for just a few dollars.
Give it a try, and let me know how your project turns out! Comment below, or tag me on social: @cozydiyhome Happy DIYing!
Pin Me: