How to Make a Paper Star Ornament from Book Pages
This post may contain affiliate links · This blog generates income via ads
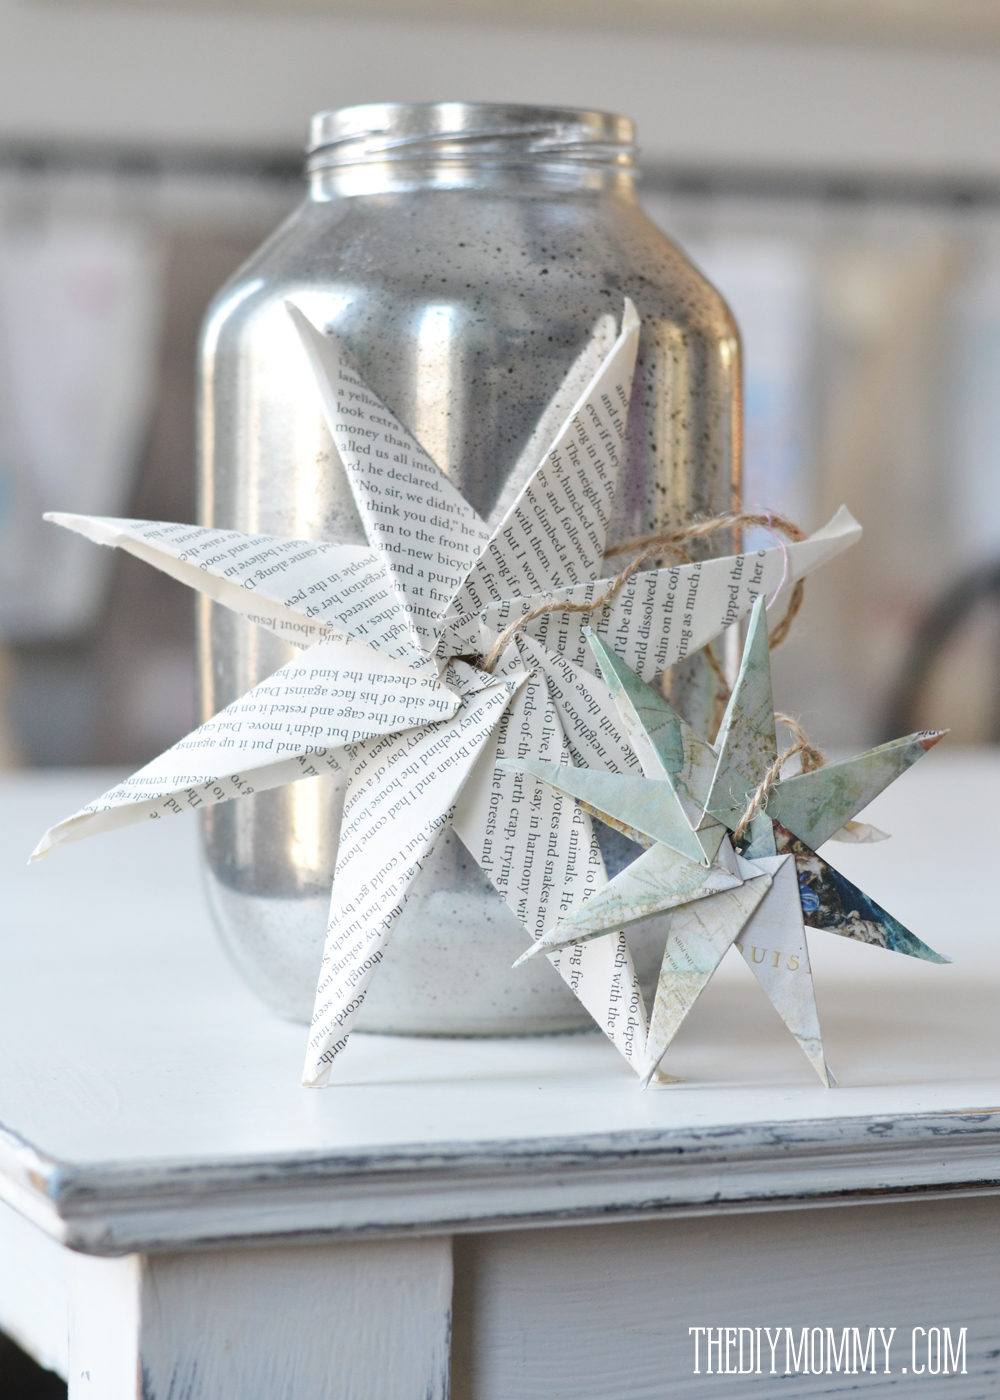
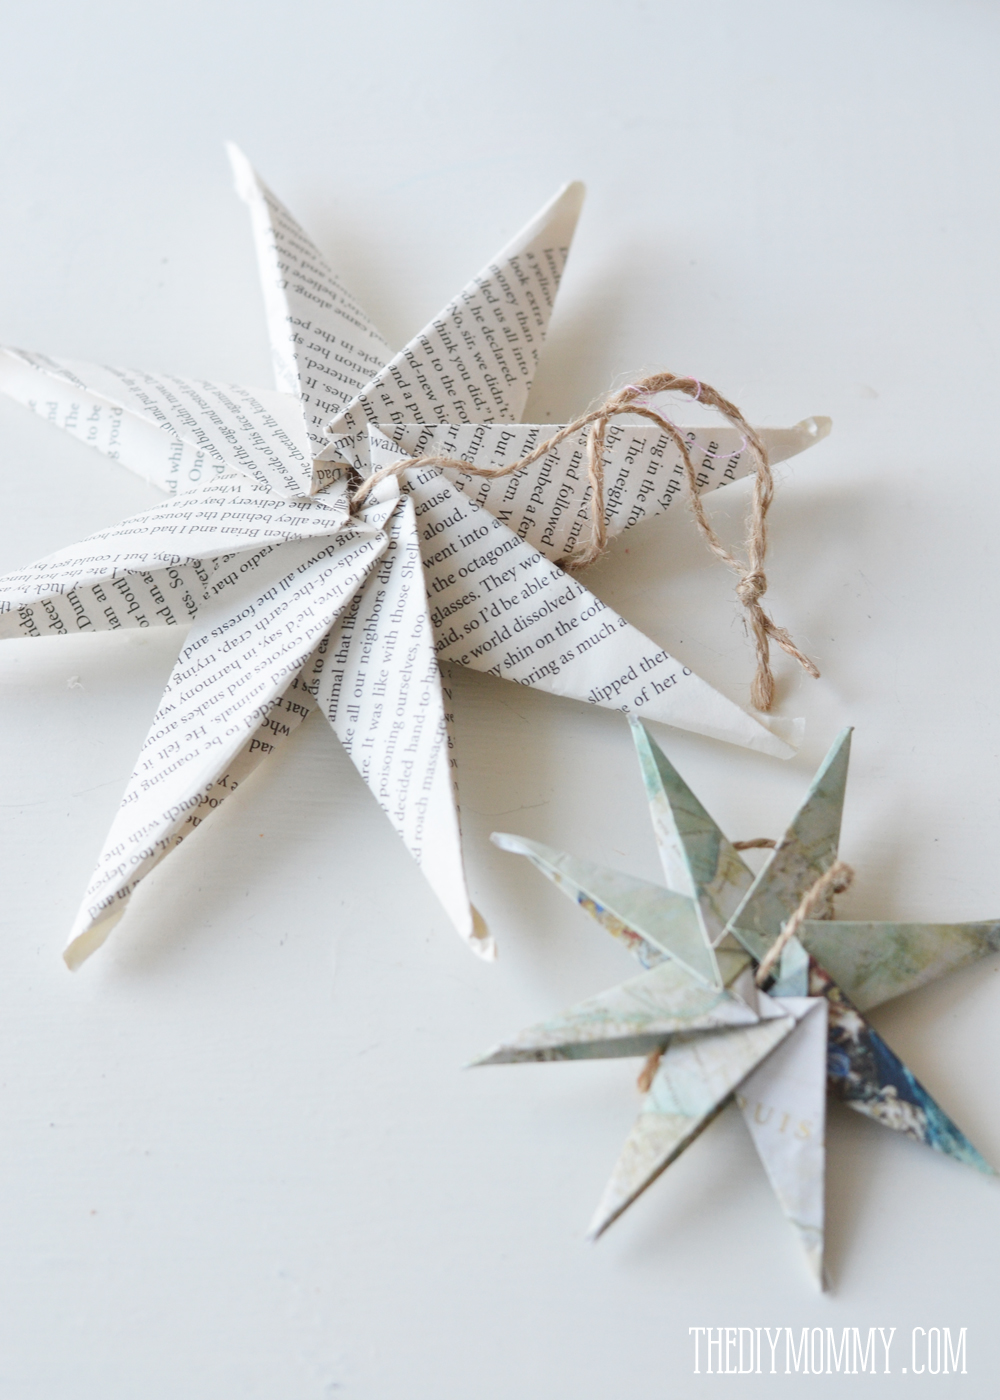
There’s something so special about handmade Christmas ornaments. Not only are they fun to make, but you can save a lot of money by DIY-ing your own decorations. Today I’m sharing some beautiful little 8-pointed paper stars made out of book pages or vintage maps. These are especially budget-friendly, since they’re made with old books from the thrift store! And, they are just so darn pretty. Let me show you exactly how to create your own set.
It’s been a while since I’ve done paper crafts, never mind origami. I used to LOVE origami when I was a child, and these paper ornaments definitely brought me back. These star ornaments are a really fun DIY project, and I found them surprisingly relaxing to make.
I used these directions for this origami modular roulette to make my origami paper stars. To make the large star, I tore out some pages from an old book and cut them down into a square. For the smaller star, I printed off a vintage map and cut that down into squares, too.

This blog post was originally published in November 2014 and has since been updated.
Watch my video tutorial to learn how to make a paper star from book pages
How to make a paper star
You will need:
- 8 book pages or 8 small vintage maps (or both!)
- Pair of scissors
- Ruler (to create a straight edge, optional)
- Twine (optional)
Instructions:
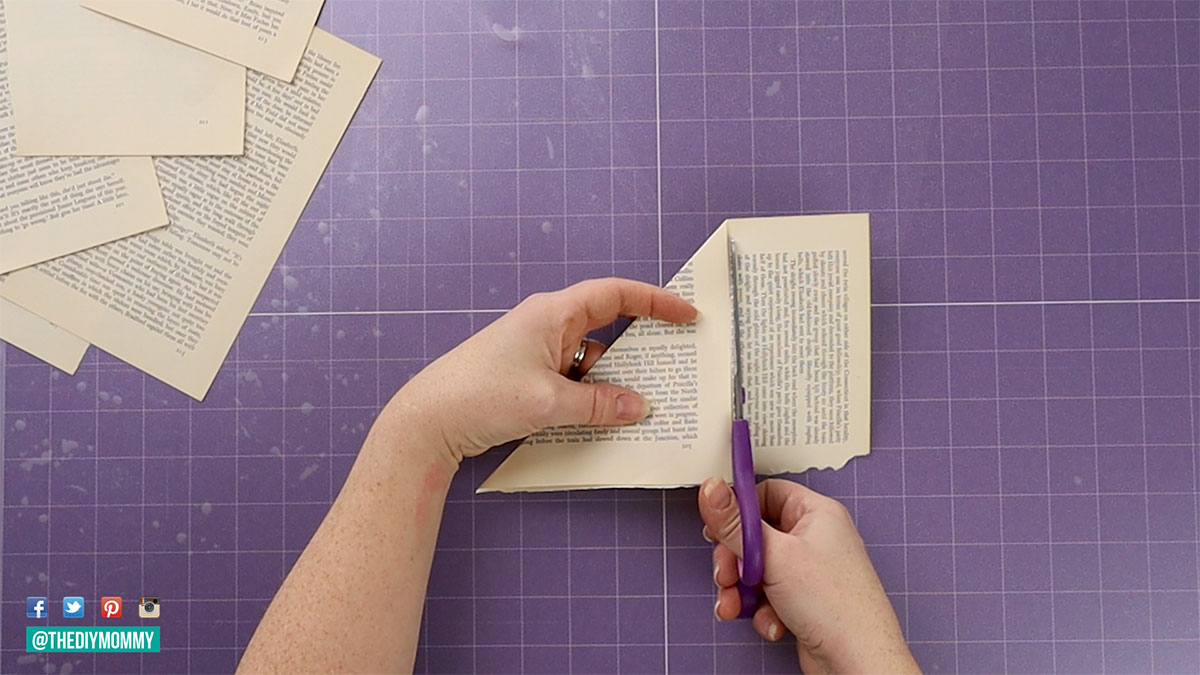
Start with a square piece of paper. (Mine were 5″ x 5″ for the large book-page stars and 3″ x 3″ for the smaller map stars.)
Fold the paper in half on the vertical diagonal axis. Crease and unfold.
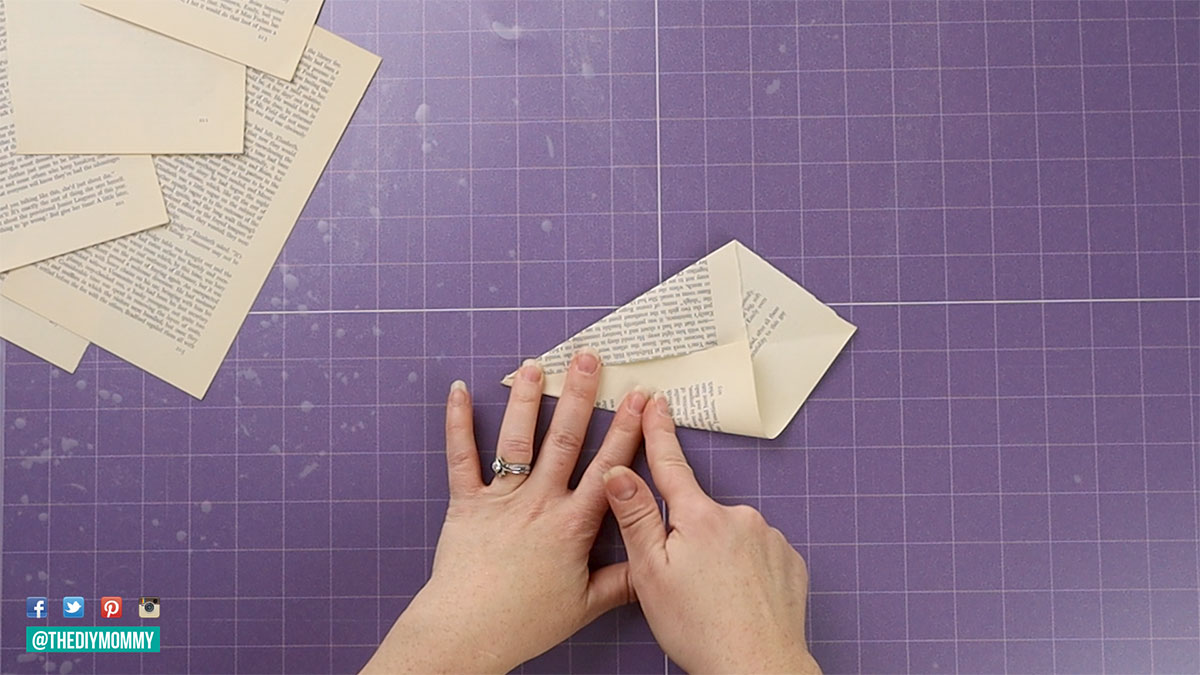
From the top, fold both sides to the center crease and crease those folds.
From the bottom, fold both sides to the center crease and crease those folds.
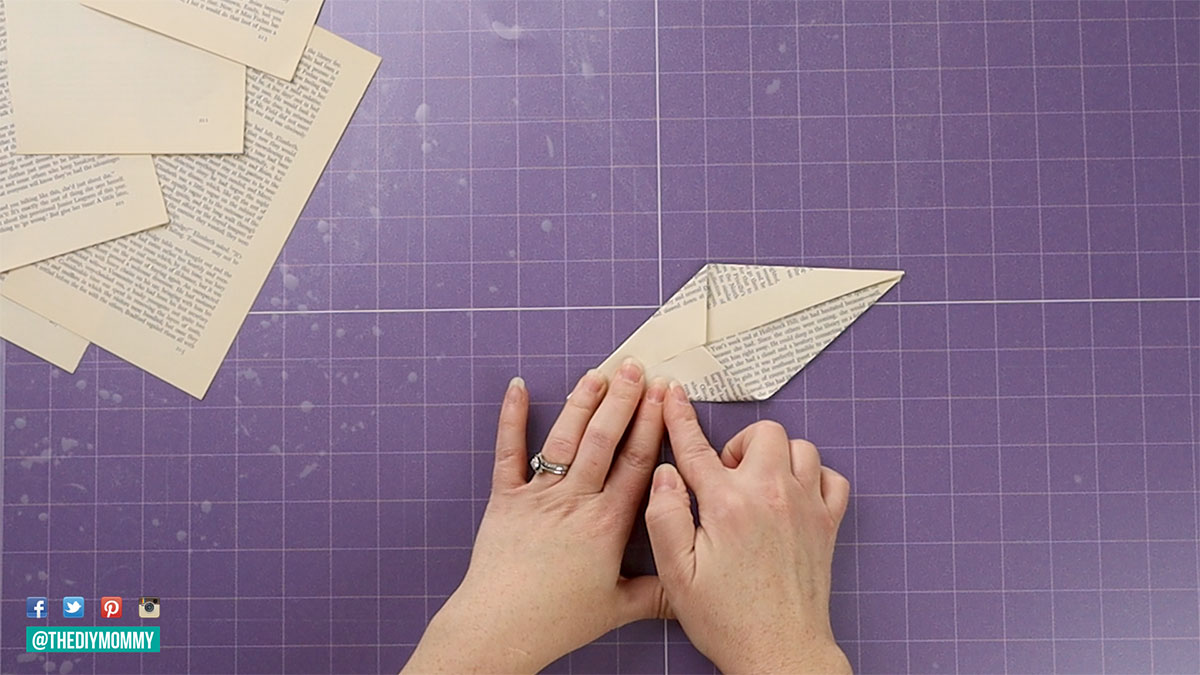
Now, fold the top point down from the left side at a diagonal. Use the fold below as a guide. Crease and unfold.
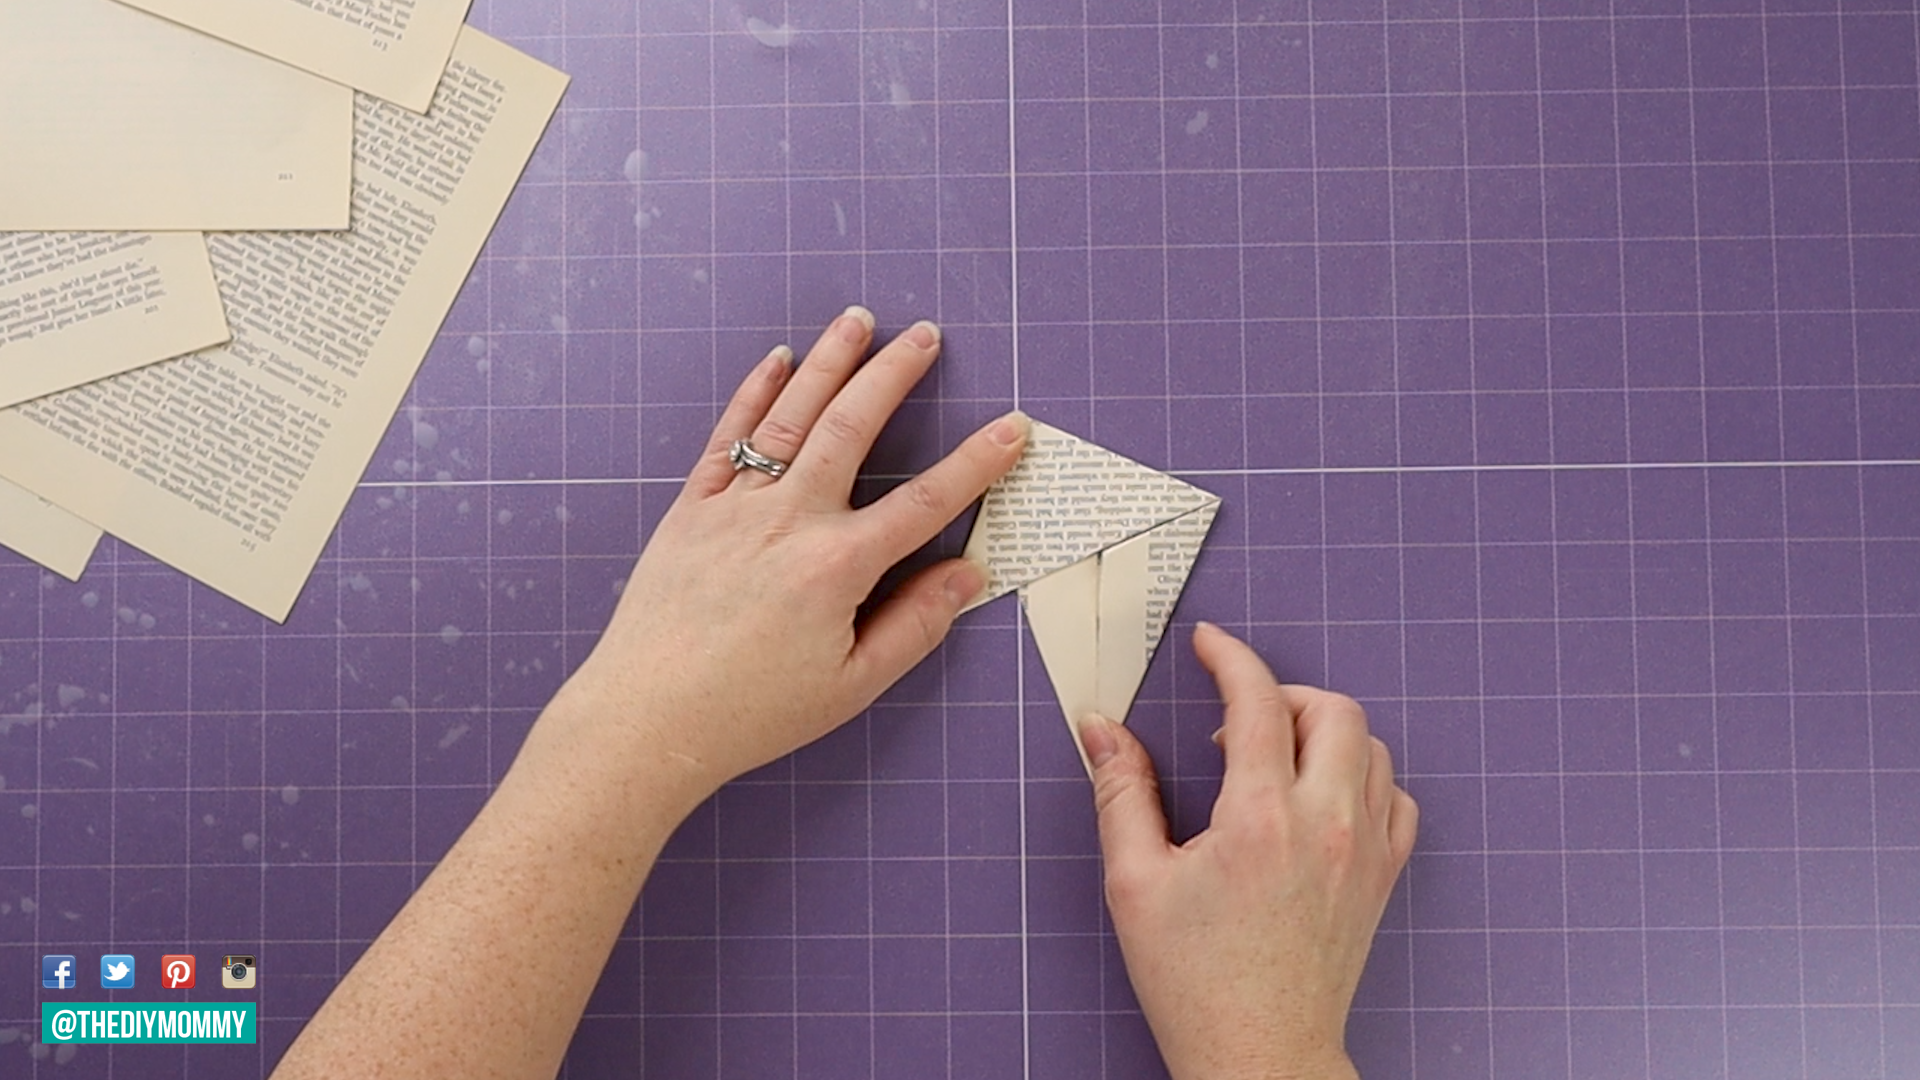
Repeat this step, folding from the right side from the top.
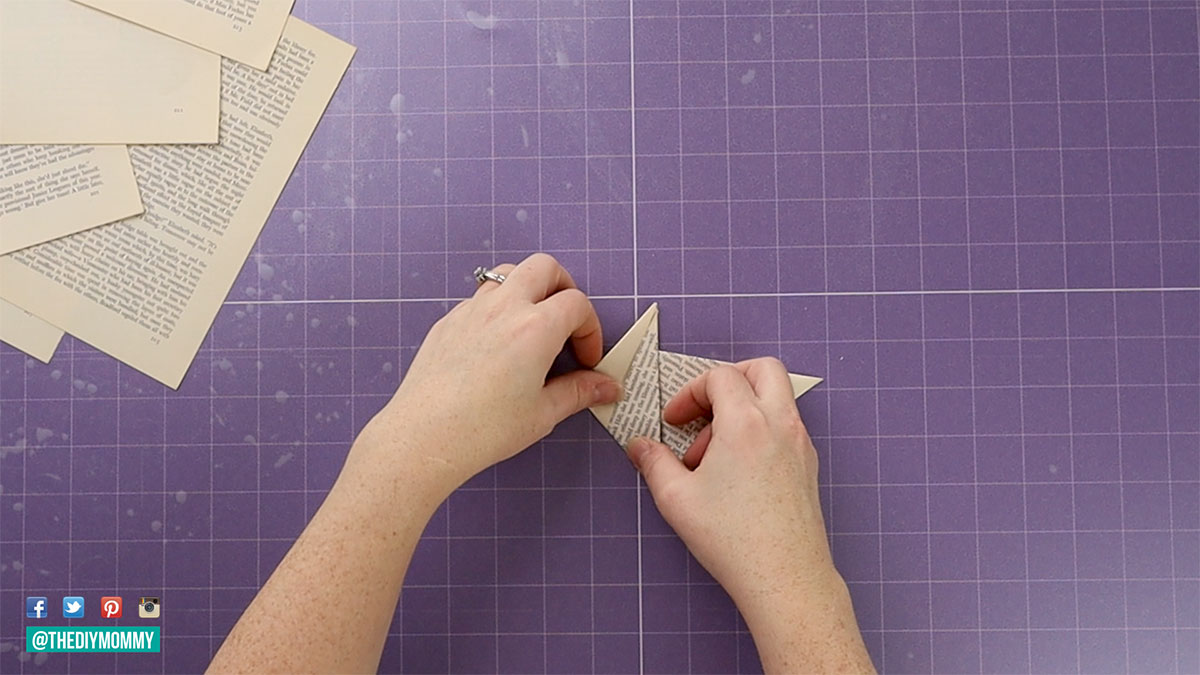
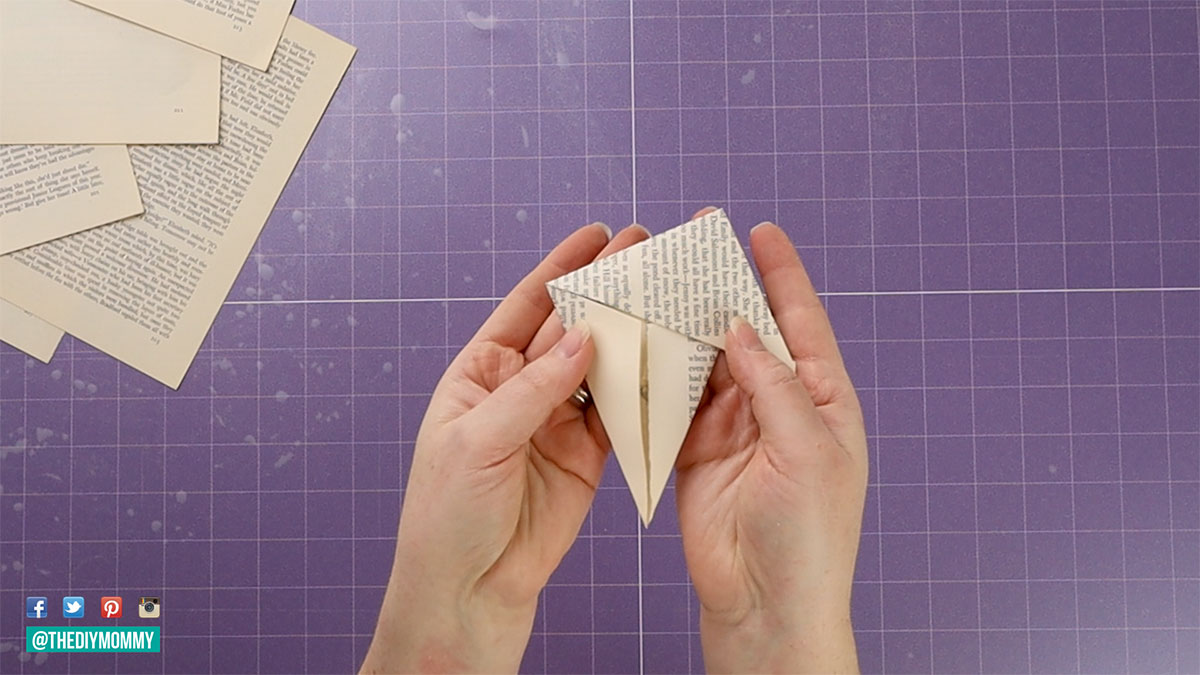
Next, flip the paper over and fold the two diagonal creases you had just folded the other way.
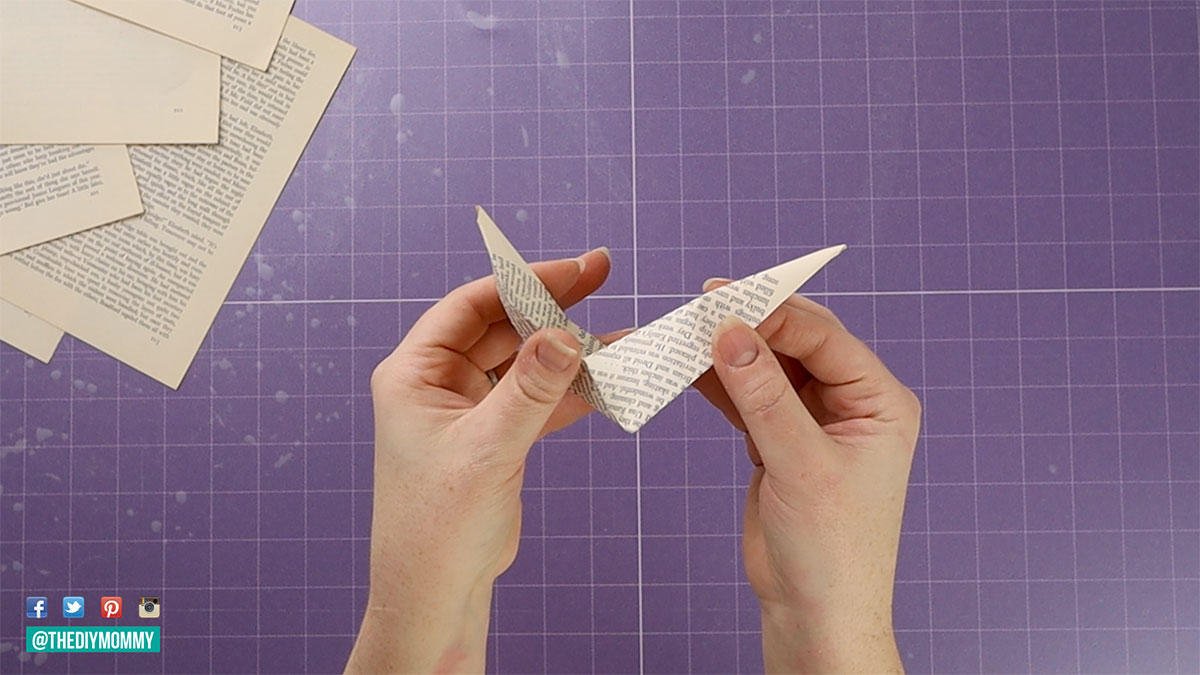
Now, bring both the left and right sides up toward the center. You’ve completed one point of the paper star! Pinch the tips and crease the folds to make each section look finished.
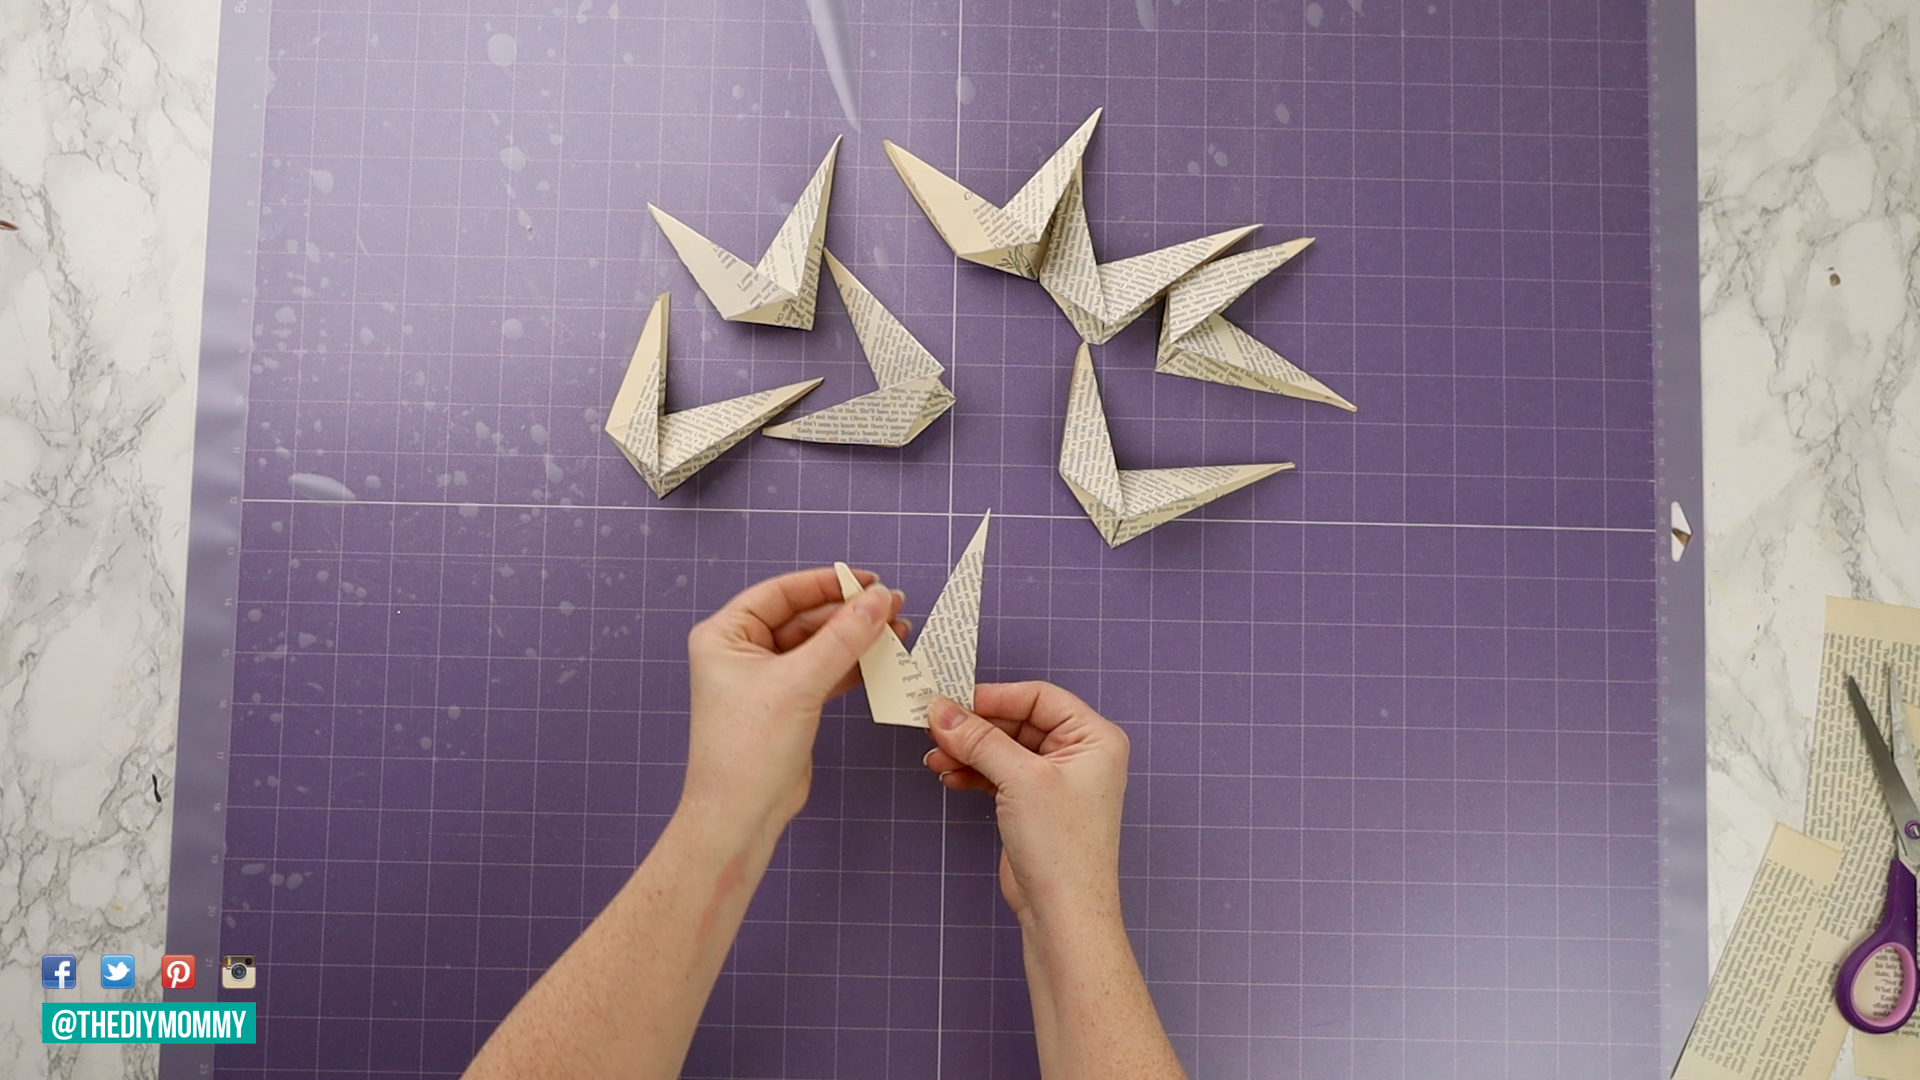
Repeat the steps above seven more times until you have 8 finished star points.
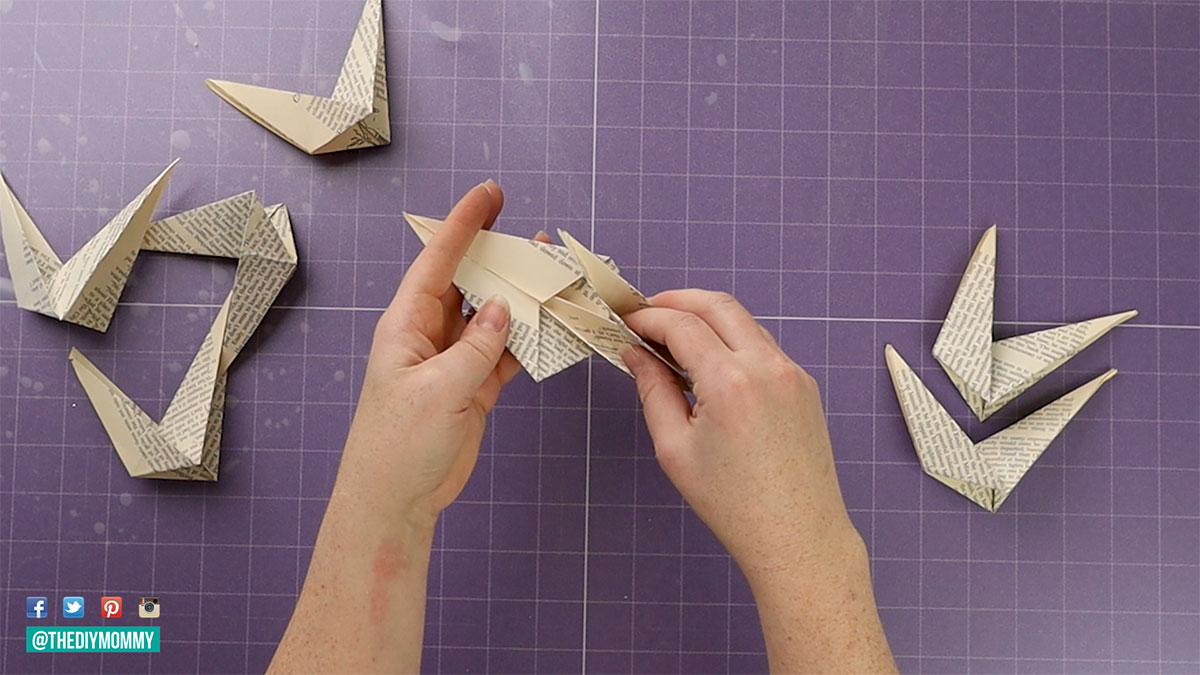
To make the star, tuck each point into another point until you’ve attached all of the points together.
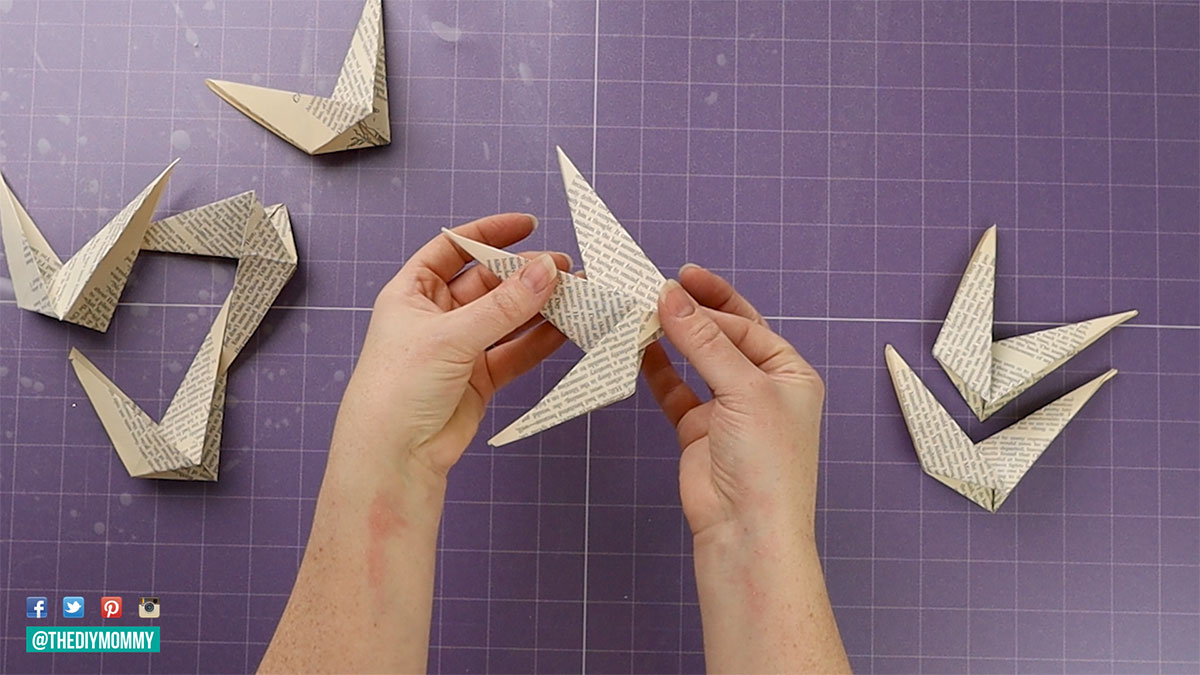
The short end of one section will tuck into the long end of a previous section. You can use glue to fasten the sections together, but I didn’t find it necessary because my book pages had a bit of a rougher texture.
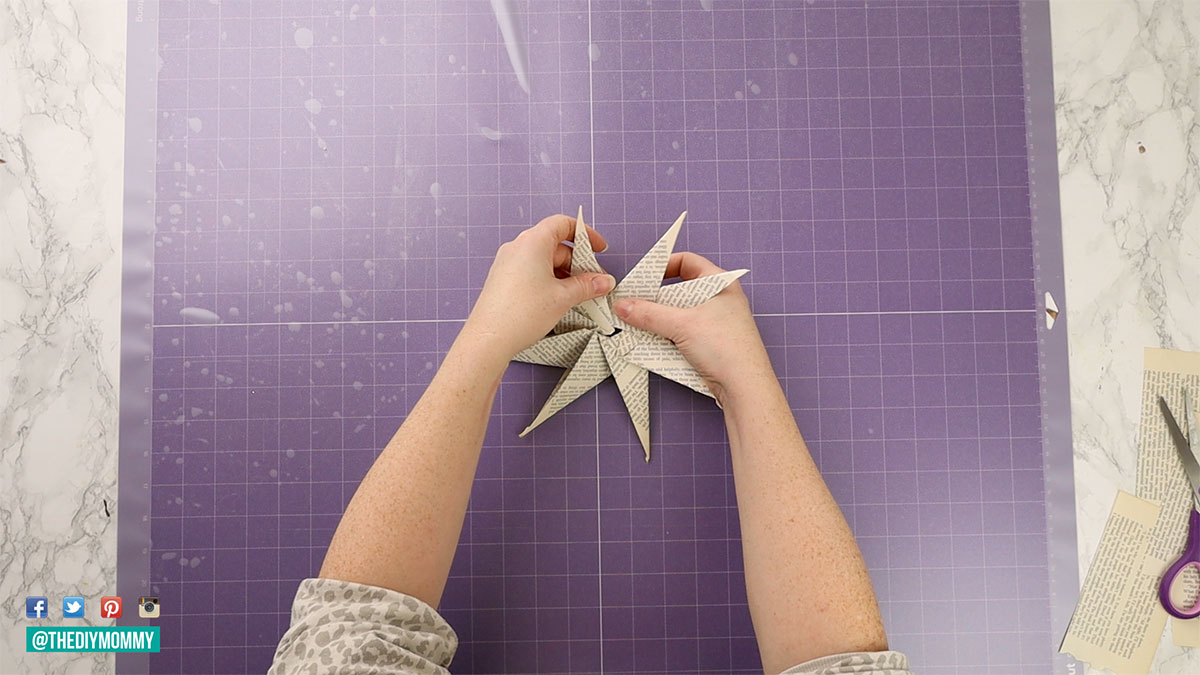
Once you’ve reached the last section, tuck the first section into the last section to finish your star shape.
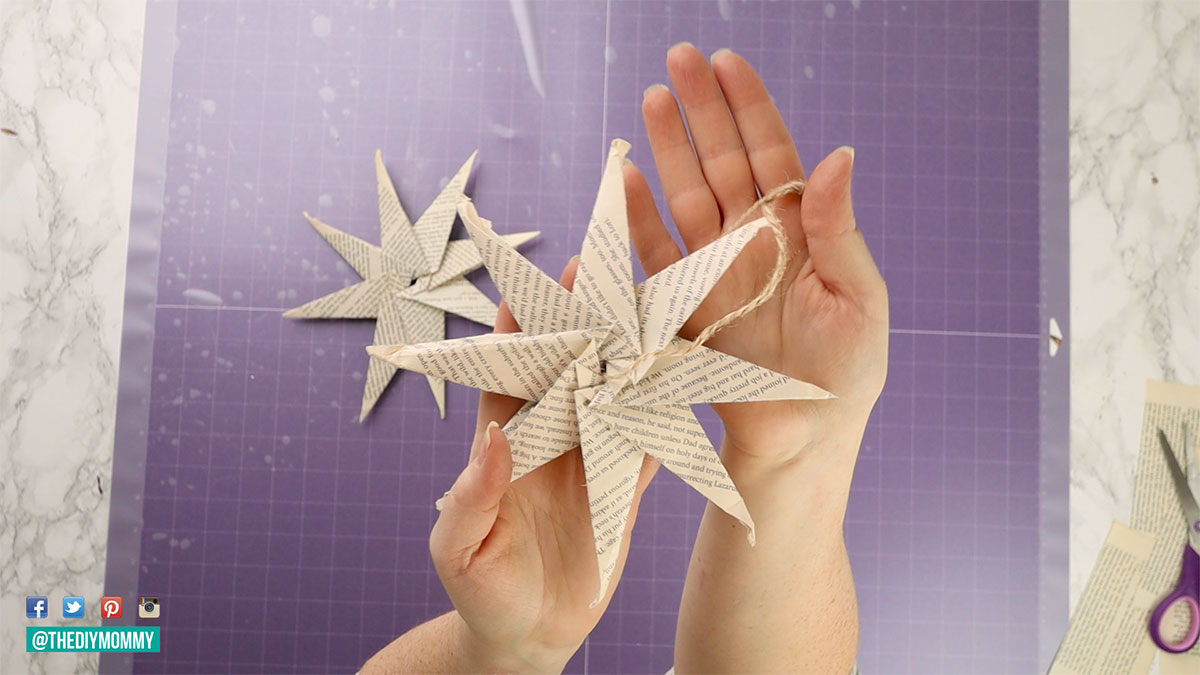
To complete the ornament, thread a piece of twine through the small hole in its center and tie a knot to make a loop for hanging.
These origami stars don’t always need twine, since you can easily tuck them into a Christmas tree as-is.
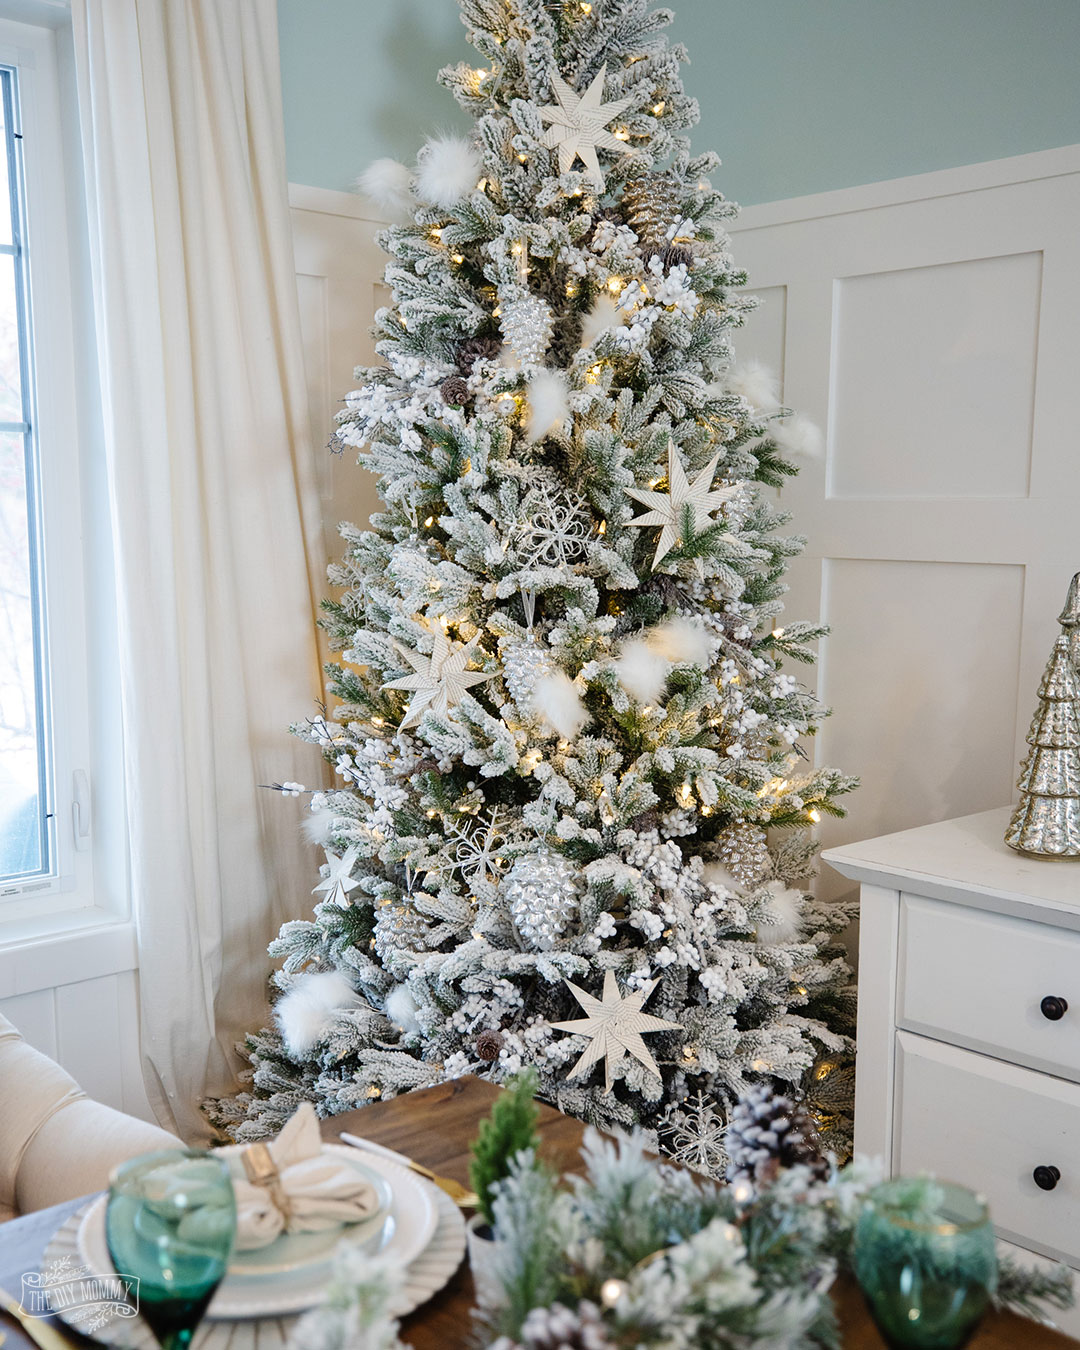
These stars would look lovely on a vintage-inspired Christmas tree, as part of a Christmas garland for a party decoration, or as a gift topper embellishment.
Here’s how the book page paper stars looked on my Christmas tree:
And as Christmas present toppers:


How to Make 8 Point Paper Stars
Make some beautiful little 8-pointed paper stars made out of book pages or vintage maps. These are especially budget-friendly, since they’re made with old books from the thrift store!
Materials
- 8 book pages or 8 small vintage maps (or both!)
- Pair of scissors
- Ruler (to create a straight edge, optional)
- Twine (optional)
Instructions
- Start with a square piece of paper. (Mine were 5″ x 5″ for the large book-page stars and 3″ x 3″ for the smaller map stars.)
- Fold the paper in half on the vertical diagonal axis. Crease and unfold.
- From the top, fold both sides to the center crease and crease those folds.
- From the bottom, fold both sides to the center crease and crease those folds.
- Now, fold the top point down from the left side at a diagonal. Use the fold below as a guide. Crease and unfold.
- Repeat this step, folding from the right side from the top.
- Next, flip the paper over and fold the two diagonal creases you had just folded the other way.
- Now, bring both the left and right sides up toward the center. You’ve completed one point of the paper star! Pinch the tips and crease the folds to make each section look finished.
- Repeat the steps above seven more times until you have 8 finished star points.
- To make the star, tuck each point into another point until you’ve attached all of the points together.
- The short end of one section will tuck into the long end of a previous section. You can use glue to fasten the sections together, but I didn’t find it necessary because my book pages had a bit of a rougher texture.
- Once you’ve reached the last section, tuck the first section into the last section to finish your star shape.
- To complete the ornament, thread a piece of twine through the small hole in its center and tie a knot to make a loop for hanging.
I hope you enjoyed this paper star ornament tutorial. Have fun crafting your own!
Pin Me!


3 Comments