
How to Decorate a Christmas Tree Like a Designer: Step-by-Step Guide
This post may contain affiliate links · This blog generates income via ads

Want to know how to decorate a Christmas tree step by step so it looks full, beautiful, and professionally styled? My favourite trick is to decorate in layers, starting with lights and ribbon, then adding large ornaments, smaller decorations, special ornaments, and finishing touches.
And the best part? You don’t need an expensive Christmas tree or a huge collection of decorations to get that gorgeous designer look!

I’ve always loved decorating Christmas trees. There’s something so magical about the twinkling lights, pretty ribbons, and special ornaments that make a home feel extra cozy during the holidays.
Over the years, I’ve decorated dozens of Christmas trees, from my own family’s trees to trees in show homes and for special events. Along the way, I’ve developed a simple decorating formula that I come back to year after year.
Today, I’m sharing that exact process, including my favourite designer tricks for making a Christmas tree look fuller, layering ornaments, adding ribbon, and creating a beautiful finished look on a budget.
Whether you’re decorating your very first Christmas tree or just want to try something new this year, I’ll walk you through everything!

Quick Overview: How to Decorate a Christmas Tree
- Time: About 2 to 4 hours, depending on tree size and decorations
- Cost: Varies, but you can reuse ornaments and ribbon you already own
- Skill level: Beginner
- Tools: Scissors, wire cutters, floral wire or pipe cleaners, and a step stool if needed
What Is the Correct Order to Decorate a Christmas Tree?
Here’s the decorating order I recommend for a beautiful, layered Christmas tree:
- Fluff and shape the branches.
- Add Christmas tree lights.
- Tuck in greenery picks, berries, and decorative sprays.
- Weave ribbon through the tree.
- Hang large ornaments.
- Fill in with medium and smaller ornaments.
- Add special and sentimental ornaments.
- Add a tree topper.
- Finish with a tree collar or skirt.
- Step back and make final adjustments.
This is the basic decorating formula I use, but it’s also flexible. Sometimes I add my greenery picks before the ribbon, especially when I’m working with larger branches or sprays. Sometimes I swap the ribbon for smaller bows or tinsel. The important thing is to build layers and create balance throughout the tree.

What You’ll Need to Decorate a Christmas Tree
Before you start, gather your decorations so you can see what you’re working with.
Christmas Tree Decorating Supplies
- Artificial or real Christmas tree
- Christmas tree lights, if your tree isn’t pre-lit
- One or two styles of wired ribbon
- Large round ornaments
- Medium and small filler ornaments
- Special or sentimental ornaments
- Faux greenery, berry picks, or decorative sprays
- Tree topper or large ribbon bow
- Christmas tree skirt or collar
- Floral wire, pipe cleaners, or ornament hooks
- Scissors and wire cutters
You don’t need to buy everything new!
I love shopping my own Christmas decoration collection first. Then, if I want to change the look of my tree, I’ll add a new ribbon colour, a few inexpensive ornaments, or some pretty greenery picks.
Dollar Tree, Michaels, Costco, thrift stores, and even secondhand marketplaces can be wonderful places to find affordable Christmas decorations.
How to Decorate a Christmas Tree Step by Step
Ready to decorate? Here’s how I create a full, layered Christmas tree that looks professionally styled without spending a fortune.
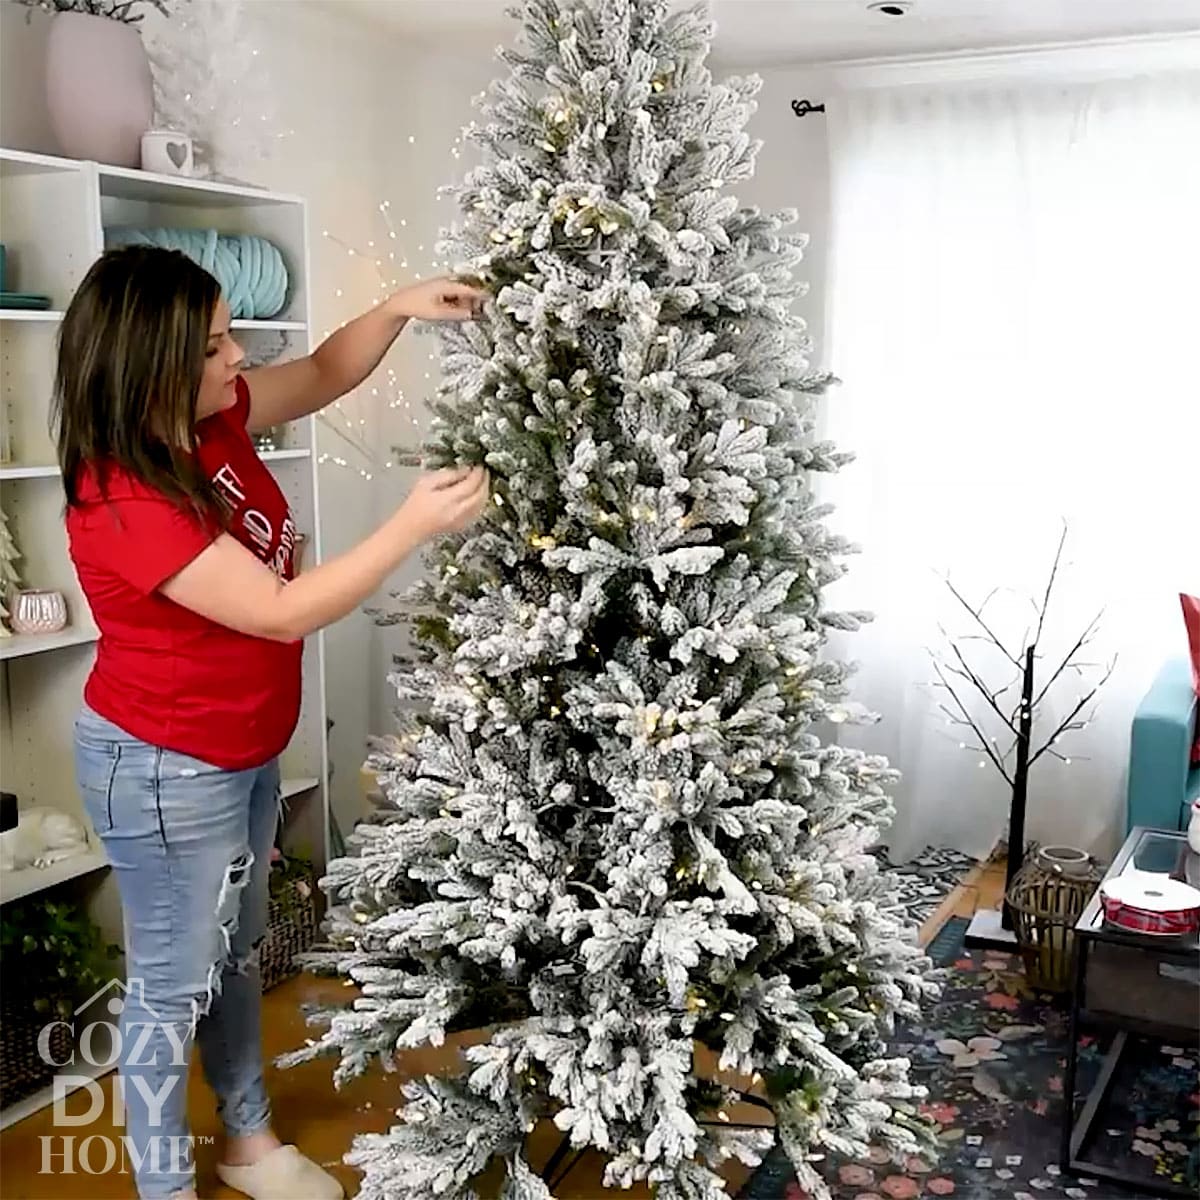
Step 1: Fluff and Shape Your Christmas Tree
Before adding a single ornament, take some time to fluff your Christmas tree.
I know this isn’t the most exciting part, but trust me, it makes such a difference!
Artificial Christmas trees often come out of storage looking a little flat and squished. Even a beautiful tree can look sparse if the branches haven’t been shaped properly.
Start at the bottom of your tree and work your way up.
Separate the smaller branches and gently bend them in different directions. Some should point upward, some outward, and others slightly downward.
The goal is to fill the spaces between the branches and make your tree look as natural and full as possible.
I especially love artificial trees with realistic outer branches. My Costco Christmas tree has been one of my favourite finds because it looks beautiful year after year!
If you’re using a real Christmas tree, give the branches time to settle after bringing it inside, and make sure it’s securely positioned in its stand.
Step 2: Add Your Christmas Tree Lights
Next, it’s time for the Christmas lights!
If you’re using a pre-lit Christmas tree like I often do, this step is easy. Simply plug in the lights and check that everything is working.
If your tree isn’t pre-lit, add the lights before any ribbon or ornaments.
I prefer placing lights in an up-and-down pattern rather than wrapping them in one continuous spiral around the tree.
Start near the bottom and work upward, weaving the lights gently between the branches. Then bring the strand back down in the next section.
This makes it easier to spread the lights evenly.
Try to place some lights deeper inside the tree and others closer to the branch tips.
This creates that beautiful glowing effect instead of having all the lights sitting on the outside.
For a cozy, classic Christmas look, I love warm white lights.
If you want even more sparkle, you can layer larger decorative lights with smaller LED lights. I’ve used this trick when decorating an inexpensive tree with dollar store finds.
Always use lights rated for Christmas tree use, follow the manufacturer’s instructions, and avoid overloading outlets.
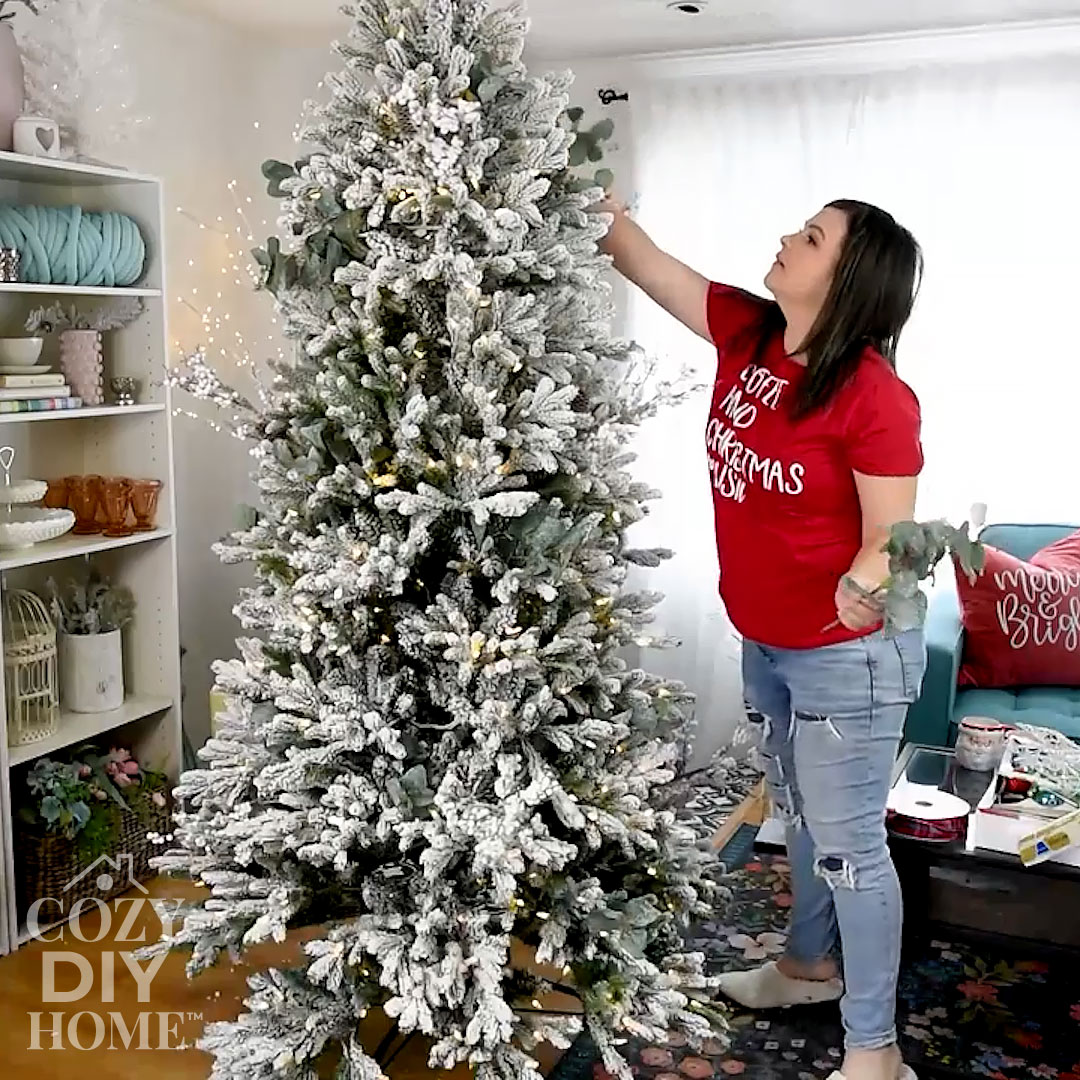
Step 3: Fill Gaps with Greenery Picks and Decorative Sprays
If your Christmas tree still has a few empty spaces, greenery picks and decorative sprays can work wonders.
This is one of my favourite tricks for making a Christmas tree look more expensive without buying another box of ornaments.
I love using things like:
- Faux eucalyptus branches
- Pinecone picks
- White or red berry sprays
- Frosted greenery
- Glittery metallic branches
- Decorative floral stems
You can tuck these into the branches to add texture, colour, and fullness.
I usually choose one or two different styles of picks rather than using too many varieties.
For a full-size tree, I’ve often used around 7 to 11 picks of each style, but you can use fewer if you prefer a simpler look.
Spread them throughout the tree, placing some upward and others at a slight downward angle.
You want them to look like they’re growing naturally from the branches.
If you’re decorating on a tight budget, check Dollar Tree or the clearance section at Michaels for affordable picks.
And don’t forget to save them for next year!
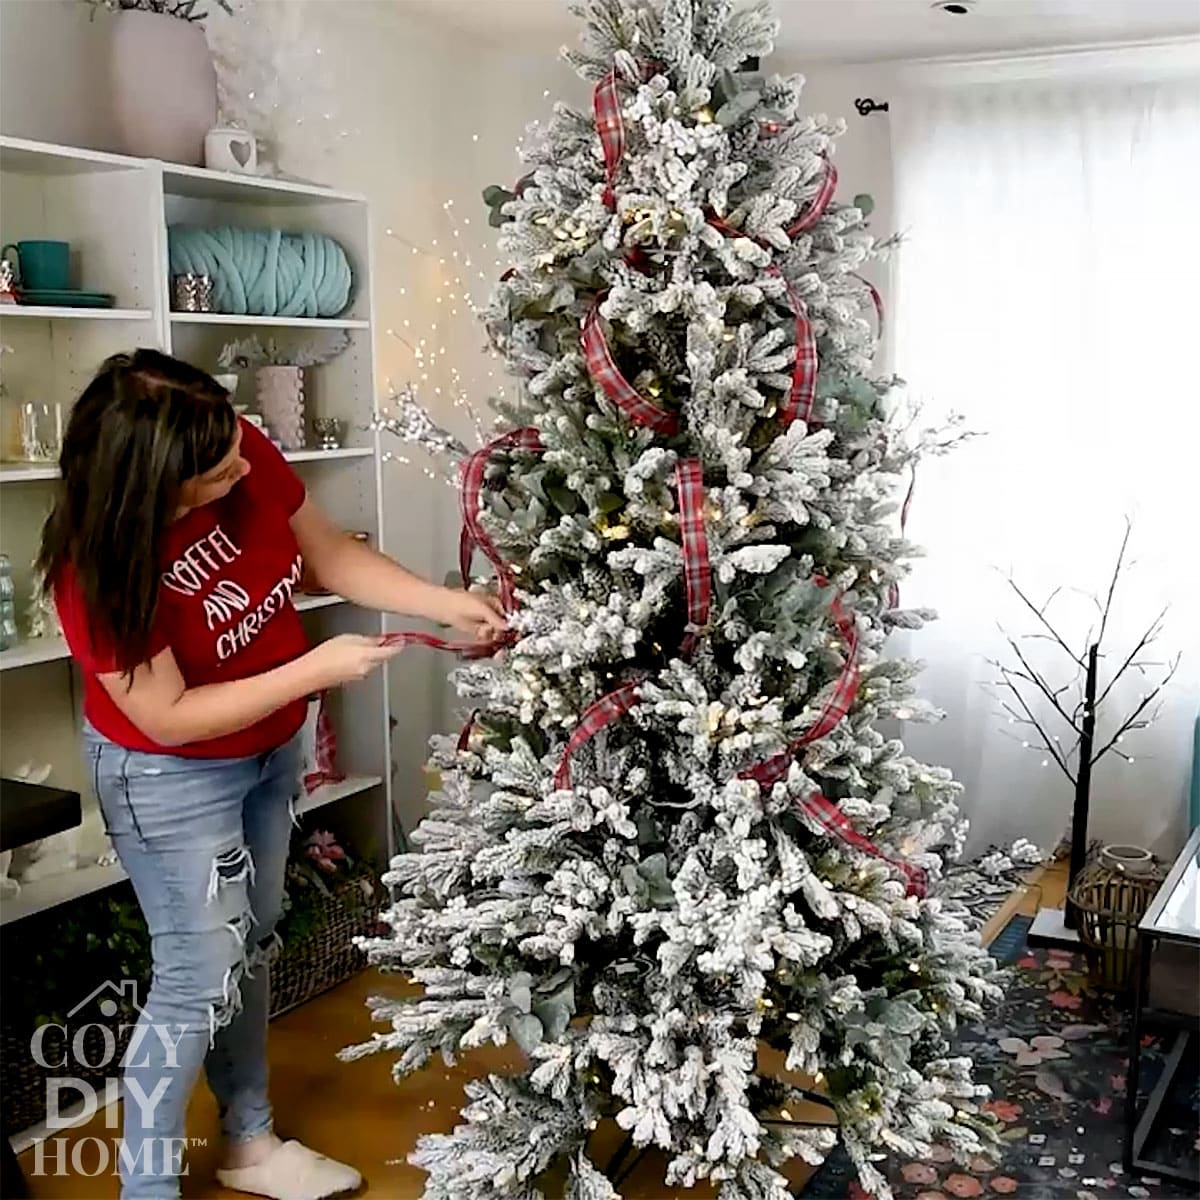
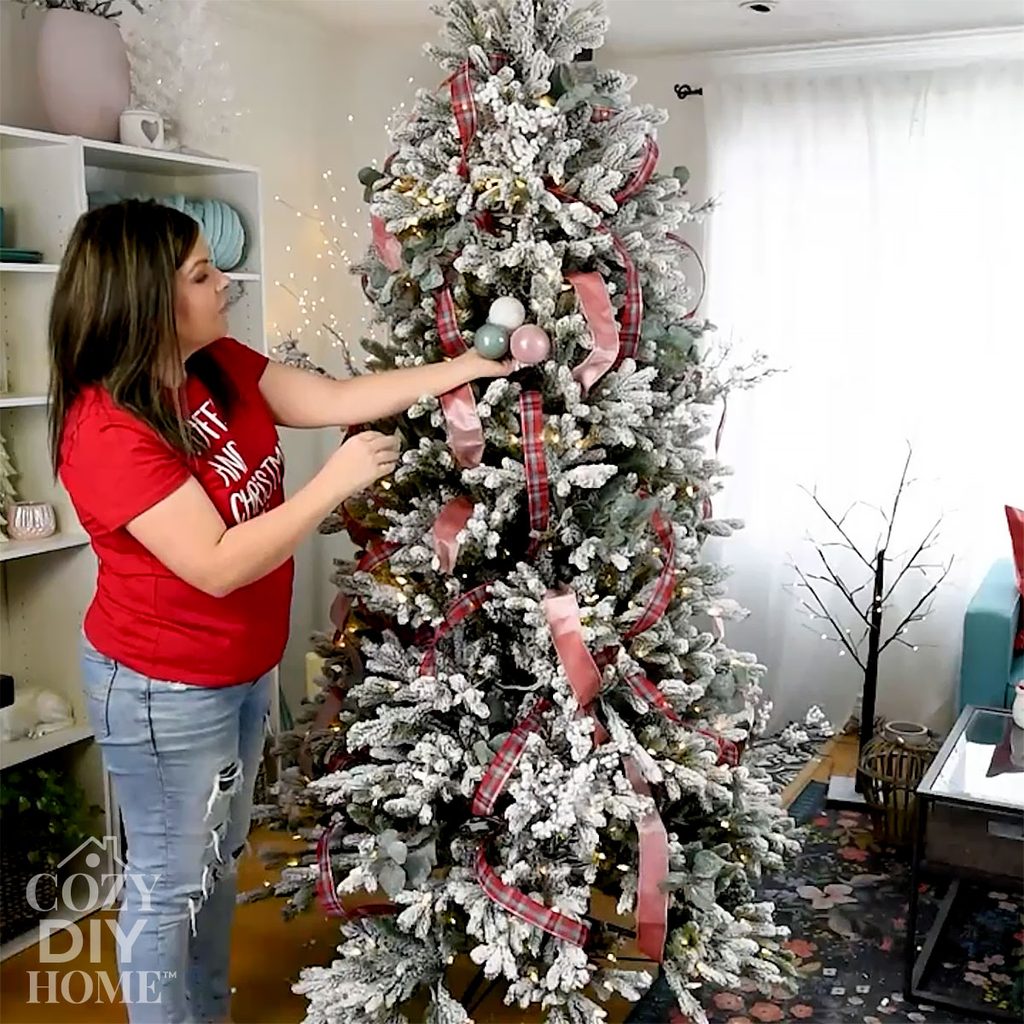
Step 4: Add Ribbon to Your Christmas Tree
Ribbon is one of my absolute favourite ways to make a Christmas tree look expensive!
It adds colour, texture, movement, and fullness. Plus, you can completely change the look of your tree just by switching out the ribbon.
I usually choose one or two coordinating ribbon styles.
For example, you might pair a soft velvet ribbon with a pretty metallic ribbon, or a classic plaid ribbon with a solid colour.
Wired ribbon is especially helpful because it holds its shape.
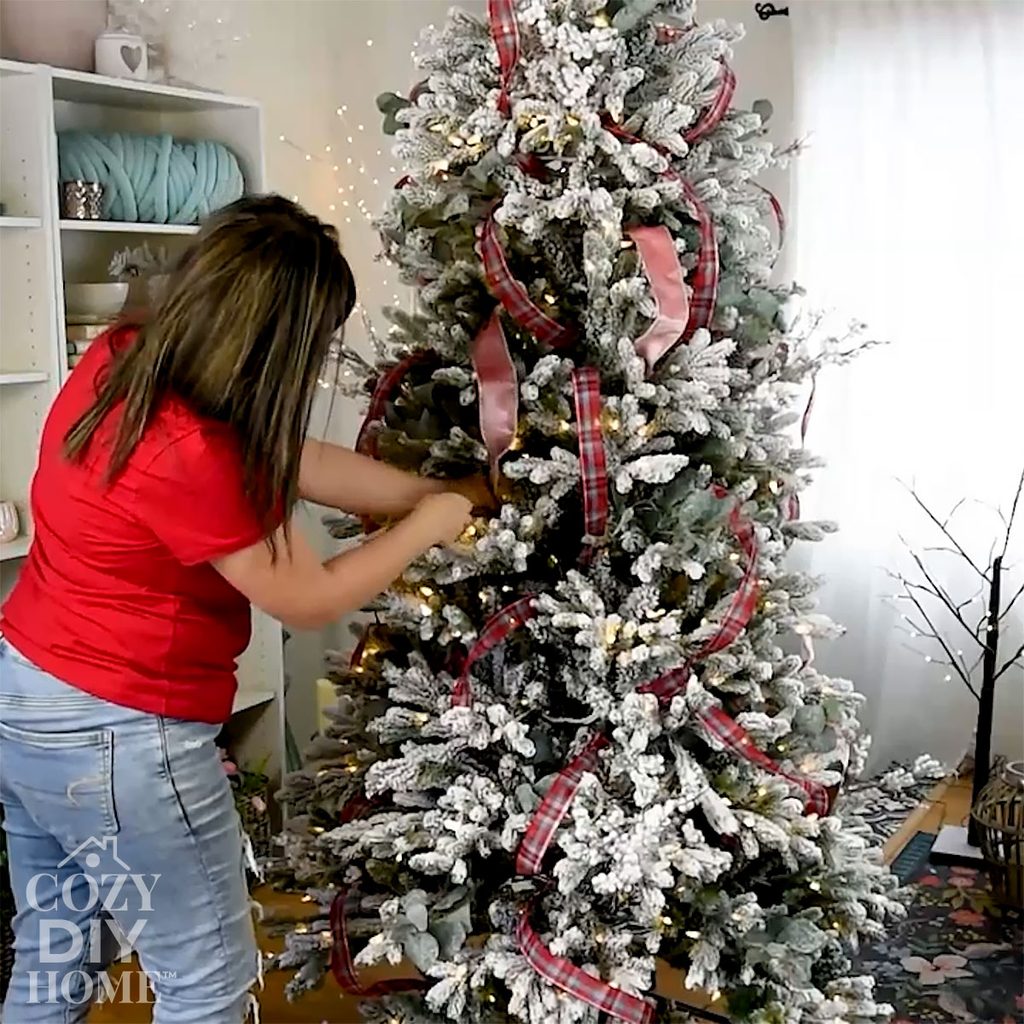
My Easy Christmas Tree Ribbon Technique
Here’s the method I’ve used on so many of my trees:
- Cut your ribbon into sections about 2 to 3 feet long.
- Tuck one end deep into the Christmas tree.
- Bring the ribbon forward to create a soft, loose loop.
- Pinch the ribbon and tuck it back into the branches.
- Repeat, placing the ribbon sections around the tree.
Instead of wrapping one long piece of ribbon tightly around the entire tree, this method creates pretty loops that look like they’re flowing naturally through the branches.
For a full-size tree, I’ve often started with about 20 yards of each ribbon style, although the amount depends on the size of your tree and how much ribbon you want to show.
You can also change the direction of the ribbon to create different looks.
For a more traditional Christmas tree, I love ribbon that cascades gently downward. For a playful tree, shorter loops or bows can look beautiful.
Want to see exactly how I do it? Visit my How to Put Ribbon on a Christmas Tree: 4 Techniques for a Cozy Designer Look tutorial for more ribbon decorating ideas.
Step 5: Add Large Christmas Tree Ornaments First
Now it’s time to start adding ornaments!
I always begin with the largest ornaments because they help create the foundation for the rest of the decorations.
Large round ornaments are especially useful for making a Christmas tree look full and professionally decorated.
Here’s the trick: don’t hang all your large ornaments on the very tips of the branches.
Instead, tuck some of them deeper inside the tree, closer to the trunk.
This fills empty spaces and creates beautiful depth.
I like to spread the large ornaments evenly throughout the tree, working with one colour at a time.
For example, if I’m using gold, bronze, and cream ornaments, I’ll place the large gold ornaments first, then add the other colours.
This helps me avoid having too many ornaments of one colour in the same area.
Mixing matte, shiny, and glitter finishes is another easy way to create interest without adding more colours.
Step 6: Layer Medium and Small Filler Ornaments
Once your large ornaments are in place, start filling in the remaining spaces with medium and smaller ornaments.
This is where your Christmas tree really starts coming together!
I like to use a mix of ornament sizes and shapes to create a layered look.
Place medium-sized ornaments between the large ones, then use smaller ornaments to fill in any remaining gaps.
Try not to hang everything at exactly the same depth.
Some ornaments should sit farther inside the branches, while others should hang closer to the tips.
This makes the tree look more interesting from every angle.

Try My Ornament Cluster Trick
One of my favourite designer tricks is to create little clusters of ornaments.
Simply gather three round ornaments and attach them together using a pipe cleaner, floral wire, or ornament hangers.
Then hang the cluster as one larger decoration.
These clusters are wonderful for filling empty spaces and adding extra colour and sparkle.
I especially love mixing ornaments with different finishes in the same cluster.
For example, you could combine one matte gold ornament, one shiny gold ornament, and one textured ornament.
It’s such a simple trick, but it creates a beautiful designer look!

Step 7: Add Your Special and Sentimental Ornaments
Now comes one of the most fun parts of decorating a Christmas tree!
It’s time to add those special ornaments that make your tree feel personal.
These might be family keepsakes, handmade decorations, vintage ornaments, or beautiful pieces you’ve collected over the years.
I like to call these my showstopper ornaments.
Unlike the simple filler ornaments, these are the ones I want people to notice.
That’s why I save them until this stage.
Hang your special ornaments closer to the outside of the tree, where they can be seen and enjoyed.
Some of my favourite showstopper ornaments over the years have included vintage deer, intricate crystal ornaments, bells, and pretty decorative shapes.
For my Victorian-inspired Christmas tree, I used battery-operated candles to create a cozy, old-fashioned look.
They added so much personality!
After all, a beautiful Christmas tree should still feel like your Christmas tree.
Step 8: Add a Christmas Tree Topper
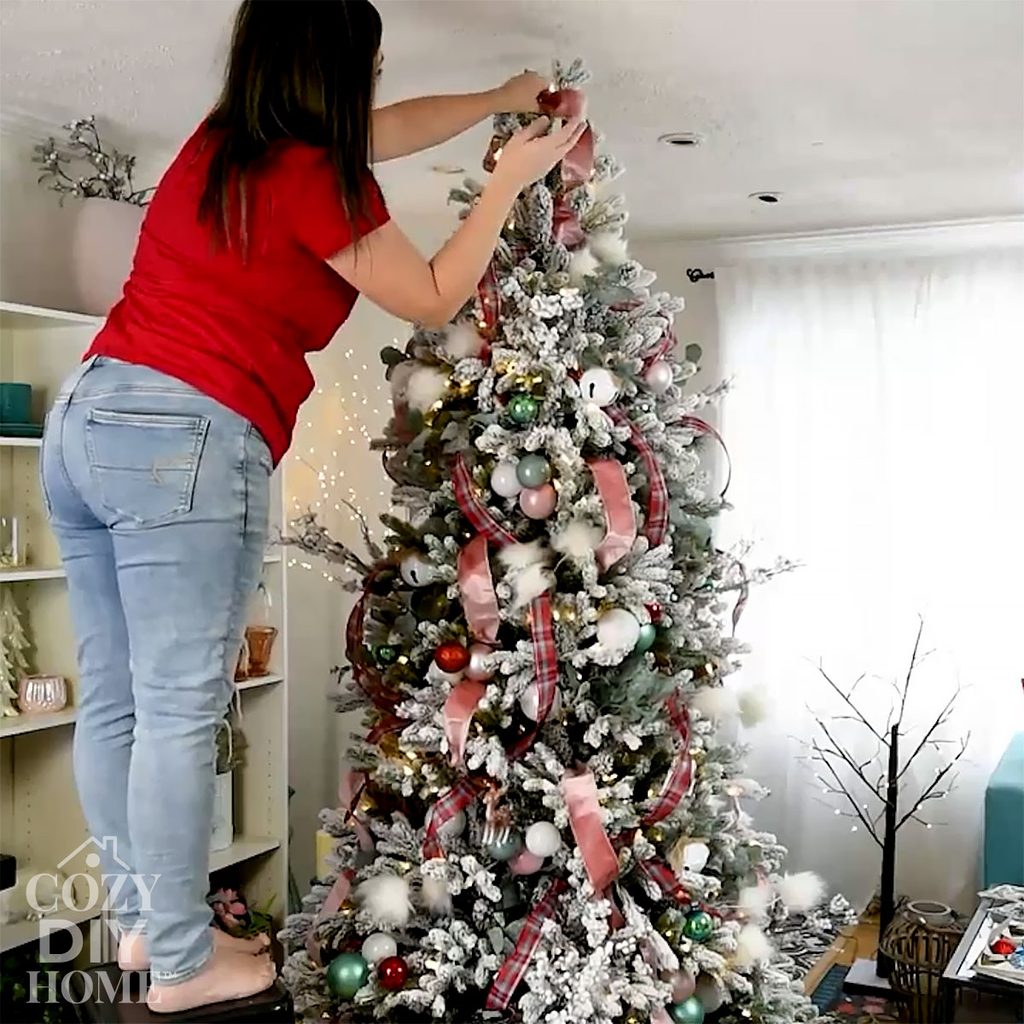
A beautiful tree topper is the finishing touch that draws your eye to the top of the Christmas tree.
You can use a traditional star, angel, oversized ornament, or decorative bow.
Personally, I love using a big ribbon bow!
It’s such an easy way to tie the entire tree design together, especially when you use ribbon that matches the rest of your decorations.
For my Victorian-inspired tree, I chose a metallic bow that complemented the warm gold and vintage-inspired ornaments.
If you’re making your own bow, wired ribbon is a great choice because it helps the loops stay full.
You can follow my DIY wired ribbon bow tutorial to make a beautiful topper.

Step 9: Finish with a Christmas Tree Collar or Skirt
Don’t forget about the bottom of your Christmas tree!
A tree skirt or collar helps hide the stand and gives your tree a more finished look.
I love using natural textures at the base of a Christmas tree because they make everything feel warm and cozy.
Some of my favourite options include knitted tree skirts, woven rattan collars, wooden tree boxes, and simple fabric skirts.
For my Victorian-inspired Christmas tree, I used a rattan tree collar from IKEA.
I loved how the natural texture balanced all the pretty metallic decorations.
One important thing to remember: if you’re using a solid tree collar that doesn’t open, you’ll need to put it in place when you first assemble your tree!
For a live tree, make sure your collar or skirt doesn’t block access to the water reservoir.
Step 10: Step Back and Edit Your Christmas Tree
This last step might be the most important designer trick of all.
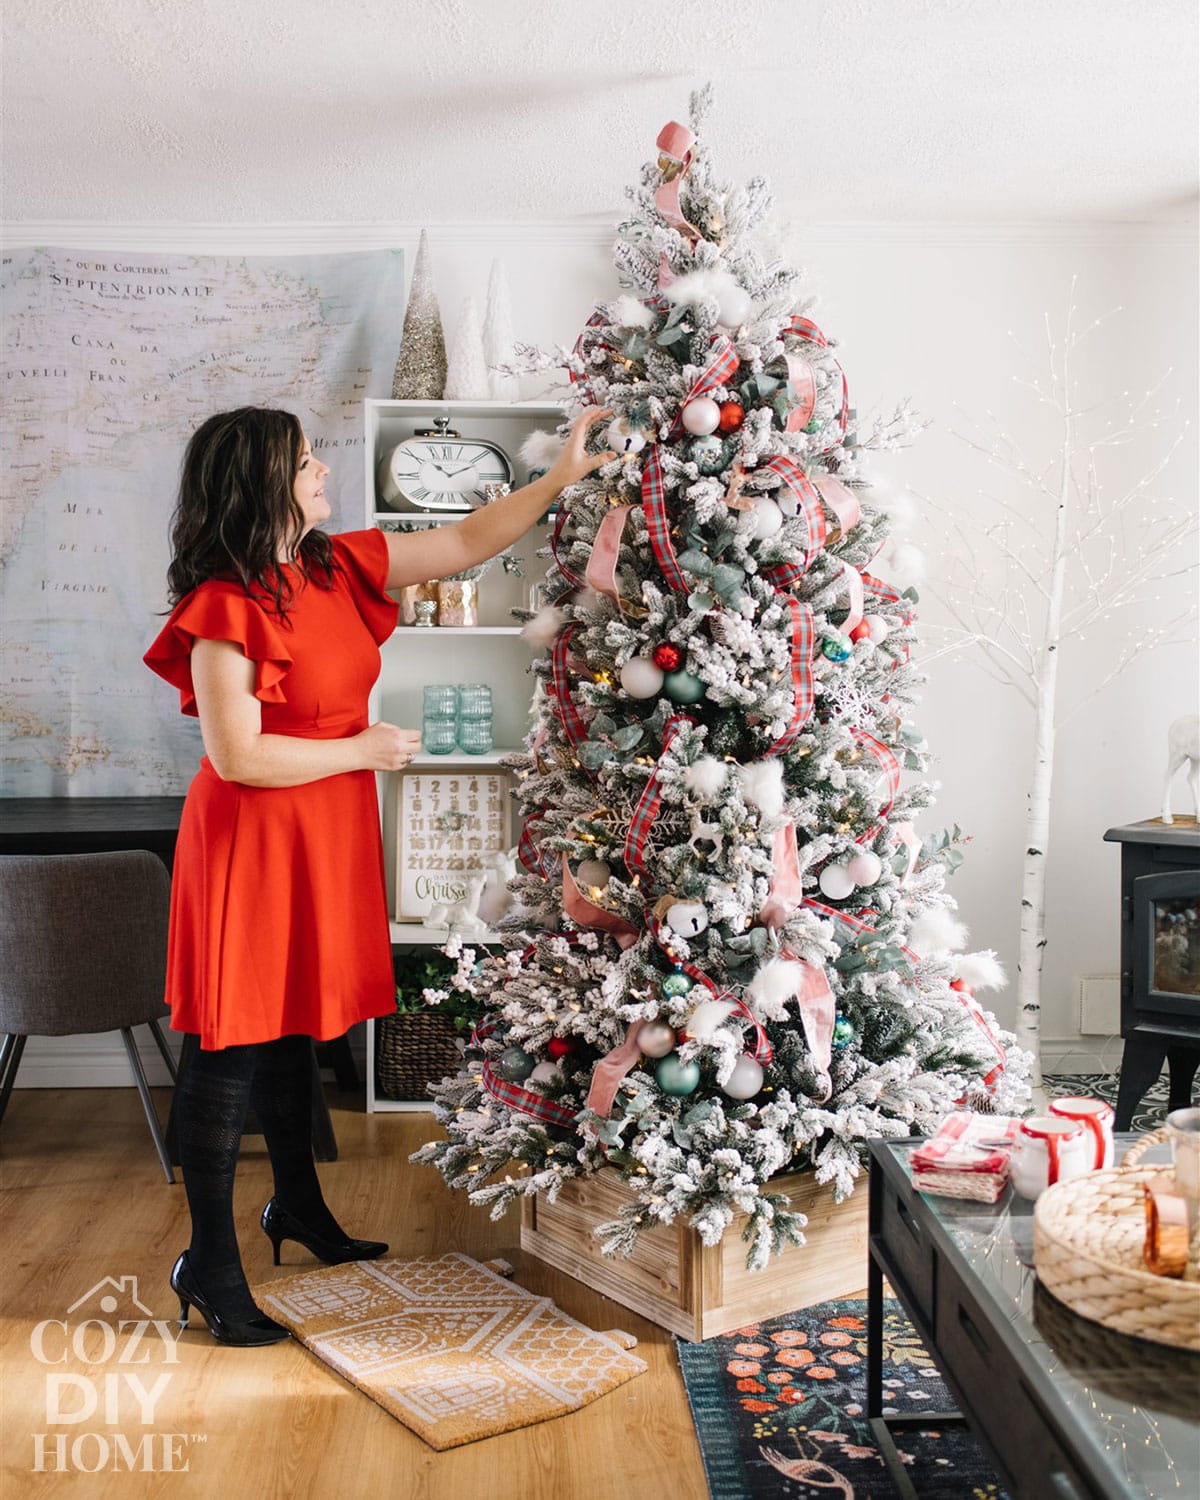
Once your Christmas tree is decorated, step back and take a good look at it.
I like to stand across the room so I can see the whole tree at once.
Look for areas that seem too empty, too crowded, or a little unbalanced.
Maybe you need to move a few ornaments around, adjust a ribbon loop, or add another greenery pick.
Sometimes, removing one decoration makes a bigger difference than adding something new!
I also love leaving my tree overnight and looking at it again the next morning with fresh eyes.
When I decorated my Victorian Christmas tree, I decided during this final stage to add more medium-sized ornaments and some dried orange slices.
Those little details made the tree feel even more cozy and complete.
And remember, your tree doesn’t have to be perfect. It should make you happy every time you walk into the room!
My Best Designer Tips for Decorating a Christmas Tree on a Budget
After decorating so many Christmas trees over the years, I’ve learned that you don’t need the most expensive ornaments to create a beautiful look.
It’s all about how you put everything together.
Here are a few tricks I come back to again and again:
Stick to a Simple Colour Palette
Choosing two or three main colours makes decorating so much easier.
I love classic combinations like red and gold, white and champagne, or soft pink and copper.
If you prefer a playful, collected Christmas tree, feel free to mix more colours!
Mix Ornament Sizes and Textures
A tree decorated with only one size of ornament can look a little flat.
Mix large, medium, and small decorations, along with different finishes.
Glass, velvet, wood, metallics, and paper ornaments all add something special.
Decorate Deep Into the Branches
This is one of the biggest differences between a basic decorated tree and a professionally styled one.
Don’t decorate only the outside!
Placing lights and ornaments deeper inside creates dimension and helps fill empty spaces.
Reuse Decorations in New Ways
You don’t need a completely new theme every Christmas.
I’ve used the same ornaments for years and changed the look simply by adding a different ribbon or a few new decorations.
It’s one of my favourite ways to keep Christmas decorating affordable.
Don’t Overcrowd the Tree
More decorations don’t always mean a better-looking tree.
Leave a little breathing room so your special ornaments, pretty ribbon, and natural greenery can shine.
For even more affordable ideas, check out my 5 Ways to Make Your Christmas Tree Look Expensive on a Budget.
In that tutorial, I decorated an inexpensive Christmas tree using dollar store finds to show just how beautiful a budget-friendly tree can look!
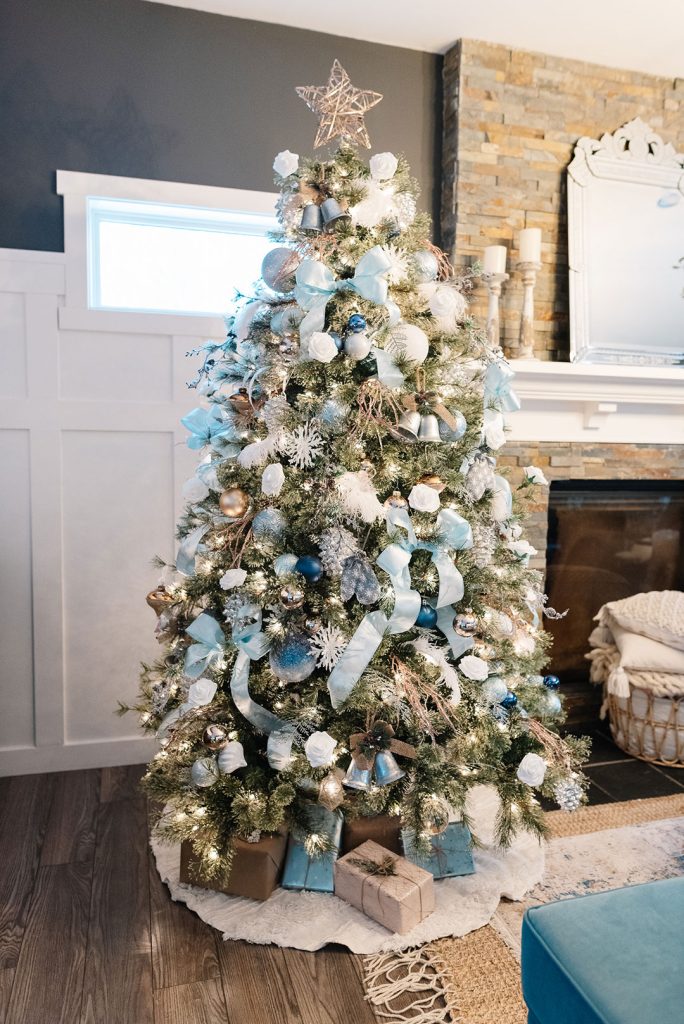
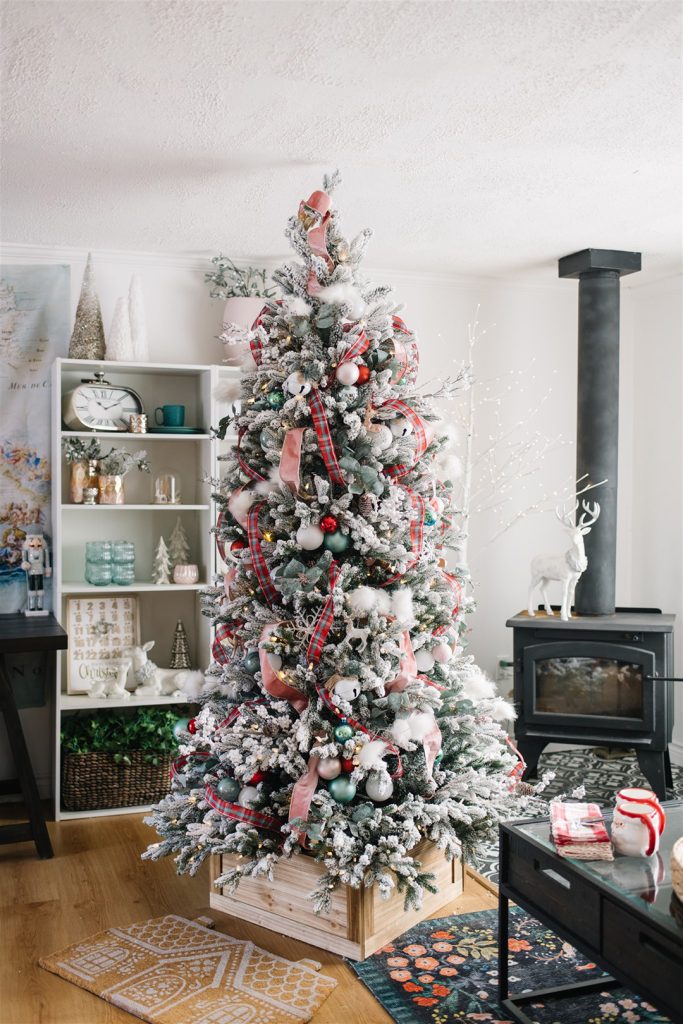
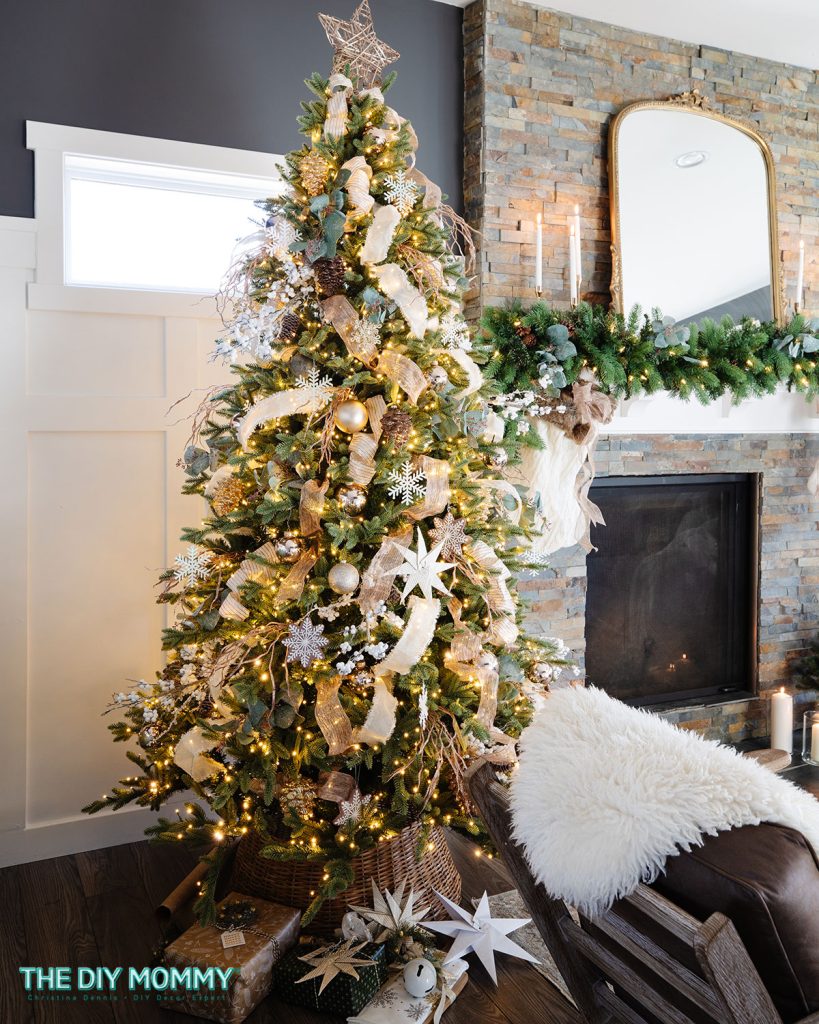
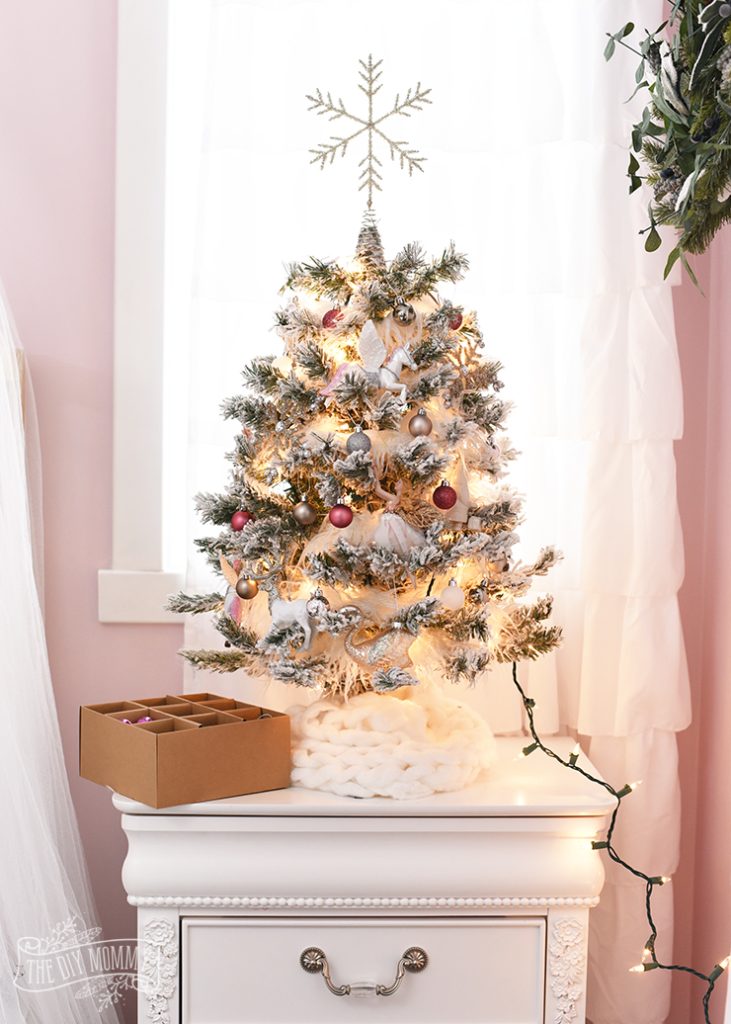

Christmas Tree Decorating Ideas and Colour Schemes
One of my favourite things about decorating Christmas trees is trying different styles each year.
You can follow the exact same decorating steps and get a completely different result just by changing your colours, ribbon, and ornaments.
Here are some of my favourite Christmas tree colour combinations.
Classic Red, Green, and Plaid
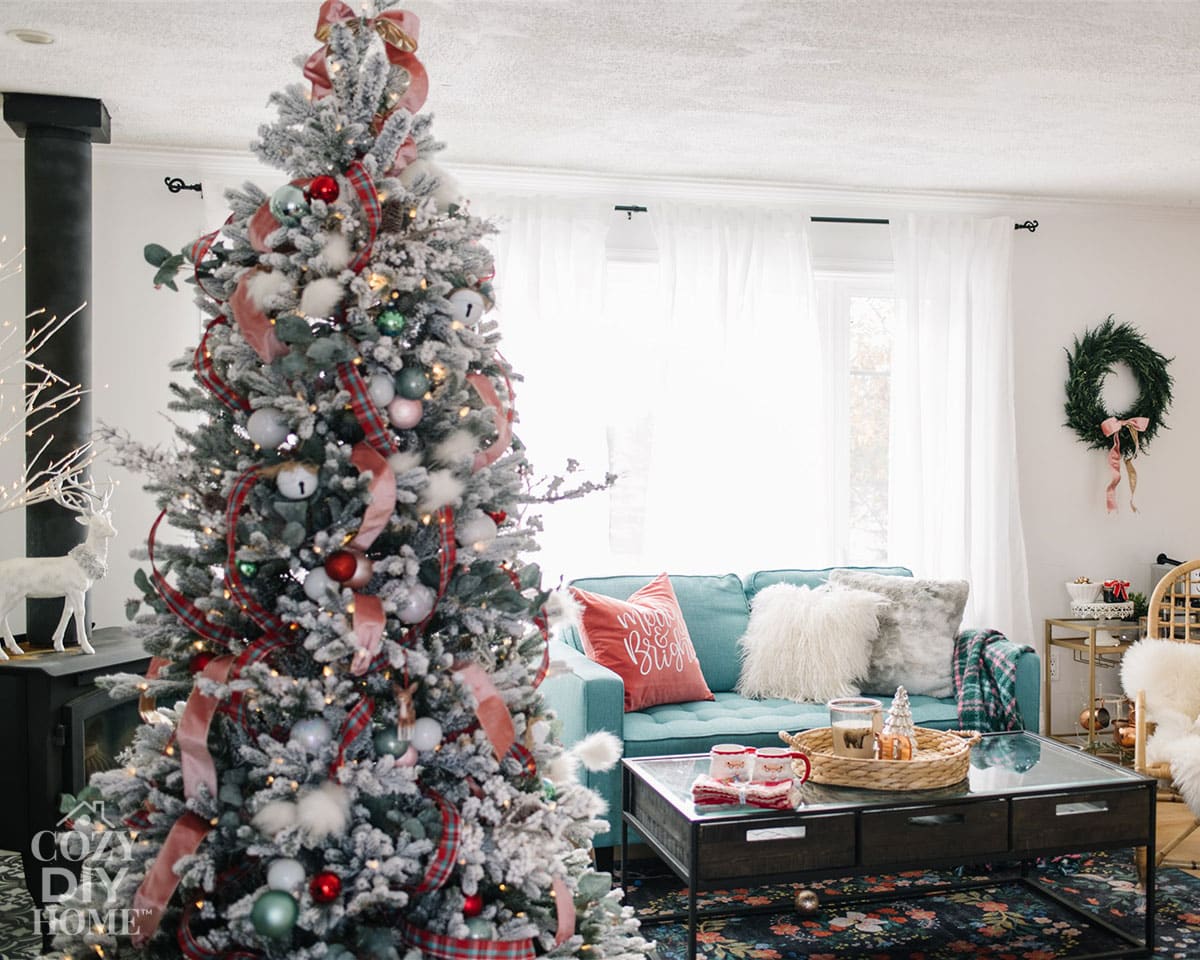
For a traditional Christmas look, combine rich red ornaments, evergreen branches, and pretty plaid ribbon.
Add a few gold accents for warmth.
This is such a cozy style for a family living room!
Elegant White and Gold
If you love a soft, sophisticated Christmas tree, try white, champagne, and gold.
Use warm white lights, gold ornaments, and frosted greenery for a beautiful glow.
You can see how I put this look together in my elegant white and gold Christmas tree tutorial.
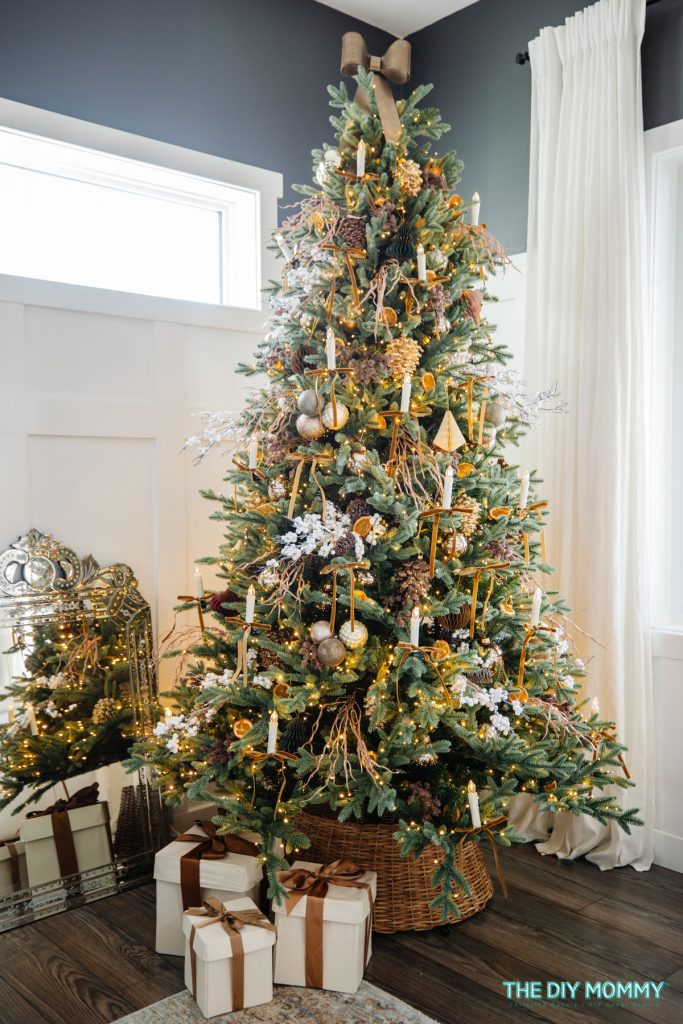
Cozy Victorian-Inspired Christmas Tree
For a nostalgic, vintage-inspired tree, try warm gold, burgundy, dusty rose, and bronze.
Add paper ornaments, velvet bows, pinecones, and battery-operated candles.
I love how warm and romantic this combination feels!
Playful Pink and Turquoise
Christmas decorating doesn’t always have to be traditional.
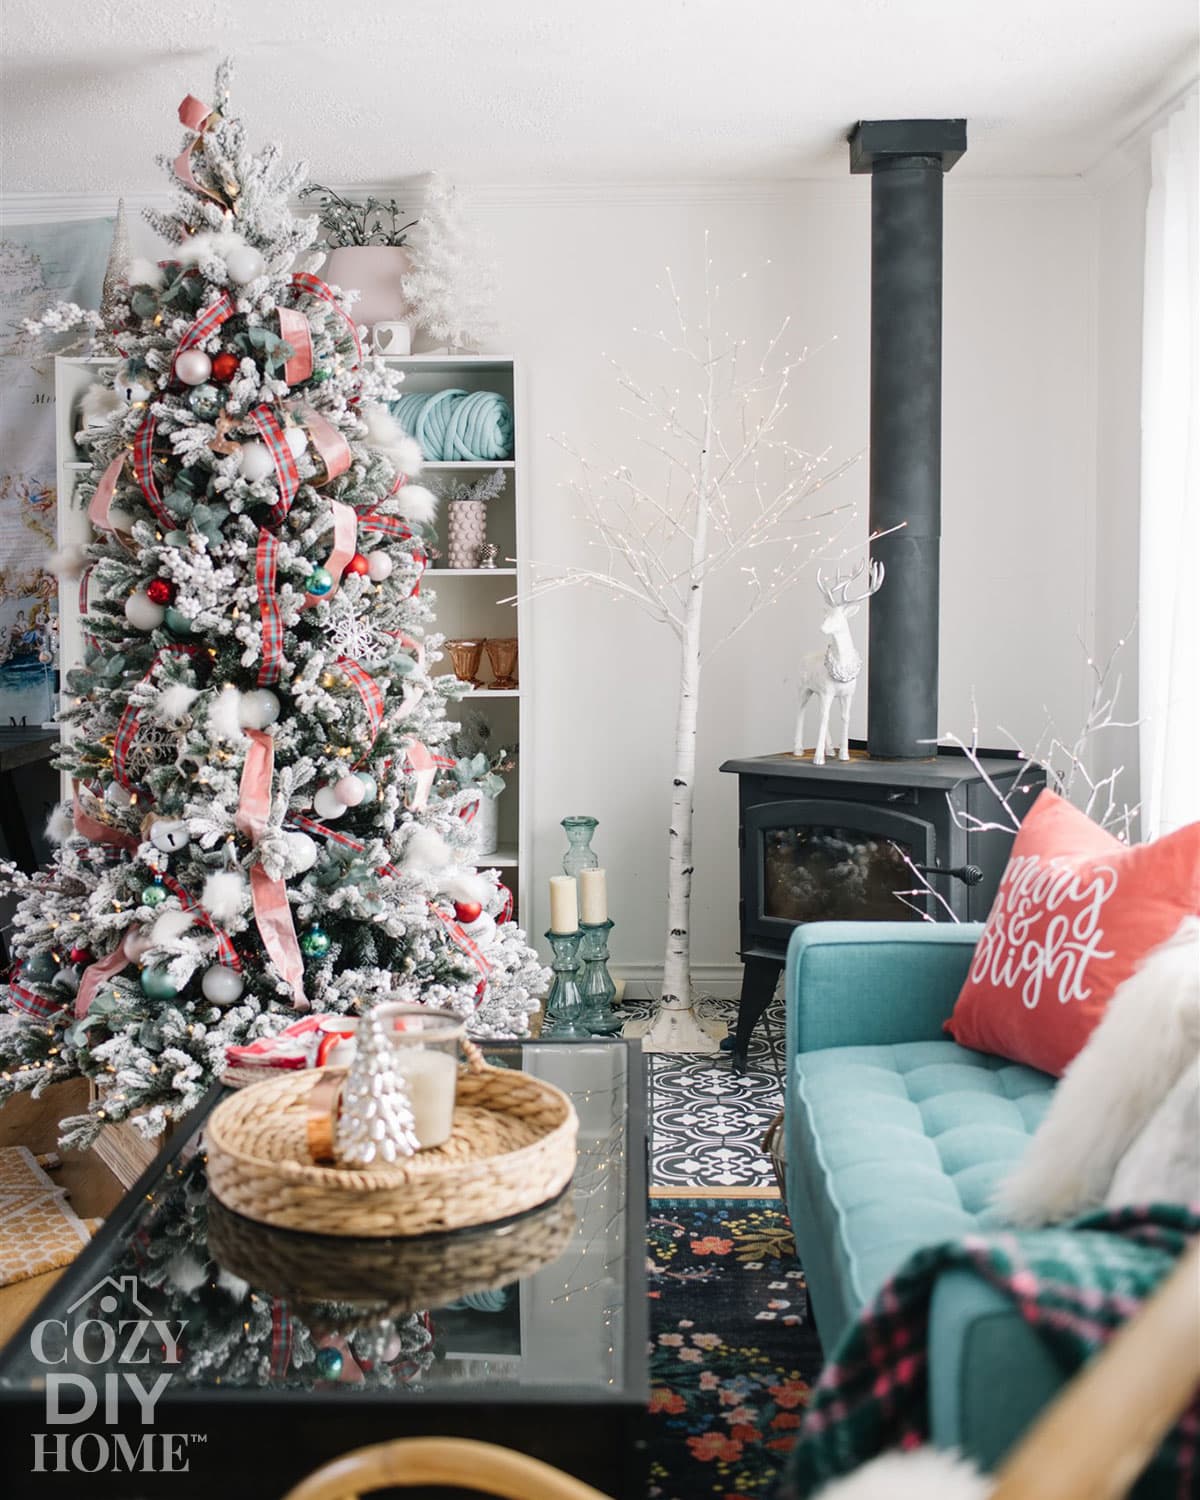
A fun mix of pink, turquoise, and metallic ornaments can create a cheerful, whimsical tree.
Add coordinating ribbon and some unique ornaments for extra personality.
Natural and Rustic Christmas Tree
If you love a simple, cozy style, try warm white lights, wooden ornaments, pinecones, and natural greenery.
Finish with a woven tree collar or knitted skirt.
It’s a beautiful look that can work with decorations you already own.

Common Christmas Tree Decorating Mistakes to Avoid
Even a few small changes can make a big difference in how your tree looks.
Here are some mistakes I recommend avoiding.
Skipping the fluffing: A tree that hasn’t been properly shaped can look sparse, no matter how many ornaments you add.
Putting all the ornaments on the outside: This makes the tree look flat. Remember to decorate at different depths.
Using ribbon that’s too tight: Loose ribbon loops look softer and fuller than ribbon pulled flat against the branches.
Hanging all the same colours together: Spread your ornament colours throughout the tree to create balance.
Forgetting the tree base: A pretty skirt or collar helps complete the whole design.
Trying to make everything perfect: A little variety makes a Christmas tree feel warm, personal, and collected.
Frequently Asked Questions About Decorating a Christmas Tree
What goes on a Christmas tree first, ribbon or ornaments?
I usually add ribbon before ornaments. This gives me room to tuck the ribbon deep into the branches and create beautiful loops without knocking ornaments off. Then I layer large ornaments, smaller ornaments, and special decorations around the ribbon.
Do you put Christmas tree lights on before decorations?
Yes! If your tree isn’t pre-lit, add the lights after fluffing the branches and before hanging ornaments or ribbon. This makes it easier to distribute the lights evenly throughout the tree.
How do you make a Christmas tree look fuller?
Start by fluffing every branch. Then place large ornaments deep inside the tree, add ribbon for volume, and fill empty spaces with greenery picks and smaller ornaments. Decorating at different depths is one of the easiest ways to make a Christmas tree look fuller.
How many ornaments do you need for a 7-foot Christmas tree?
It depends on how full your tree is and the style you want. As a rough starting point, you might use 60 to 100 ornaments of different sizes for a moderately decorated 7-foot tree. A heavily decorated tree may need more, while a simple or minimalist tree can look beautiful with fewer.
Start with what you own and add decorations until the tree looks balanced.
How can I decorate my Christmas tree like a designer without spending a lot?
Choose a simple colour palette, reuse your existing ornaments, and invest in a few versatile decorations like wired ribbon or greenery picks. Use large, inexpensive ornaments to fill the inside of the tree and save your prettiest pieces for the outer branches.
The secret is layering, not spending more money!
Watch my YouTube video to learn how to decorate a Christmas tree like a pro:
More Christmas Tree Decorating Ideas You’ll Love
If you enjoyed learning how to decorate a Christmas tree step by step, here are a few more tutorials to help you create a beautiful holiday home:
- How to Put Ribbon on a Christmas Tree: 4 Techniques for a Cozy Designer Look: Learn different ways to style ribbon on your tree.
- 5 Ways to Make Your Christmas Tree Look Expensive on a Budget: Get a beautiful look using affordable decorations.
- How to Decorate Your Christmas Tree Like a Professional Designer: See my cozy Victorian-inspired Christmas tree and the decorating details I used.
- How to Make a DIY Wired Ribbon Bow: Make a gorgeous bow for your tree topper.
- 8 Unique Decorating Ideas for a Christmas Tree: Find inspiration for your next Christmas tree theme.
Decorating a Beautiful Christmas Tree Doesn’t Have to Be Complicated!
I hope this step-by-step Christmas tree decorating guide gives you the confidence to create a tree you absolutely love this year!
Remember, the secret to a beautiful designer-looking Christmas tree isn’t buying expensive decorations. It’s taking your time, working in layers, and adding those special details that make your home feel warm and welcoming.
Start with a well-fluffed tree, add your lights and ribbon, layer your ornaments, and finish with a few pretty greenery picks and a cozy tree skirt or collar.
Most importantly, have fun with it!
Christmas decorating should be something you enjoy, not another thing on your holiday to-do list.
I’d love to know: What’s your favourite Christmas tree decorating trick? Do you love using ribbon, sentimental ornaments, or a different colour theme every year?
Let me know in the comments below!
And if you try any of these ideas, I’d love for you to share your Christmas tree with me.
Happy decorating!
Pin Me:



Love your style and creativity
These tips are amazing!! They will definitely help me out this year 🙂
I love the box under the tree…
Thank you for adding pictures of the complte Christmas tree. I was wondering what type of tree skirt you would add if any. The house rug infront of the Christmas tree is adorable.
I like to step back from the tree and have a good look. If there’s an ornament or element that seems like it doesn’t belong, Thank you for adding pictures of the complete Christmas tree. The house rug in front of the Christmas tree is adorable. You might even want to look at your tree the next day with fresh eyes and do more editing then.
Hi, I was wondering about the color of the green blue ornaments Is it mint green or turquoise? the tree is gorgeous!
Thank you so much for sharing these tips! Your tree looks sooooo beautiful! If your fireplace is electric, what brand is it? I need that too! Have a blessed holiday season!
The fireplace is wood burning.