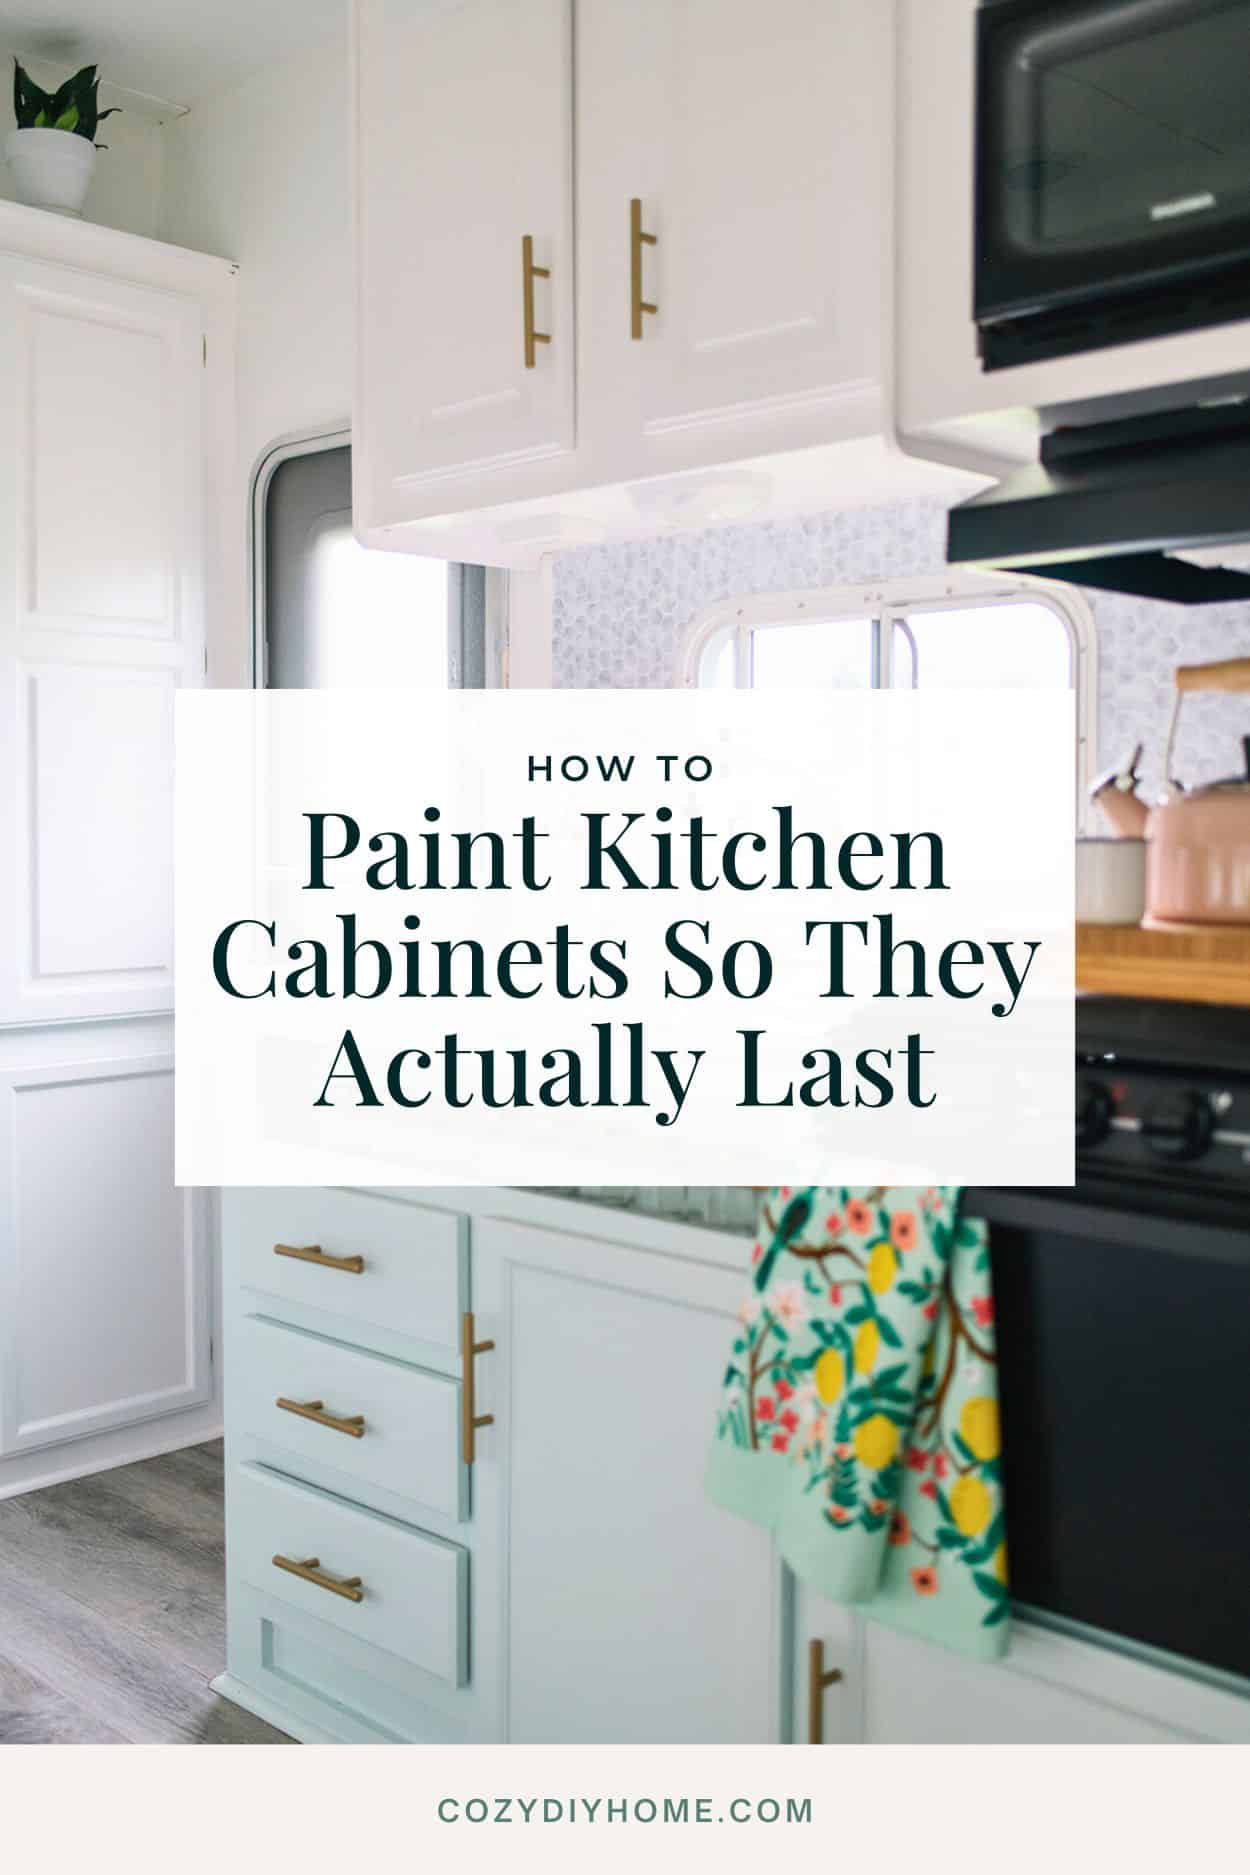
How to Paint Kitchen Cabinets So They Actually Last (Beginner-Friendly Guide)
This post may contain affiliate links · This blog generates income via ads
Yes, you can paint kitchen cabinets and get a durable, professional-looking finish if you follow the right prep and painting steps. The key is proper cleaning, sanding, priming, and using cabinet-grade enamel paint designed for high-traffic surfaces.

Painting cabinets is one of the most affordable ways to update a kitchen. According to the National Association of Realtors, small kitchen updates like cabinet refinishing can significantly improve perceived home value during resale.
Over the years I’ve painted a lot of cabinets in different homes and renovation projects. Some turned out beautifully and some taught me exactly what not to do!! Through that experience I’ve developed a method that helps prevent chipping, peeling, and uneven finishes.
In this guide, you’ll learn:
- Whether you can paint your cabinets
- What supplies you actually need
- The step-by-step method that creates a durable finish
- Practical tips that help cabinet paint last for years

Quick Overview
Time: 2–4 days (including drying time)
Cost: $100–$300 depending on supplies
Skill level: Intermediate DIY
Tools required: Sander or sanding sponge, paint sprayer or foam roller, paint brush, screwdriver
Can You Paint Kitchen Cabinets?
Yes. Most kitchen cabinets can be painted successfully if they are properly prepped and primed.
Cabinets made from these materials typically paint well:
- Solid wood
- MDF (medium-density fiberboard)
- Laminate
- Melamine
The most important factor is surface preparation. Paint adheres poorly to greasy or glossy surfaces, which is why cleaning and sanding are critical steps!! Don’t learn this the hard way like I did.
According to professional paint manufacturers like BEHR and Sherwin-Williams, cabinet finishes last longer when surfaces are cleaned, sanded, and primed before applying enamel paint.
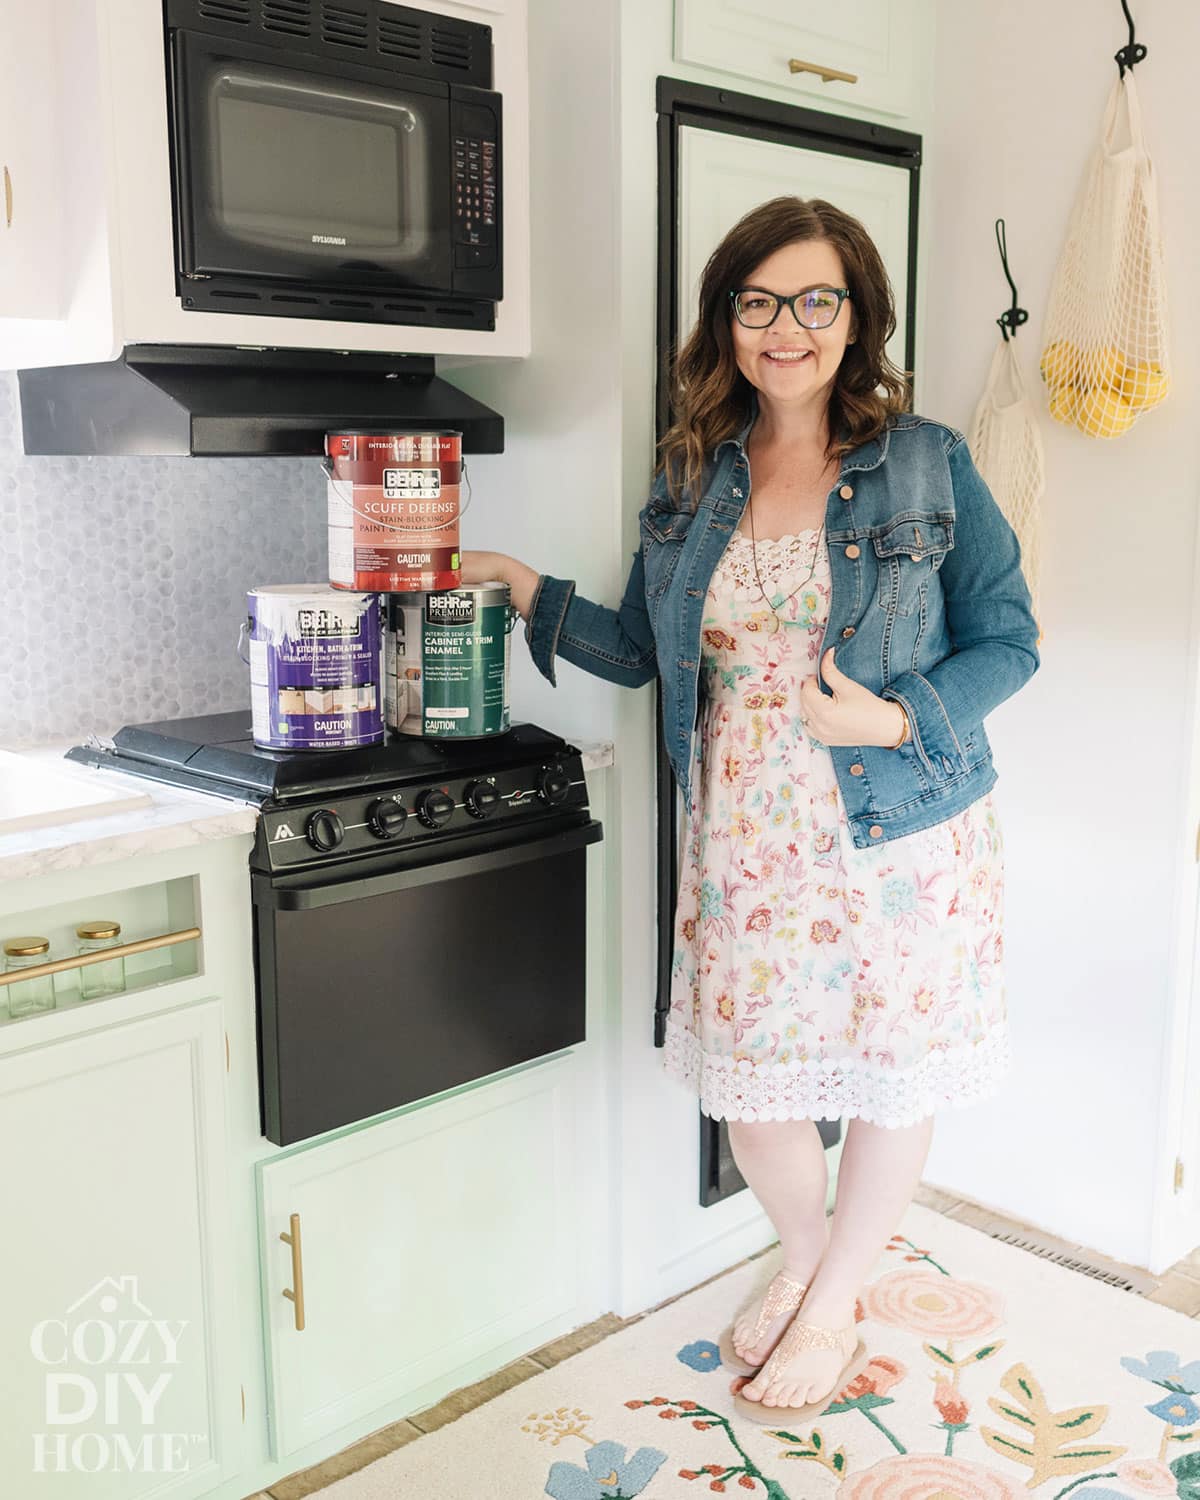
Materials List
Materials used in this project:
- Paint tray
- Foam roller or paint sprayer
- Angled paint brush
- Sanding sponge or orbital sander
- High-quality cabinet primer
- Cabinet enamel paint
- Painter’s drop cloth
- Painter’s tape
- Degreasing cleaner (such as Krud Kutter or TSP)
- Small scrap wood blocks or cans (for elevating cabinet doors)
- Cabinet door bumpers
You can find most of these supplies at hardware stores like Home Depot or Lowe’s.
Step-by-Step Tutorial
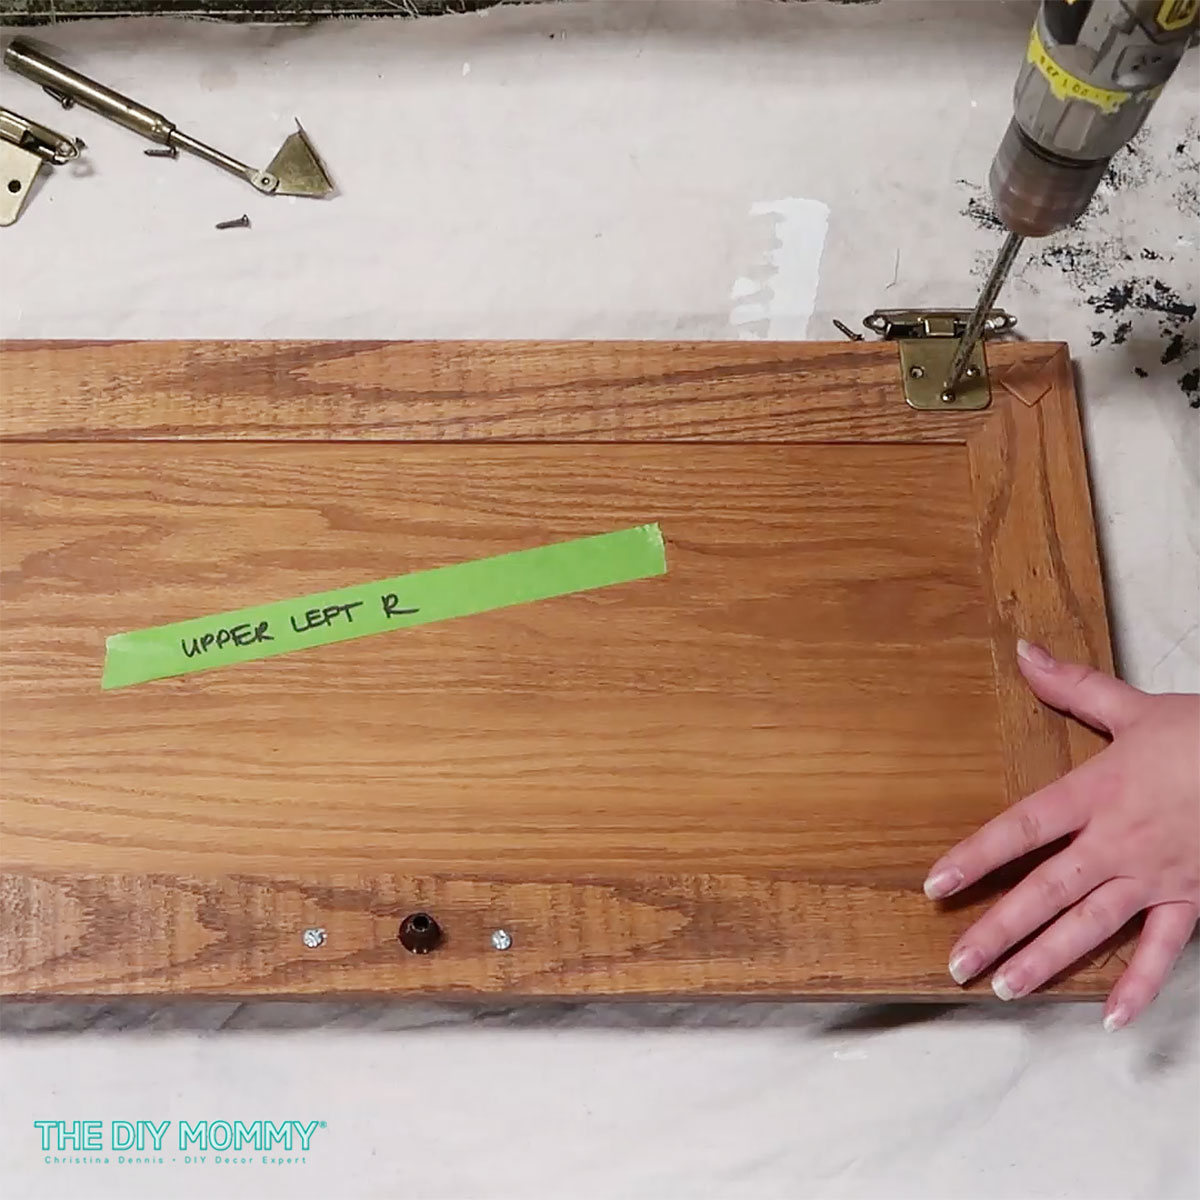
Step 1: Remove the cabinet doors and hardware
Remove all cabinet doors, drawers, hinges, and knobs before painting.
Why this matters
- Prevents drips and uneven paint edges
- Makes it easier to paint every surface evenly
- Creates a more professional finish
Pro tip:
Label each door and drawer with painter’s tape so you know where everything belongs when reinstalling! Future you will thank you!
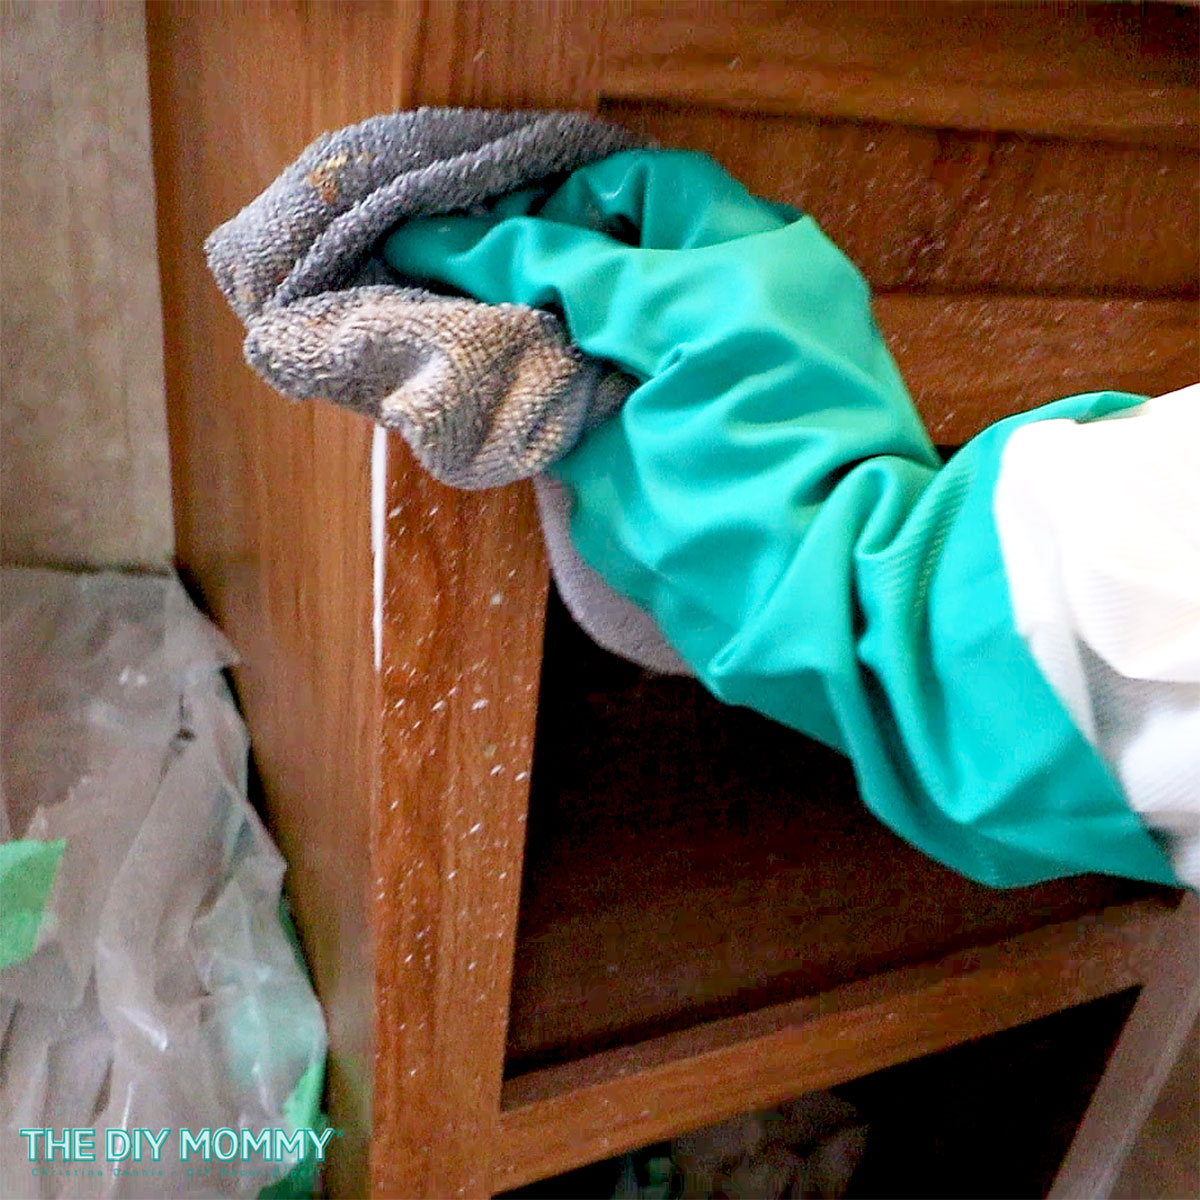
Step 2: Clean cabinets with a degreaser
Clean cabinet boxes and doors using a degreasing cleaner.
Good options include:
- Krud Kutter (my personal favourite!)
- TSP (trisodium phosphate)
Why this matters
Kitchen cabinets collect grease and oils over time. Paint will not adhere properly to oily surfaces.
Allow cabinets to dry fully before moving to the next step.
Step 3: Sand the cabinet surfaces
Lightly sand all cabinet surfaces.
Recommended tools:
- Sanding sponge
- Orbital sander
- Battery-powered sander
How much sanding is needed?
- Matte cabinets → light sanding
- Glossy cabinets → heavier sanding
Why sanding matters
Sanding removes the glossy finish and creates a slightly rough surface so primer can bond properly.
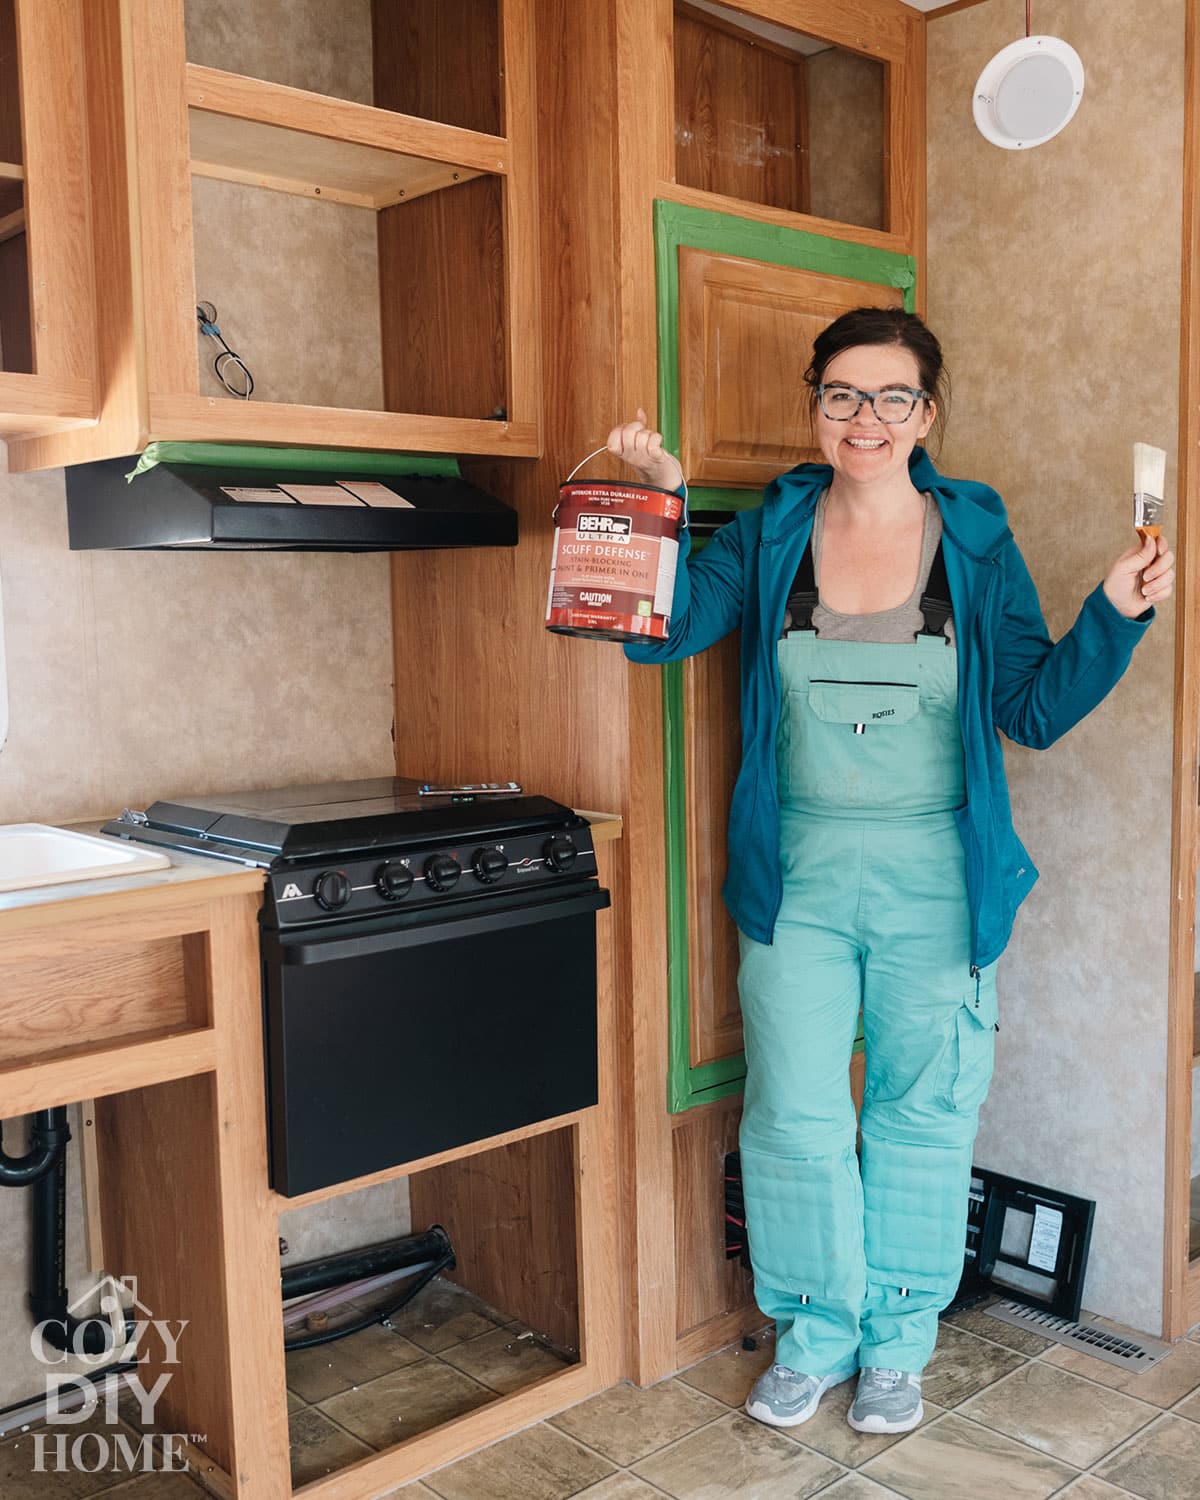
TIP: You can use what’s called a “liquid sand” product like Gloss-Off instead of manually sanding. I used this on our RV’s cabinets, and it actually worked really well! Here’s my blog post about painting cabinets without using the traditional sanding method.
Step 4: Remove sanding dust
After sanding, clean the cabinets again to remove dust.
Use:
- Tack cloth
- Microfiber cloth
- Slightly damp rag
Why this matters
Dust particles can create bumps and rough textures in your paint finish.
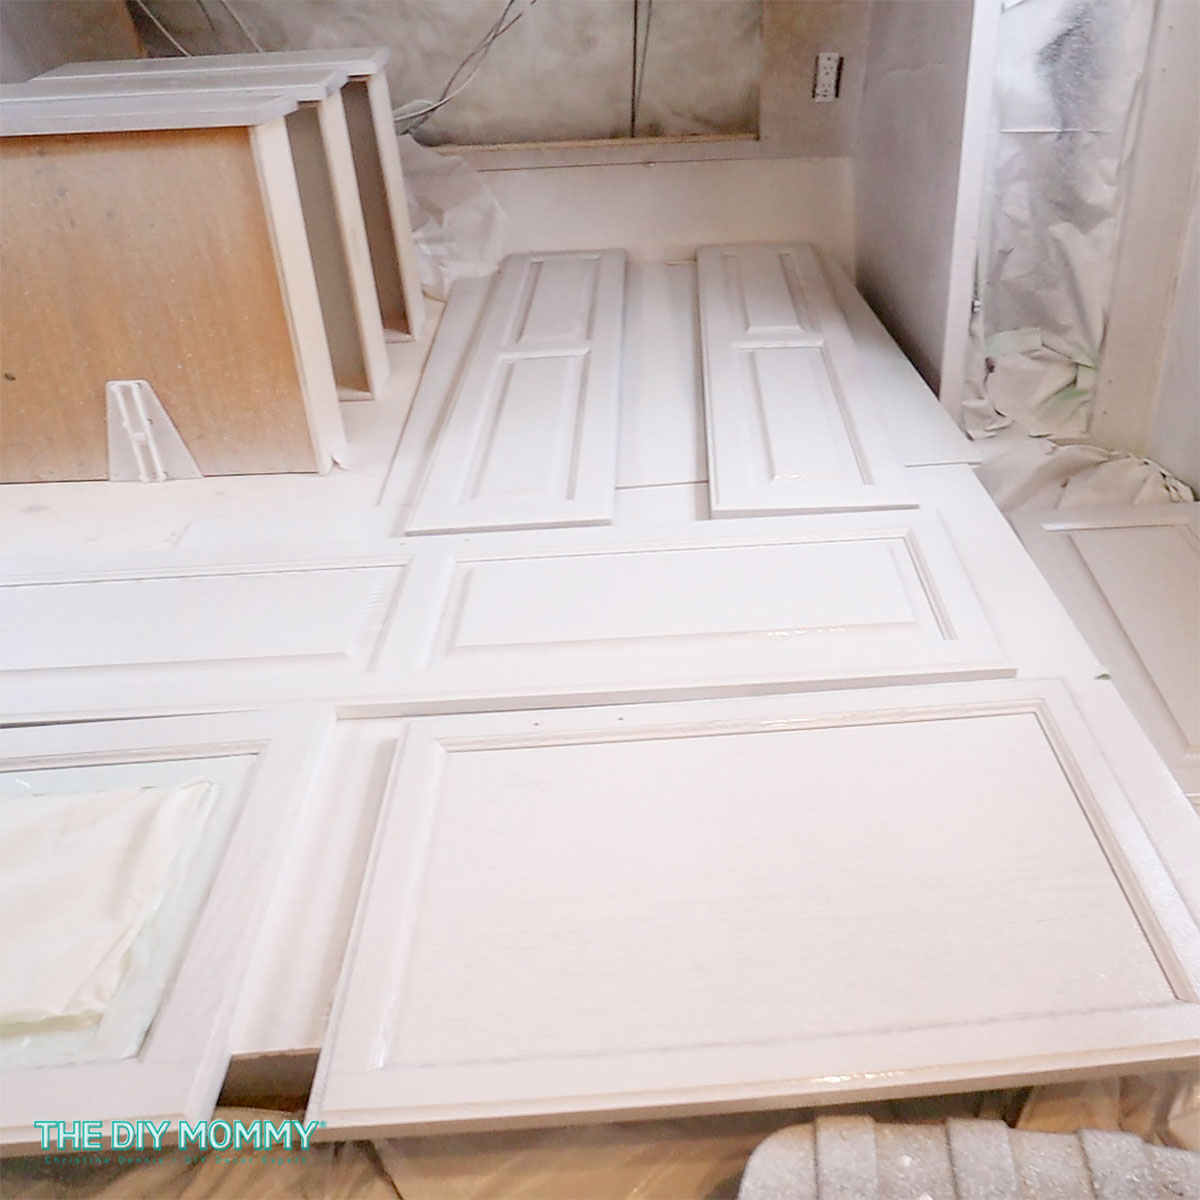
Step 5: Apply primer
Prime the cabinet boxes and doors using a bonding primer designed for kitchen and bath surfaces. I know this is an annoying step, but trust me… it matters!
Application methods:
- Paint sprayer (smoothest finish)
- Foam roller
- Small brush for detailed areas
Helpful tip
Place cabinet doors on scrap wood blocks or cans so they can dry without sticking to the surface underneath.
Why primer is important
Primer:
- Improves paint adhesion
- Prevents stains or wood tannins from bleeding through
- Creates a more durable finish
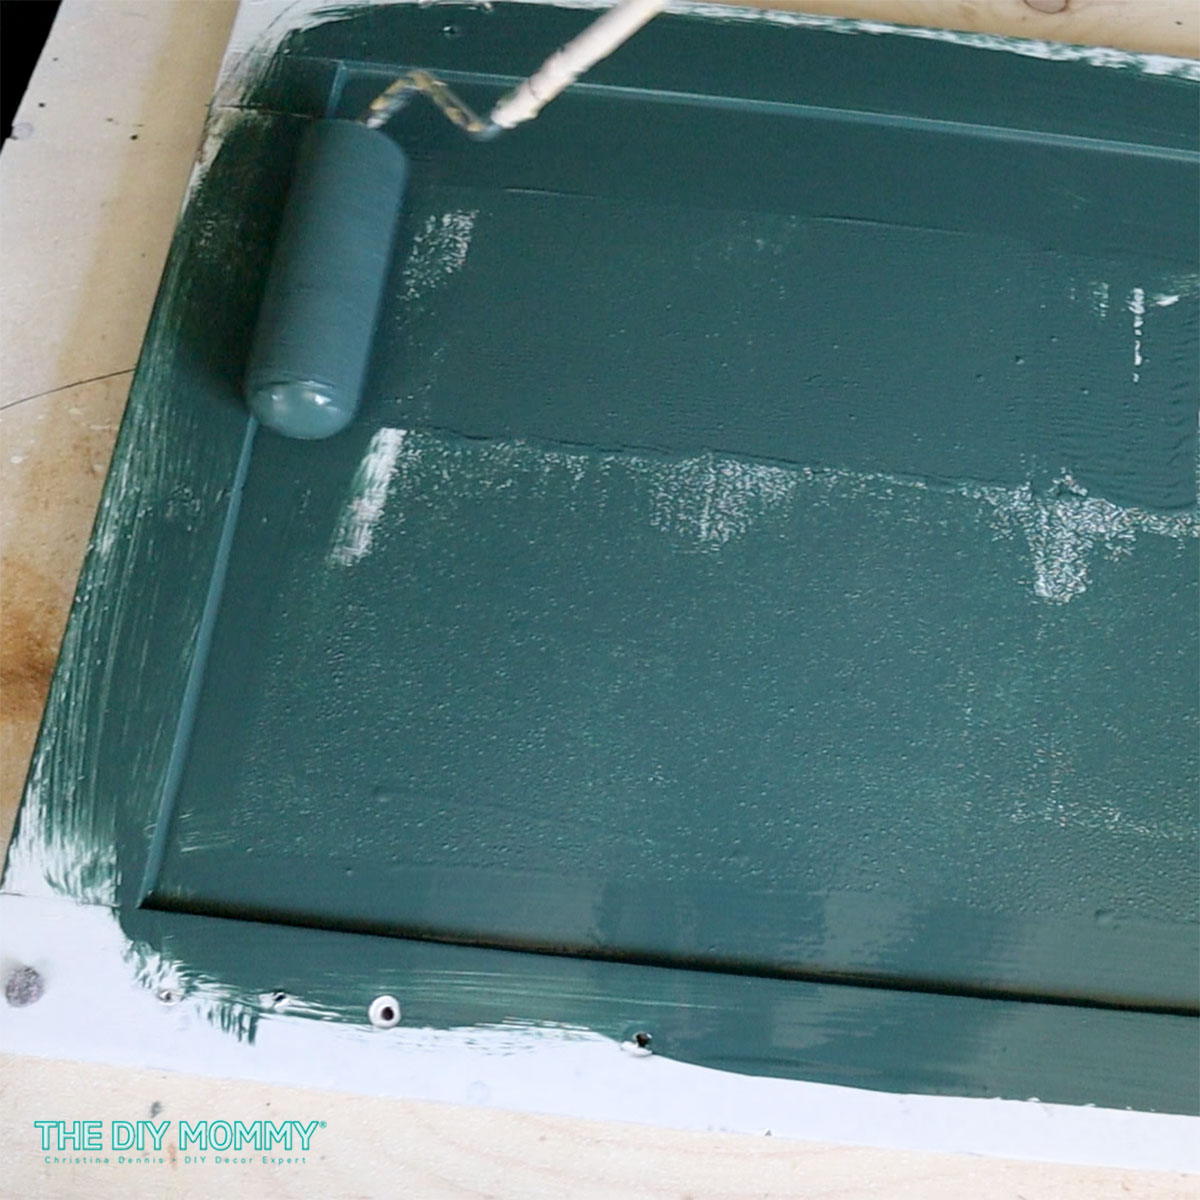
Step 6: Paint with cabinet enamel
Once the primer has fully dried and cured, apply cabinet enamel paint.
Recommended application:
- Paint sprayer for smoothest results
- Foam roller with brush for details
According to professional painting guidelines from Painting Contractors Association, enamel paints are preferred for cabinets because they cure to a harder surface than standard wall paints.
Apply thin coats.
Thick coats can cause drips and slow drying times.
Step 7: Apply additional coats
Most cabinet projects require two coats of enamel paint.
Important rule:
- Let each coat dry completely before applying the next! Use the guidelines for drying time that are printed on the paint can.
This step dramatically improves durability.
Step 8: Reinstall doors and hardware
Once the cabinets are fully dry and cured:
- Reinstall cabinet doors
- Reattach hardware
- Add plastic bumpers to the inside corners of cabinet doors
Why bumpers help
They prevent doors from slamming and reduce paint wear over time.
Expert Tips for the Best Results
Professional painters agree that prep work is the secret to long-lasting cabinet paint.
Interior paint specialist Rick Watson from Sherwin-Williams explains:
“Never skimp on surface prep. Eighty-plus percent of most complaints are due to poor prep, or lack of surface prep. ”
Additional tips:
- Use cabinet enamel rather than standard wall paint
- Apply multiple thin coats instead of one thick coat
- Sand lightly between coats for a smoother finish
- Allow paint to cure fully before heavy use
Most cabinet paints require 1–2 weeks to fully cure, even if they feel dry sooner. Patience is a virtue here!

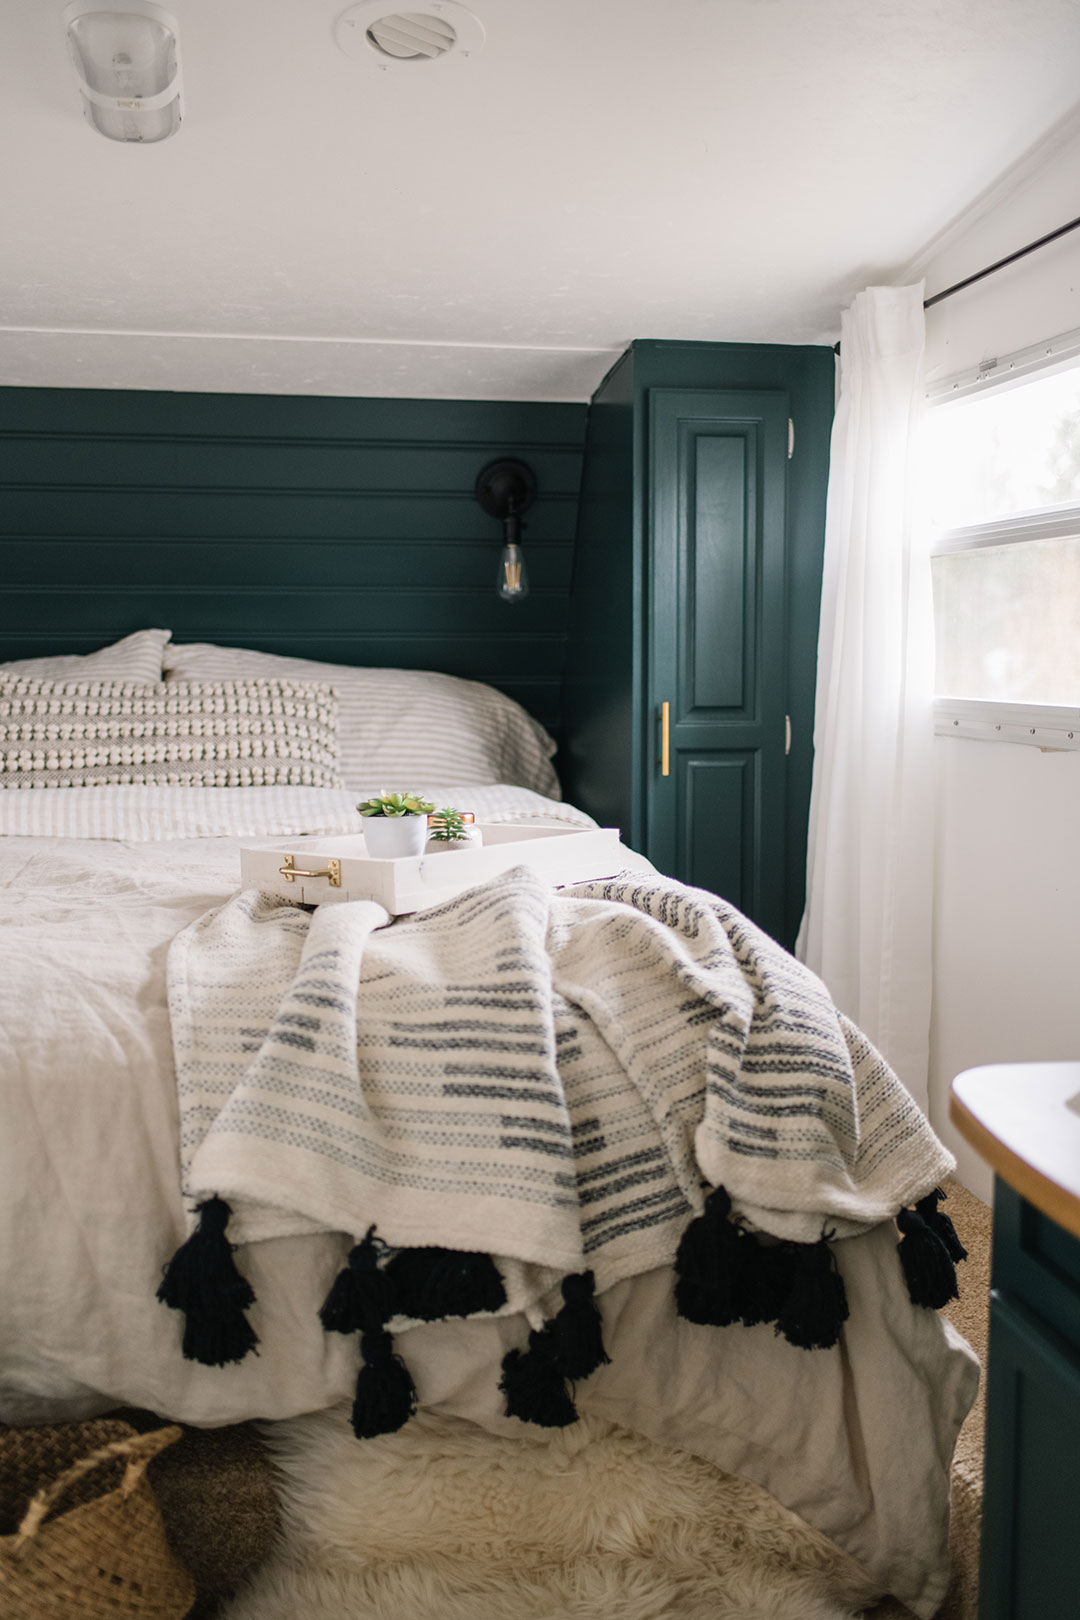
Styling Ideas After Painting Your Cabinets
Freshly painted cabinets can make your entire kitchen feel brand new.
Here are a few easy styling ideas:
- Install modern cabinet hardware (matte black or brass)
- Add a wooden tray with a plant on the countertop
- Display cutting boards for warm texture
- Use glass jars for pantry storage
- Add under-cabinet lighting
Small styling updates can help your kitchen feel cozy, welcoming, and updated!
Here’s how the kitchen cabinets in my RV looked before painting:
And here they are after:

Frequently Asked Questions
Yes. Laminate cabinets can be painted if you use a bonding primer designed for slick surfaces.
Sanding is strongly recommended because it improves paint adhesion and durability. Using a “liquid sandpaper” is an easier option that usually works.
Cabinet & trim enamel is my preferred paint for kitchen cabinets because it’s durable and easy to clean.
Most professionals recommend satin or semi-gloss finishes because they are durable and easy to clean. I like satin because it has a slight sheen, but it’s not too shiny.
It depends on the paint colour and the quality of the paint, but you’ll usually need one coat of primer and at least two coats of enamel.
Paint sprayers create the smoothest finish, but foam rollers can still produce great results for DIY projects.
When properly prepared and painted, cabinets can last many years without peeling or chipping.
Related Projects
If you enjoyed this project, you might also like:
- How to Paint Bathroom Cabinets: A Step-by-Step Guide
- Painting by Numbers: A DIY Guide to Estimating Paint Needs
- 10 Paint Colors I’ll Use Again and Again: Best Paint Colours for Walls
- How to Paint IKEA Furniture (so it actually lasts!)
Painting your kitchen cabinets is one of the most budget-friendly ways to update your kitchen. With proper cleaning, sanding, priming, and cabinet enamel paint, you can create a finish that looks beautiful and lasts for years! If your cabinets feel outdated but replacement isn’t in the budget, painting them is a DIY project that can dramatically change the look of your kitchen. If you try this, I’d love to hear how it turned out for you! Let me know in the comments, or tag me on social: @cozydiyhome. Happy Painting!
Pin Me:


We bought a Wagner paint sprayer to use in painting our cabinets. But, we keep getting little ‘globs’ of paint that spit out of the sprayer. Any suggestions on preventing that?
Thanks for this kind of article, It was very helpful!
Your newly painted kitchen cabinets can last up to 15 years if correctly painted and looked for.
Great info!! How do I paint PAINTED cabinets that were NOT primed or sanded previously and now are begining to chip and wear? The previous owners of our home painted over their kitchen cabinets. While orignal was not a glossy finish, they were treated and definately needed some sort of priming. How do I remedy this? I’d like to repaint them but don’t want to paint a bad job over a bad job. Thank you for any guidance.
Give the the cabinets a good sanding, and then prime and paint over top. However, it’s hard to say how much sanding or even stripping would be required without seeing the cabinets.
What color paint is on the bedroom cabinets? Looks like a deep green…I love it!!
Thanks
That’s Black Evergreen by Behr.
Your kitchen looks modern and stunning. Thank you for sharing the video and all the steps in this article. This is a perfect guide!
I love the outcome! Your kitchen looks aesthetic and neat. Thank you for all the advice.
I can’t even express how much confidence your steps and tricks have given me for this! I have been really wanting to paint my kitchen cabinets for ages, but have dreaded it because of how big of a project it is and how complicated everyone makes it seem. This totally simplified it for me and I think I’m finally ready to take the next step and actually buy the supplies! Thanks so much for sharing!
Great tips! I love how you broke down the process into manageable steps. I’ve always wanted to give my kitchen cabinets a fresh look but was worried about durability. Your advice on prep work and choosing the right paint gives me the confidence to tackle this project. Can’t wait to try it out!