How to Make Store-Bought Curtains Look Custom (Without Spending a Fortune)
This post may contain affiliate links · This blog generates income via ads
Have you ever bought curtains that looked beautiful in the store but felt a little… underwhelming once they were hanging in your home? You’re definitely not alone! Many store-bought curtain panels are designed to be affordable and versatile, which often means they come a little wrinkled, slightly too short, or lacking that full designer look. The good news is you do not need custom drapery to get that polished, high-end feel. With a few simple tricks, you can make store-bought curtains look custom. As a home decorator with over 16 years of experience, I can tell you that small details like fullness, proper height, and the right hardware make a huge difference!

In this guide, you will learn simple ways to make store-bought curtains look custom, luxurious, and perfectly styled in your space.
Quick Overview
Time: 30 minutes to 2 hours depending on the upgrades
Cost: $10 to $60 depending on hardware and supplies
Skill level: Beginner
Tools: Iron or steamer, measuring tape, curtain rings or hooks, optional sewing machine or hem tape
Materials List
Materials used for these curtain upgrades:
- Store-bought curtain panels (IKEA, Target, Amazon, etc.)
- Curtain rod and quality brackets
- Curtain rings with clips or drapery hooks
- Pleater tape (optional but recommended)
- Hem tape or sewing machine for hemming
- Fabric steamer or iron
- Measuring tape
- Level for rod installation
Budget-friendly places to find these materials include IKEA, Amazon, Home Depot, Target, and thrift stores.
Step-by-Step Tutorial
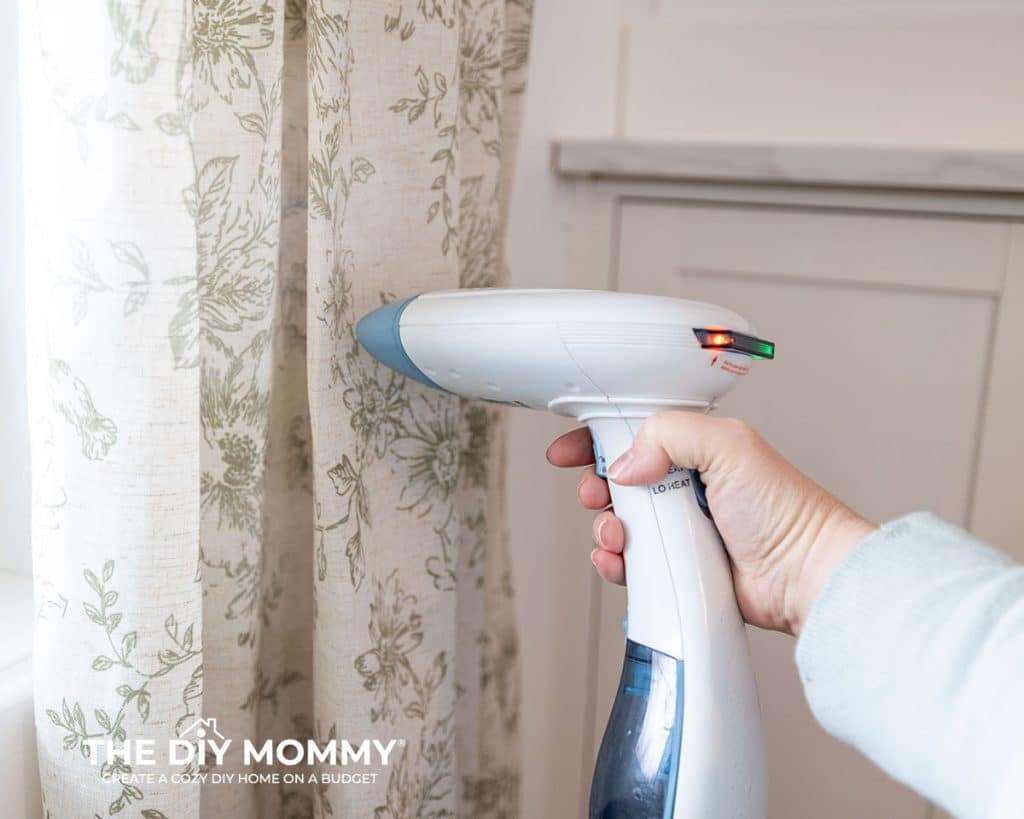
Step 1: Start by Steaming or Ironing the Curtains
Wrinkled curtains instantly make a room feel unfinished.
Most packaged curtains come folded tightly, so the first step should always be steaming or ironing them before hanging.
Why this matters:
Smooth fabric allows curtains to drape properly and instantly makes them look more expensive.
Tips to avoid mistakes:
- Use a handheld steamer if possible. It is faster and easier.
- If ironing, check the fabric label first.
- Steam them while they are hanging for the best results.
Professional decorators almost always steam drapery during installation!
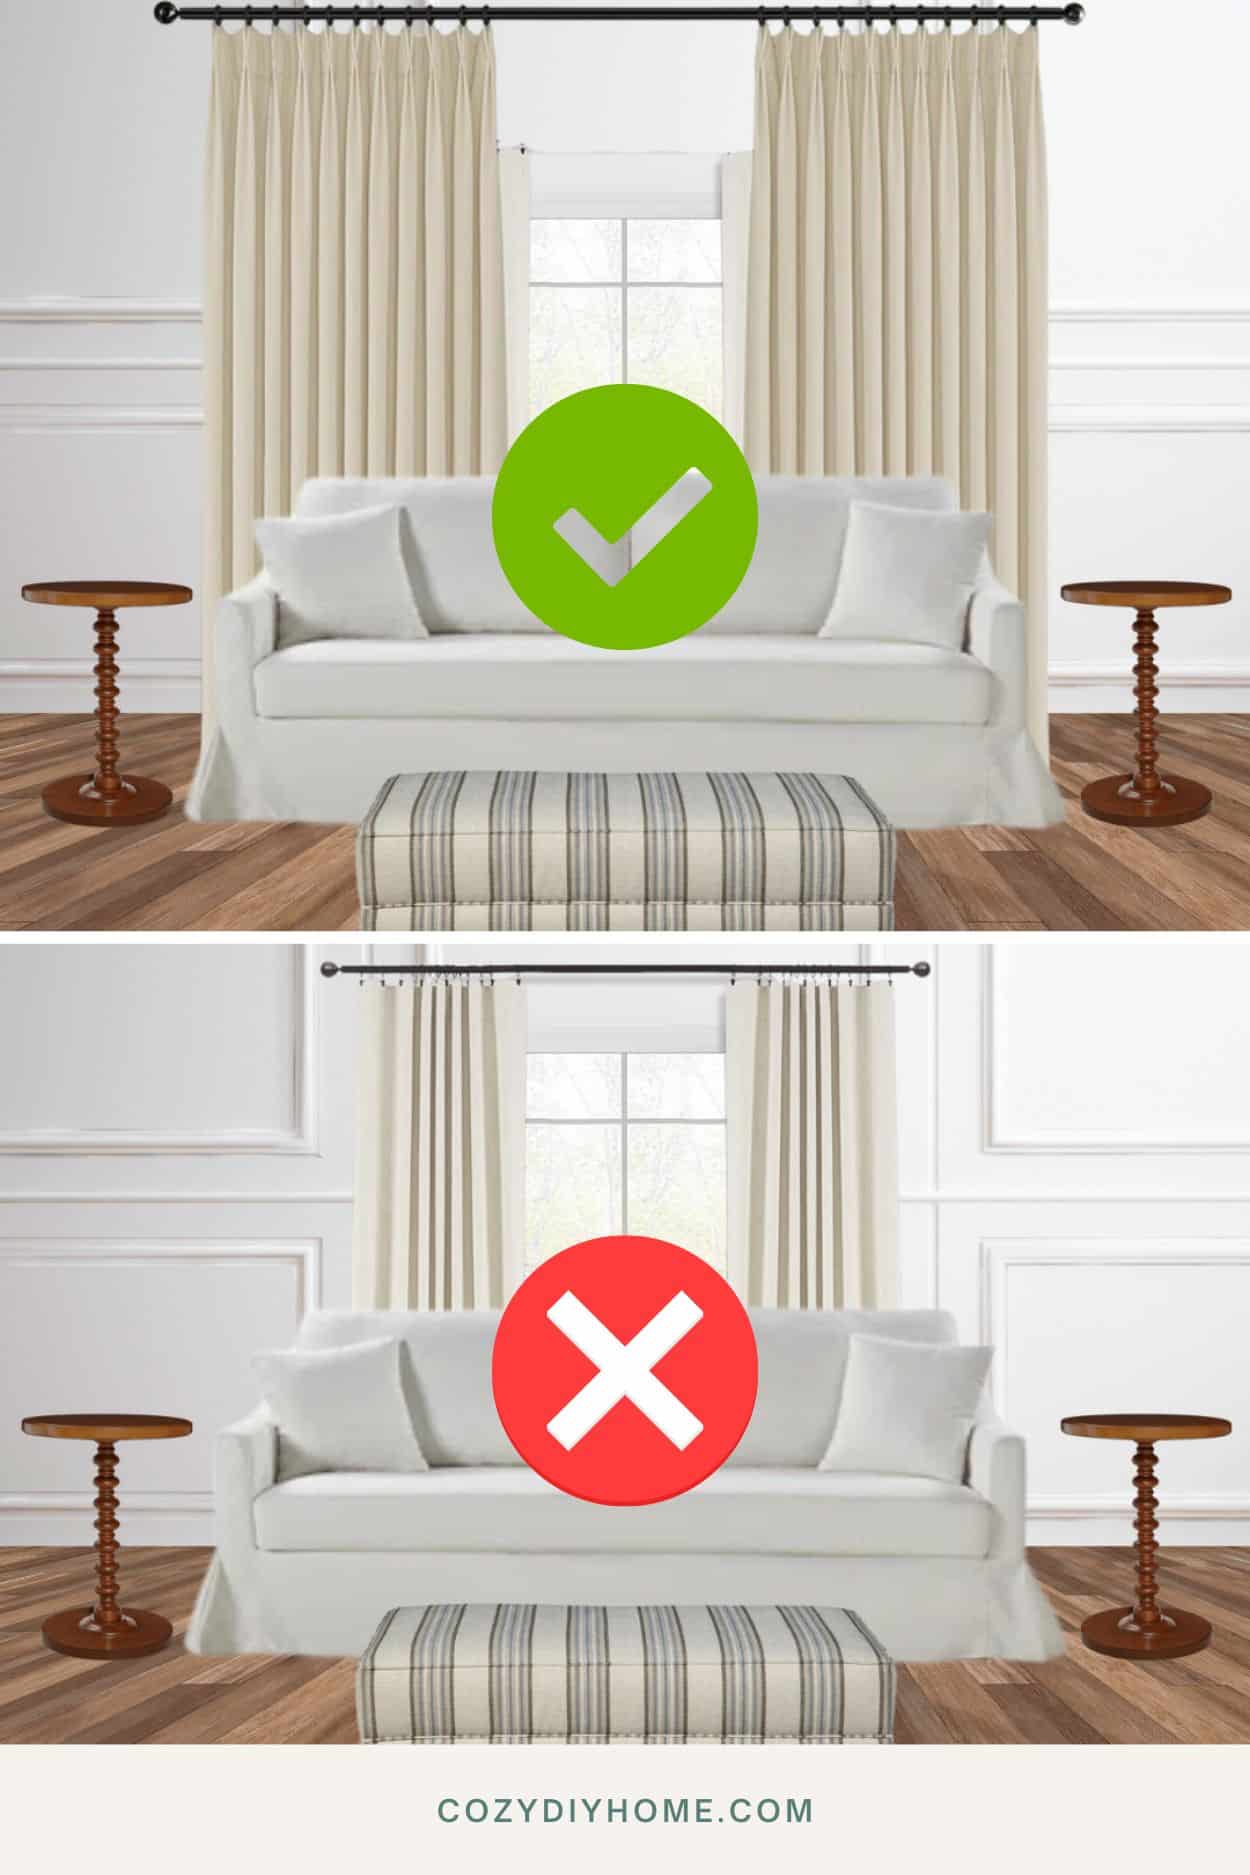
Step 2: Hang the Curtain Rod Higher and Wider
One of the biggest mistakes homeowners make is installing curtain rods directly above the window frame.
Instead, mount the rod higher and wider.
A good rule of thumb:
- Install the rod 4-8 inches above the window frame
- Extend the rod 8–12 inches beyond each side of the window
Why this matters:
This trick makes windows appear larger and allows more light into the room when curtains are open.
It is one of the easiest ways to make basic curtains look professionally installed.

Step 3: Buy Extra Panels for Fullness
Thin, flat curtains are one of the fastest ways to spot budget window treatments.
For a custom look, curtains should be 2 to 3 times the width of the window.
Example:
If your window is 60 inches wide, aim for 120–180 inches of curtain fabric.
Why this matters:
Full curtains create soft folds and a luxurious drape, which is exactly what custom drapery provides.
Budget tip:
Buying an extra panel often costs far less than upgrading to expensive curtains.

Step 4: Hem Curtains to the Perfect Length
Curtains that are too short instantly look store-bought.
The ideal curtain length usually falls into one of these styles:
- Graze the floor (my personal favorite for a tailored look)
- 1/2″ above the floor (this is a great option for kitchens or rooms where the floor needs to be cleaned often)
- Puddle slightly for a more romantic or relaxed style (2-4 inches of fabric resting on the floor; not recommended if you have pets!)
Why this matters:
Proper length is one of the biggest differences between custom and ready-made drapery.
If the curtains are too long:
You can easily fix them with:
- Iron-on hem tape
- Basic sewing
- Clip rings that adjust the height
Beginner tip:
Hem tape works great and requires zero sewing!
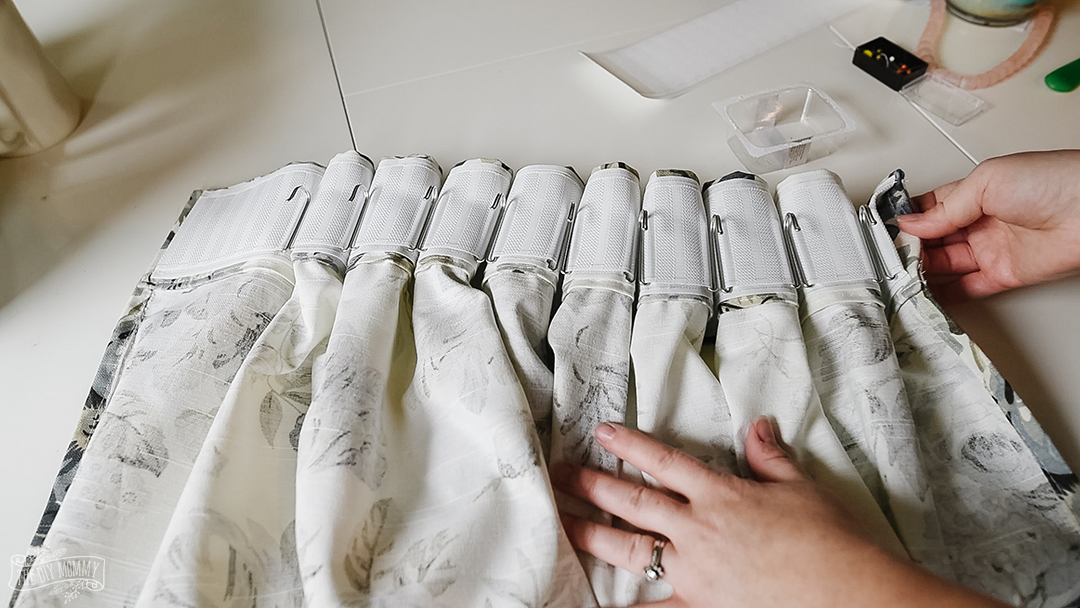
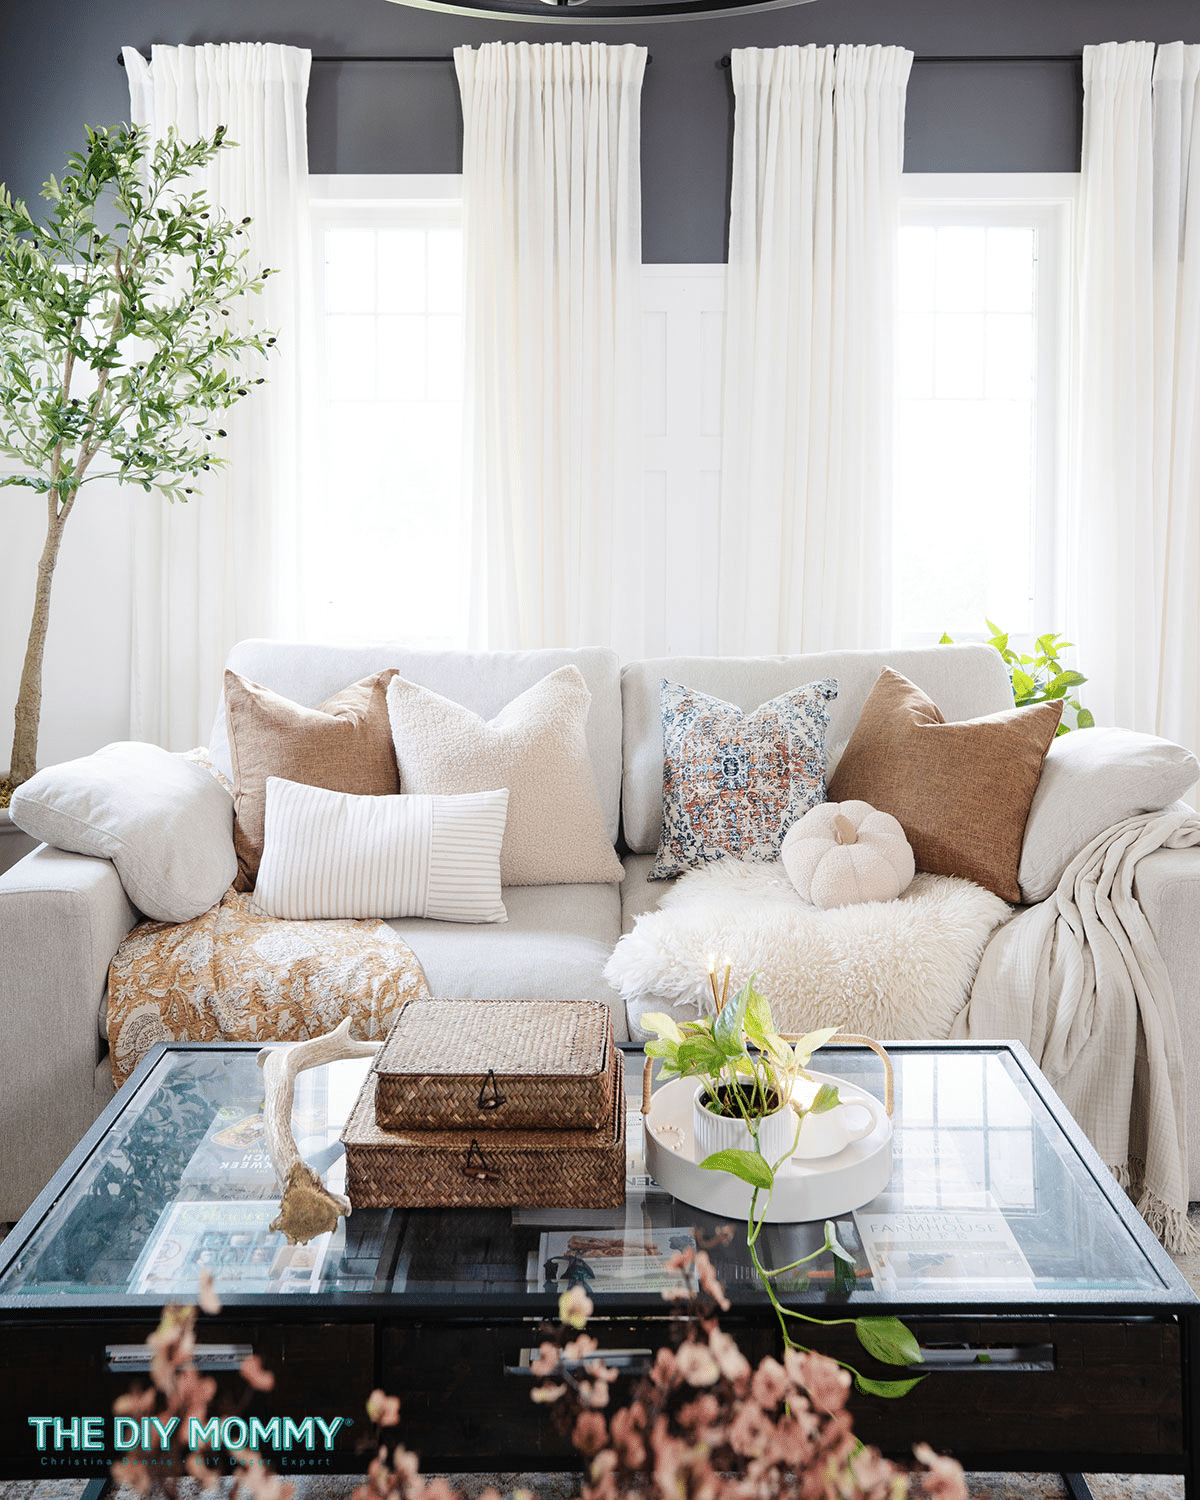
Step 5: Add Pleater Tape for a Custom Drapery Header
Pleater tape is one of the biggest secrets designers use to upgrade basic curtain panels.
This tape is sewn across the back of the curtain and allows you to insert drapery hooks to create evenly spaced pleats.
Why this matters:
Pleated curtains instantly look structured and tailored, similar to custom drapery.
Tips:
- Pinch pleats and French pleats look especially elegant
- Hooks attach easily to curtain rings
- Pleater tape is inexpensive but makes a dramatic difference
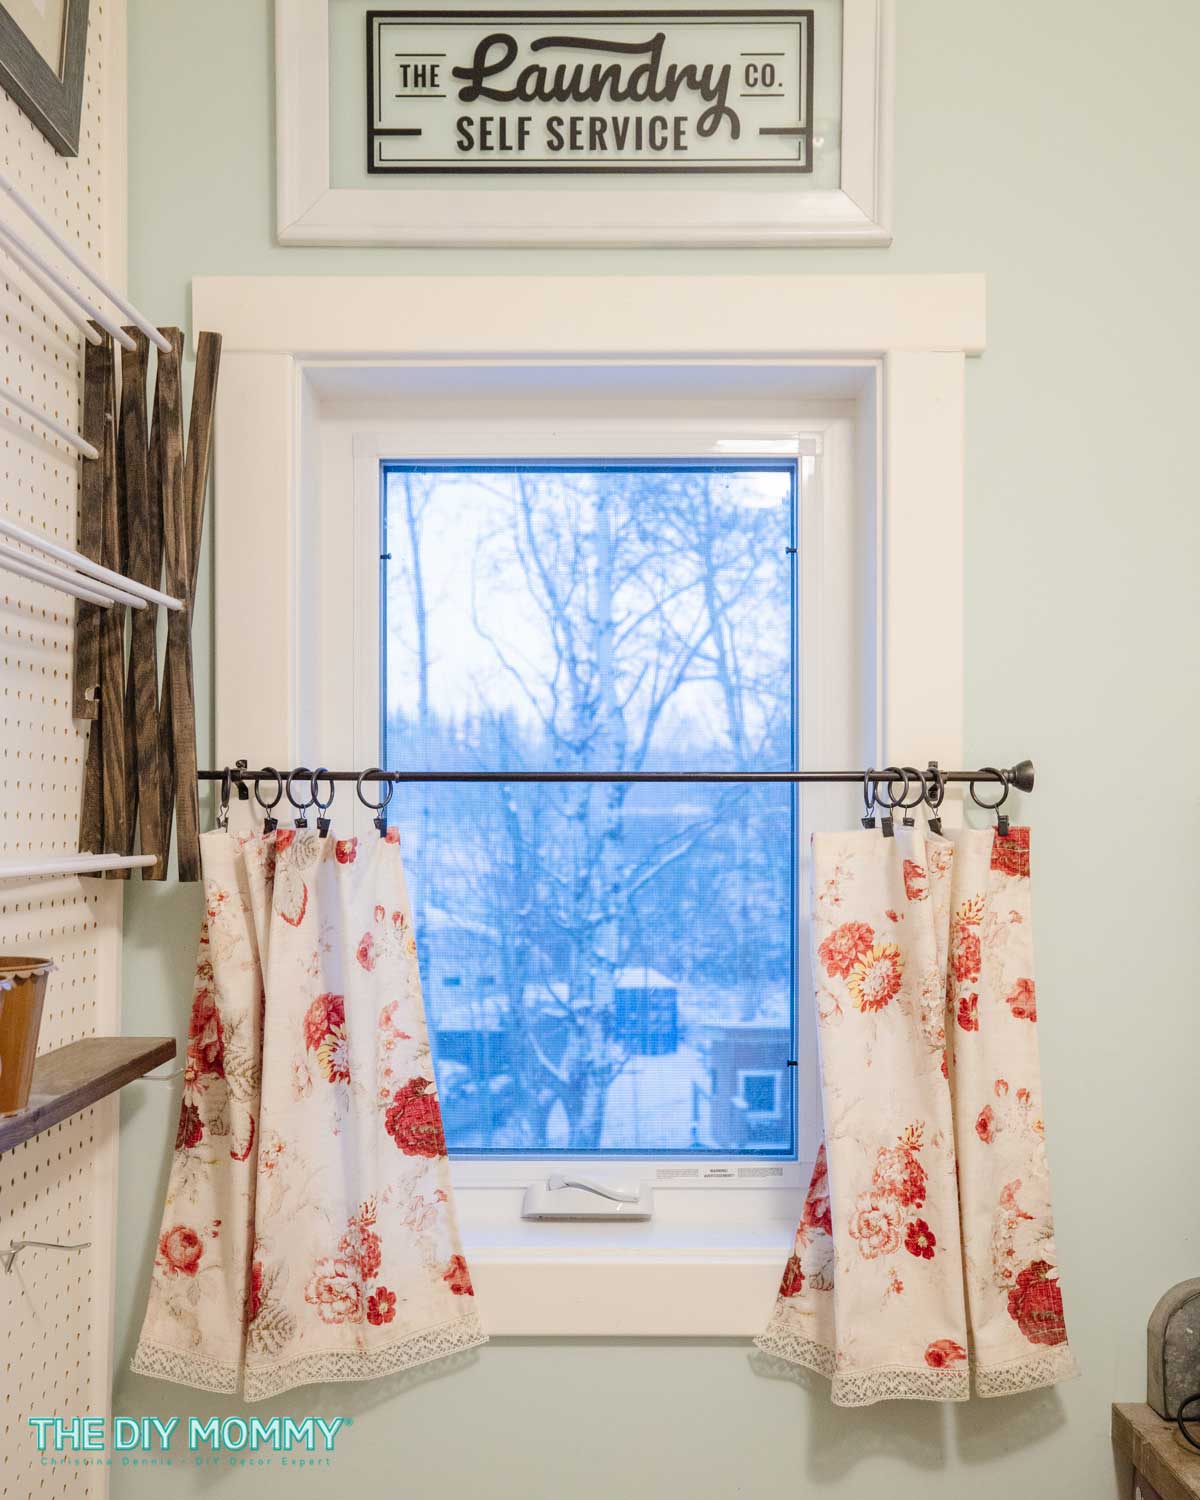
Step 6: Switch to Curtain Rings and Hooks
Many store curtains hang directly on the rod through grommets or rod pockets.
While convenient, this often looks more casual.
Using curtain rings with clips or drapery hooks instantly elevates the look.
Why this matters:
Rings allow curtains to hang in uniform folds and slide more smoothly.
Decorator tip:
Use drapery hooks instead of clips whenever possible. Clips can slightly damage fabric and look less polished.
Step 7: Upgrade the Curtain Rod and Hardware
Curtain rods are often overlooked, but they play a huge role in the overall look.
Thin, lightweight rods tend to look inexpensive.
Instead, choose:
- Thicker rods
- Metal or wood finishes
- Decorative finials
Why this matters:
High-quality hardware anchors the window treatment and makes the entire setup feel intentional.
Good budget sources include IKEA, Amazon, and Home Depot.
Tips for the Best Results
After decorating homes for over 16 years, these are the small details that make the biggest difference:
Train the curtain folds
Once the curtains are hung, gently fold them into natural pleats and tie them loosely with ribbon overnight. This helps them keep their shape.
Use drapery weights
Small weights sewn into the bottom hem help curtains hang straight.
Choose lined curtains
Lining adds structure and improves the drape dramatically.
Stick to neutral fabrics
Solid fabrics often look more expensive than busy patterns.
Avoid grommet tops if possible
They are practical but rarely look custom.
Styling Ideas
Once your curtains are upgraded, they can become a beautiful focal point in the room.
Here are a few cozy styling ideas:
- Layer with sheer curtains: Hang a double rod with sheer panels behind heavier curtains for softness and light control.
- Frame a reading nook: Curtains add warmth and texture around a cozy chair or bench near a window.
- Add seasonal touches: Swap tiebacks or decorative rings for subtle seasonal decor updates.
Frequently Asked Questions
Yes. Most of the difference between budget curtains and custom drapery comes down to fullness, height, and proper installation.
No. Iron-on hem tape works very well and is beginner friendly.
For a more traditional or designer look, rings with drapery hooks usually look more polished.
Aim for 2–3 times the width of your window for proper fullness.
It is not required, but lined curtains drape better and look more structured.
Related Projects
If you enjoyed this project, you might also like:
- 10 Curtain Mistakes That Make Your Home Look Cheap (And How To Fix Them!)
- How to Make Your Home Cozy on a Budget: 15 Tried-and-True Methods That Actually Work
- How to Sew DIY Curtains at Home (Easy-to-follow Steps)
- Easy Hack! How to Hem Curtains Without Sewing
Making store-bought curtains look custom is actually much easier than most people expect! Small changes like steaming the fabric, hanging the rod higher, adding fullness, and upgrading hardware can completely transform basic panels into something that looks professionally styled.
The best part is that most of these upgrades are affordable and beginner friendly! Woohoo!
If you try any of these curtain tricks in your home, I would love to hear how it turned out – tag me on social: @cozydiyhome
Pin Me